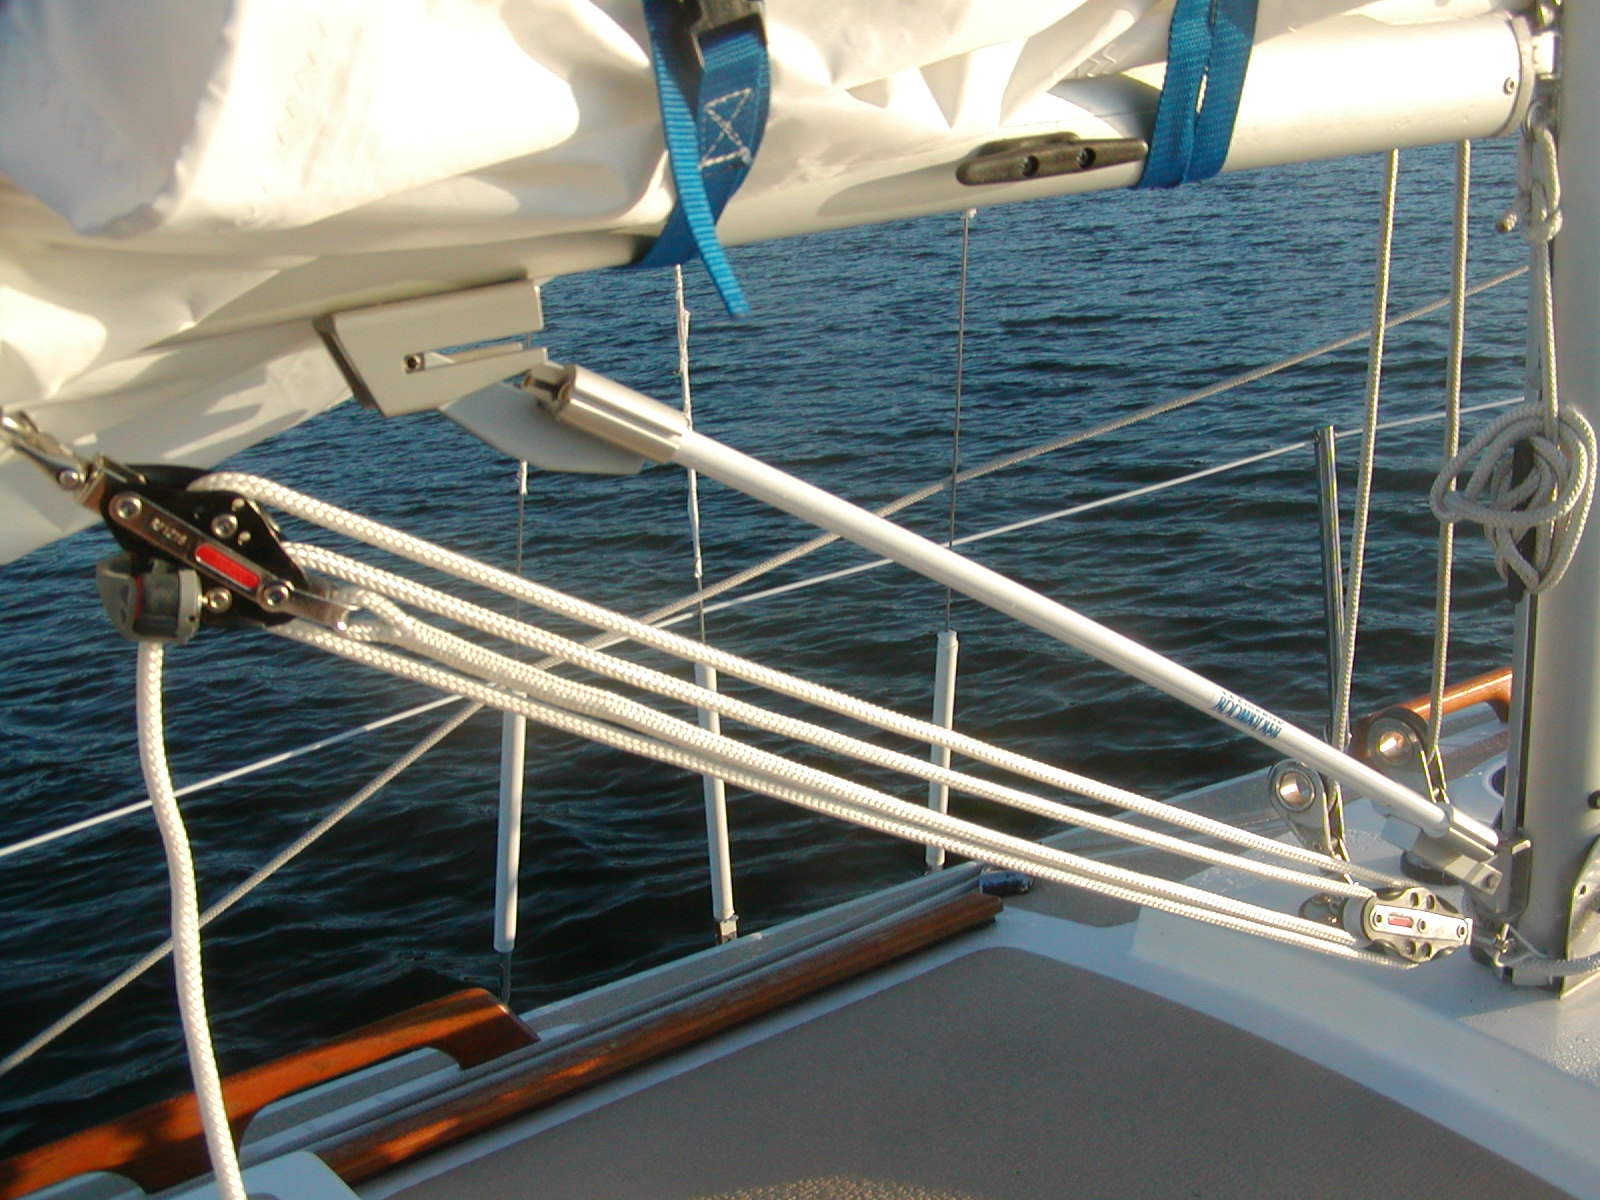
A Ronstan boom vang and Boomkicker (Boomkicker is a product trademark) were installed over the winter 2001/2002. The specific items purchased are in the purchased section of the shopping list.
The boom was fitted to the mast with the mast with the mast on the ground sail slide slot up. Measurements were make and installation of the boom vang and Boomkicker were done with the mast on the ground. After a day of sailing the fiberglass spring rods were then shortenned by 1/2 inch and provide a light tension when the boom is horizontal slightly higher when the boom is pitched down, and the boomkicker will not ride off if the boom is allowed to rise to add a lot of twist.
Lack of a boom vang may be Compacs single most significant ommission. A boom vang is relatively cheap and makes a huge difference both limiting the boom's rise when sailing downwind and in flatenning the mainsail when sailing in strong conditions, but not strong enough to require tieing in a reef.
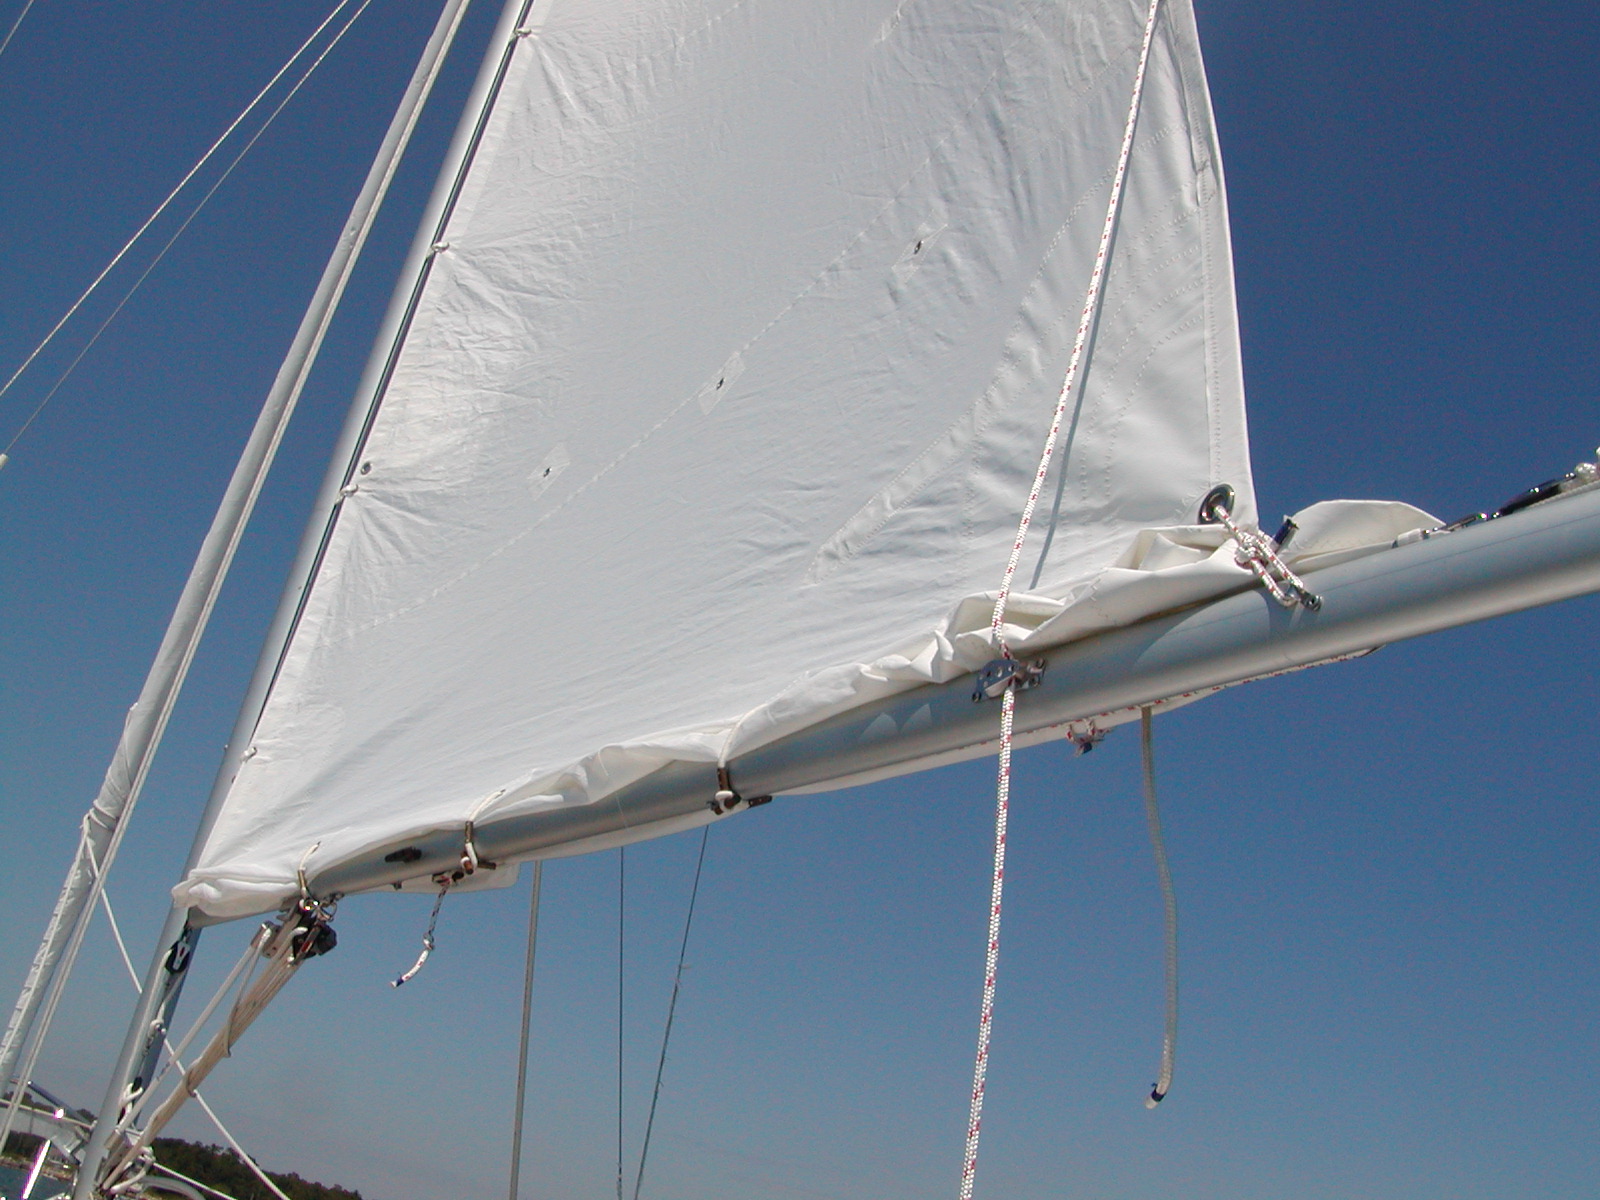
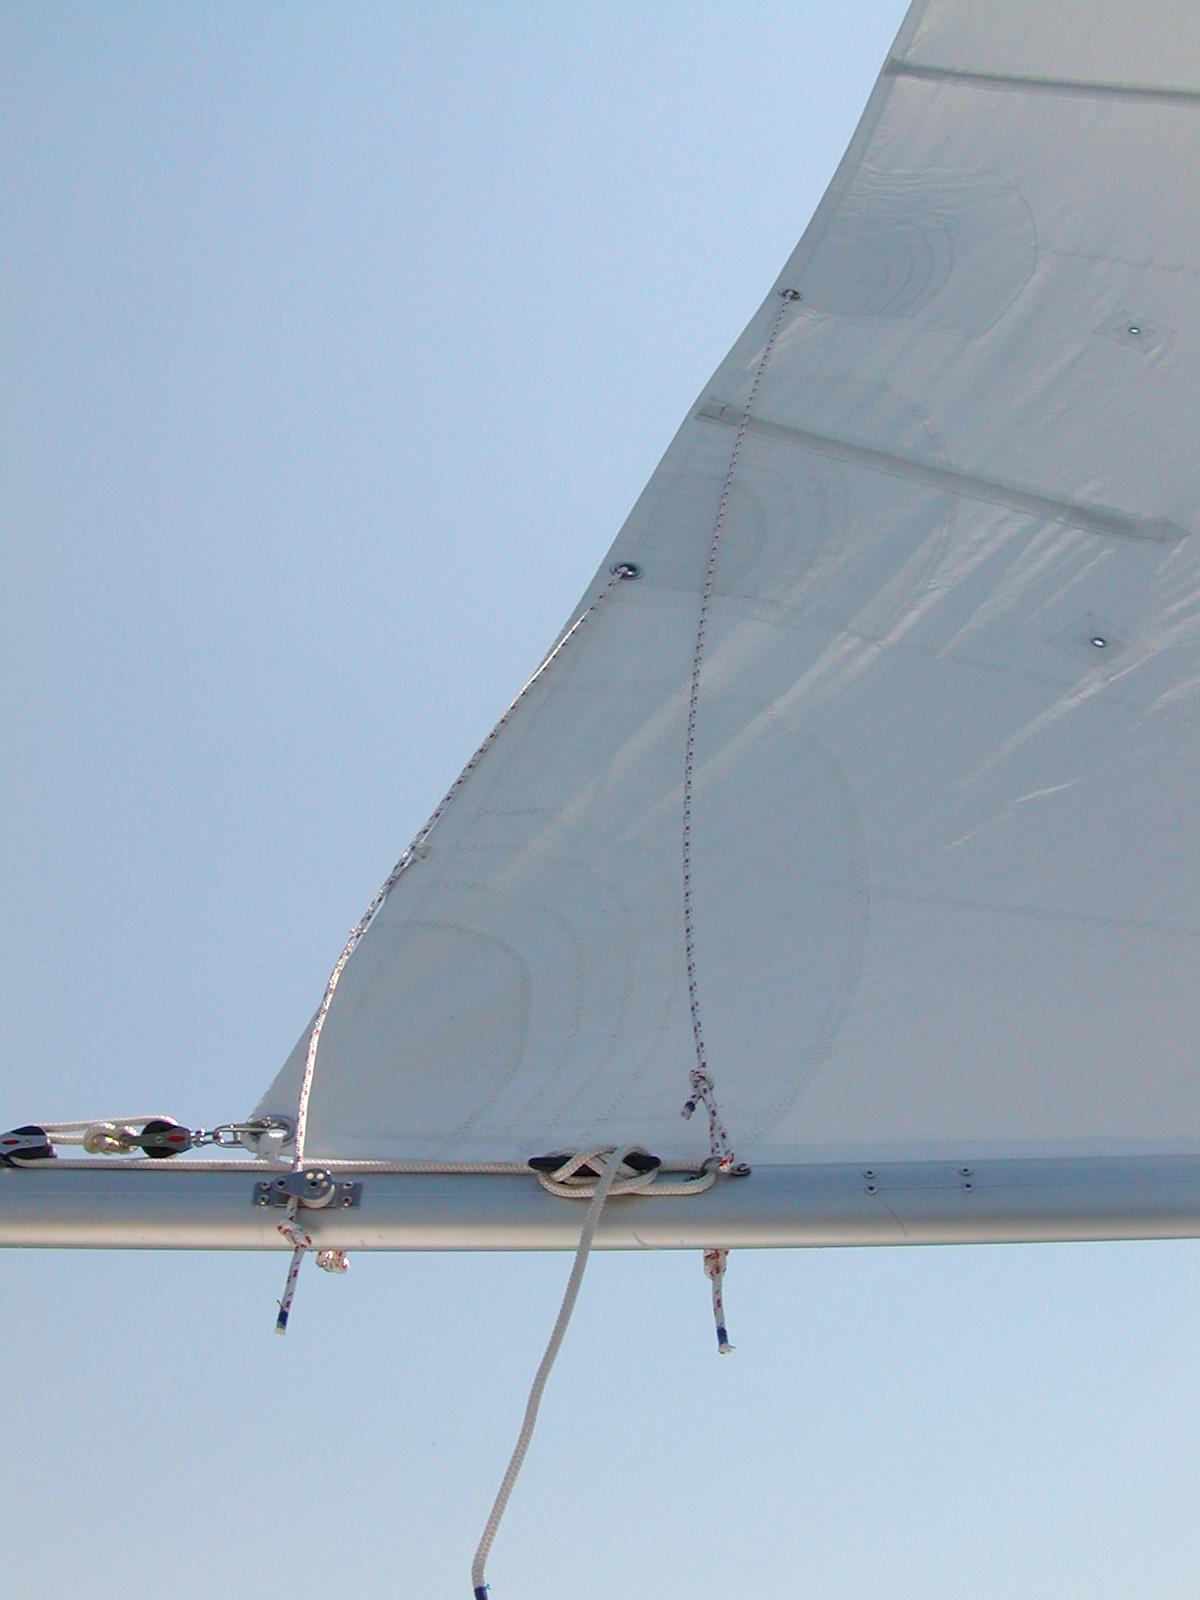
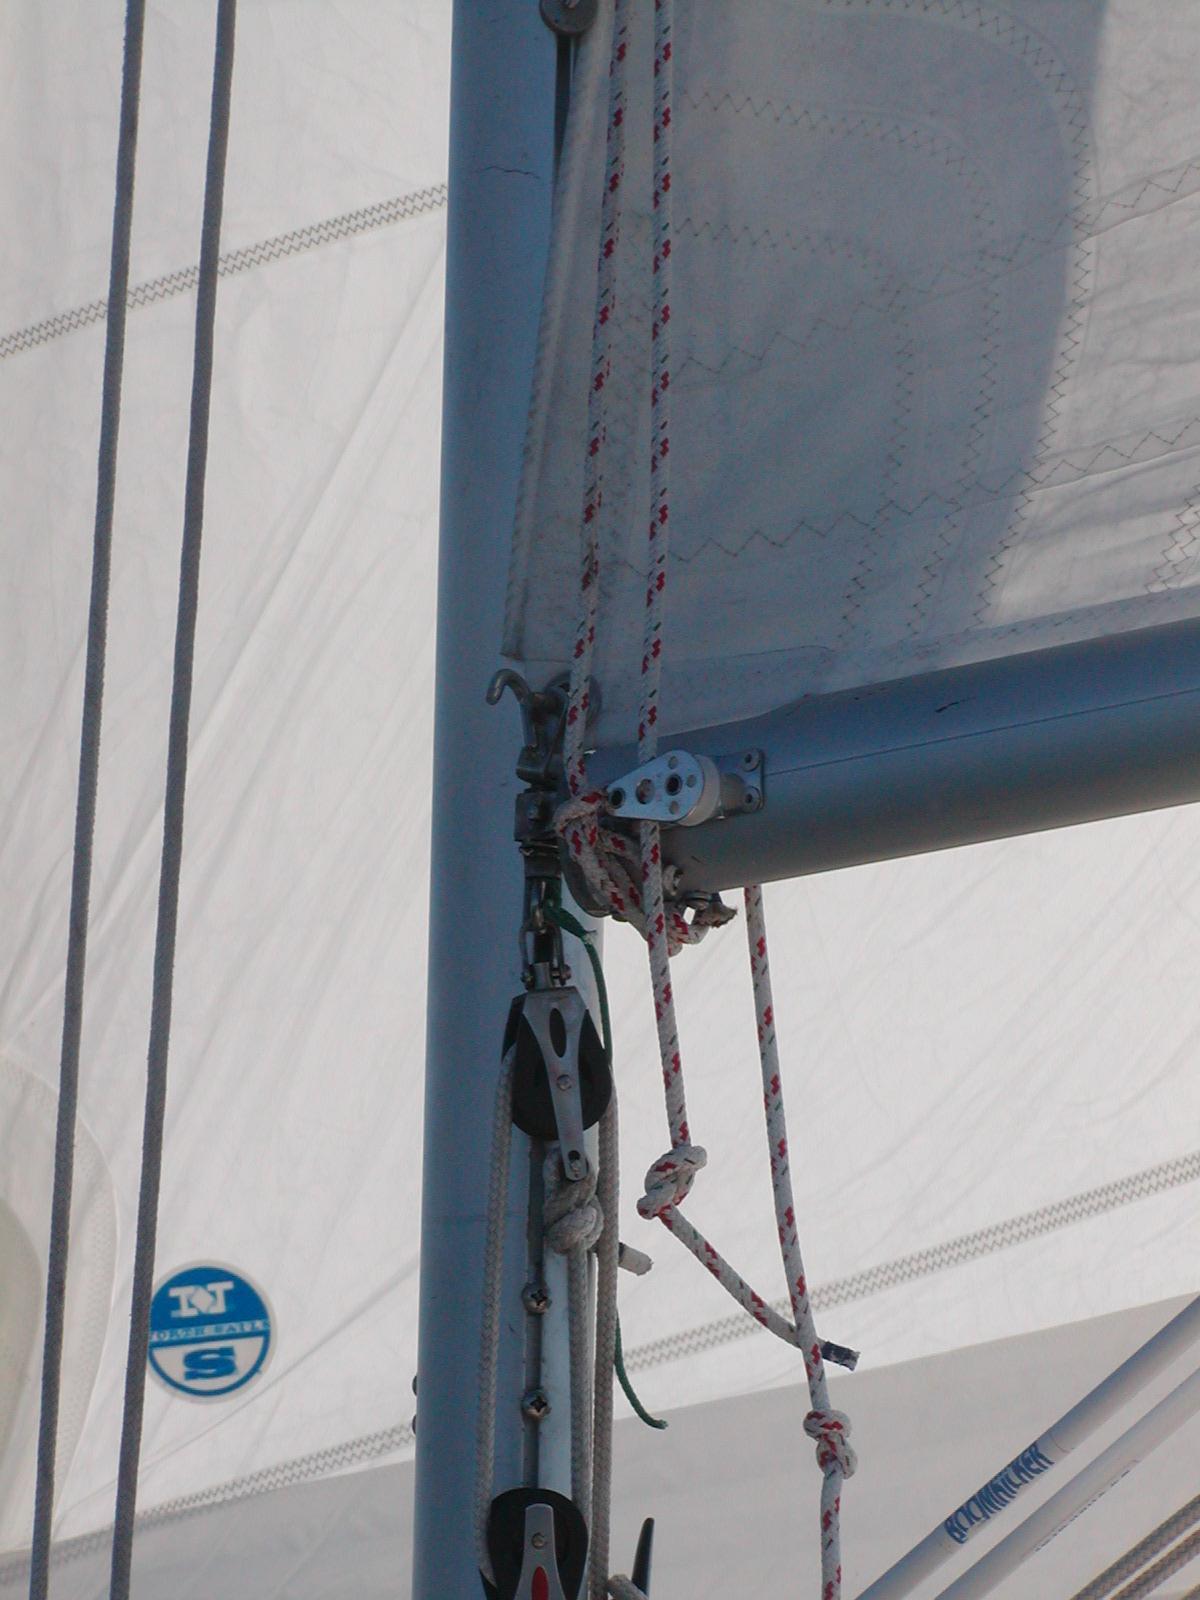
The boom came with a small horn cleat and a turning block and an eyestrap to be used for the one reefing line. I initially added another eyestrap and turning block on the same side of the boom. Later I moved the old cleat aft and added a new one on the other side of the boom. Both are now about 42" back from the gooseneck.
With the full main sail set, both reef lines are loose and about 8" (after a stopper knot is tied) hangs out the cheek block on the boom. This is not enough to be in the way so need not be cleated to anything. Since the first reef line goes up 3 feet and back down, when the first reef is tied, almost 6' of additional line is pulled through the cheek block, pulled forward, and cleated. The second reef lines gains the same 6' and is cleated on the other side (not cleated in the first two photos because I hadn't yet cut the line).
When the second reef is tied in there is almost 12 feet of extra reef line coming out of the cheek block. The line is tied off about 6 feet away. The excess line is then brought aft and tied slipped under one of the reef ties or tied to an extra eyestrap on the bottom of the boom. There may be enough line to tie it to some excess line on the outhaul cleat.
Cheek blocks and a padeye were added at the tack of the sail about a year later. Reefing is a lot easier when single handed. The cringle no longer jumps from the reefing hook before the halyard is tensioned since the hook is no longer used.
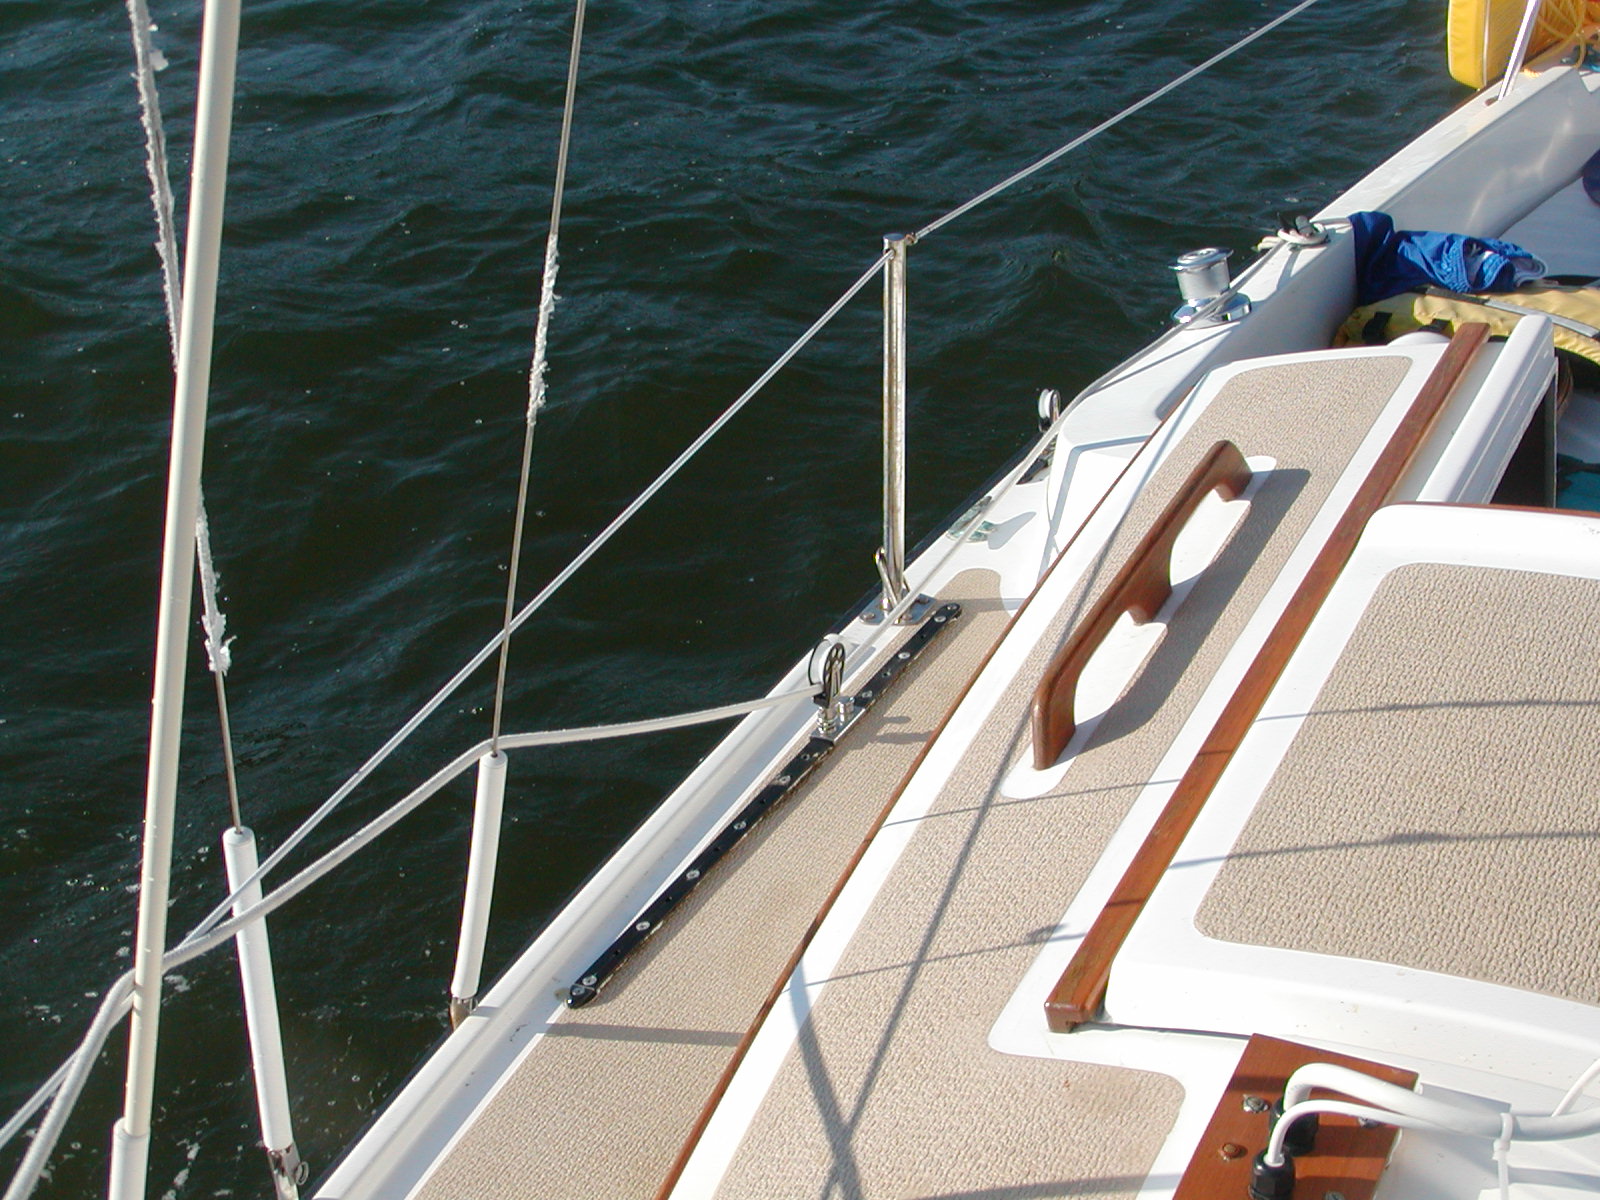
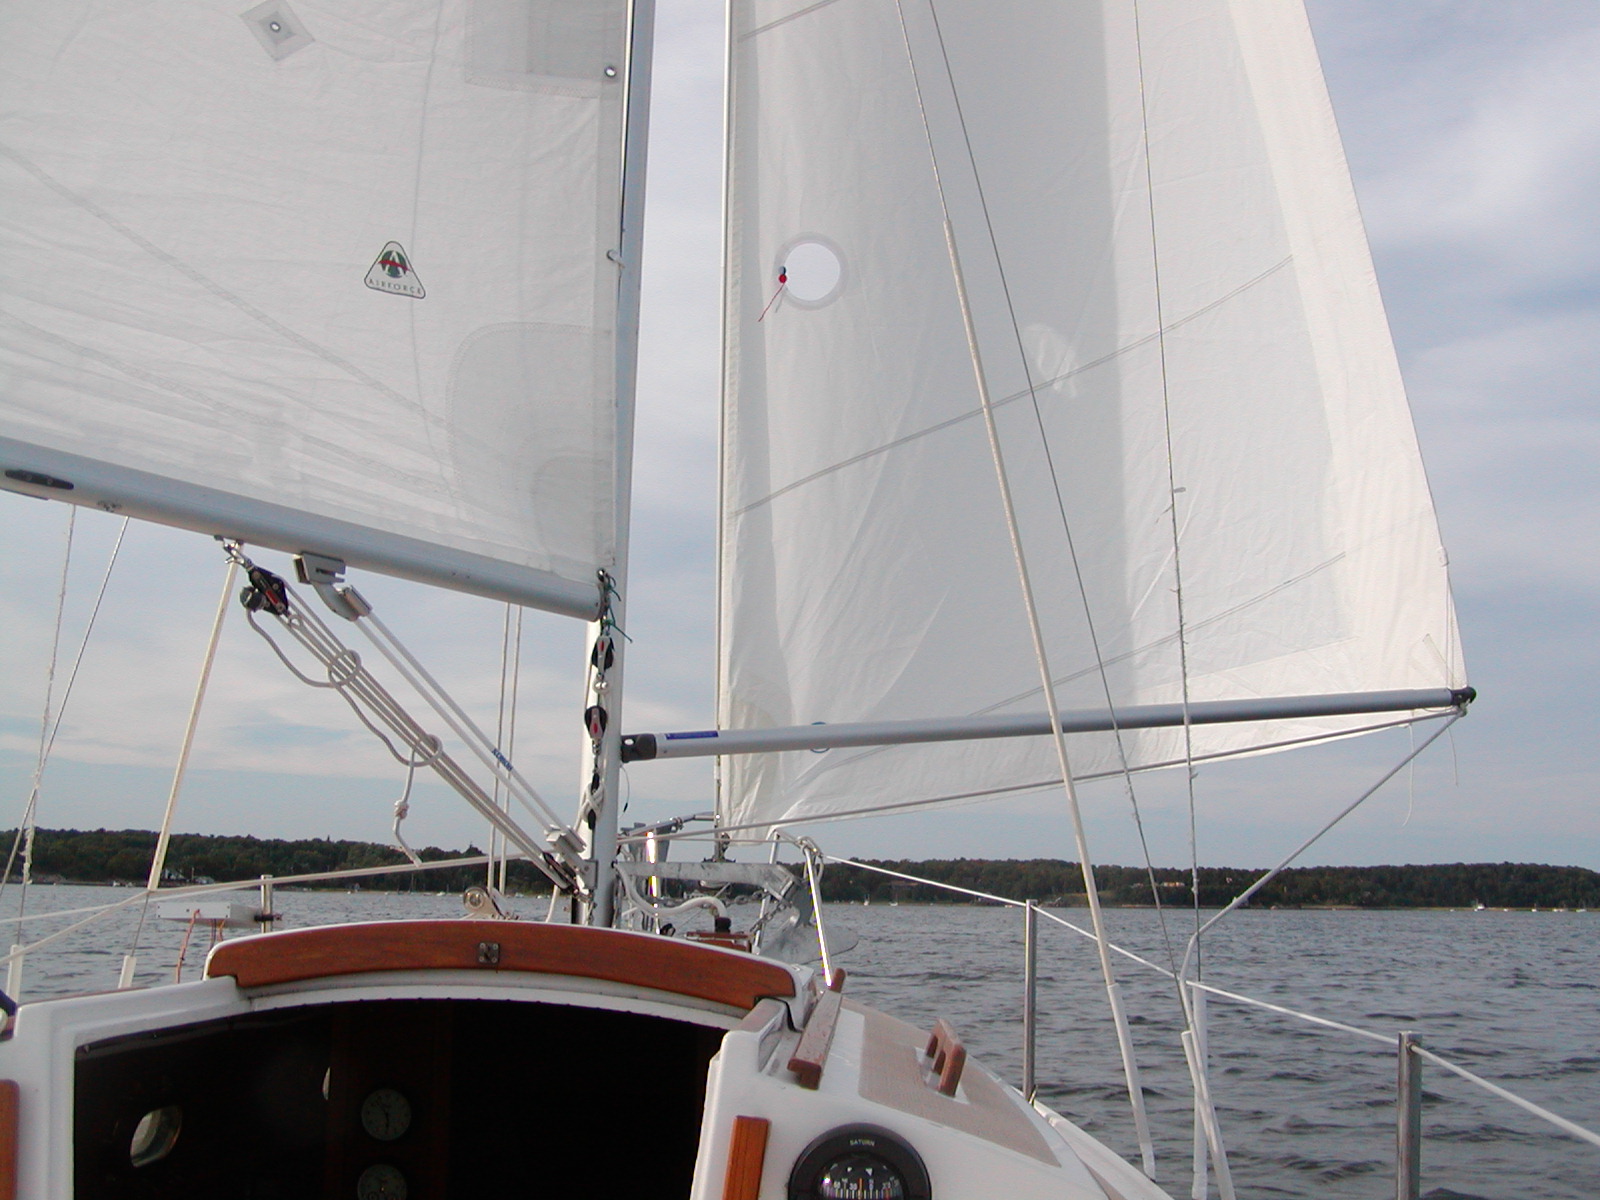
Matt Wake, the North Sails representative looked over Remote Access and made some recommendations. High on the list of recommendations was putting in an additional sail track forward of the current genoa track. With the genoa track a blade jib can be cut, with a high clew and a long run of sheet between the clew and the fairlead. With the sail track moved forward, the clew can be moved down and the distance from the sail crew to sheet farilead made much shorter. This farther forward fairlead position brings the whole sail closer to the boat's centerline and improves windward performance. The shorter length of sheet between the clew and fairlead should have less of a tendency to pump in high winds.
At the time of writing we have less than a season with this new sailtrack. Improvement with the new headsail, track, and furler is very substantial. The fairlead farther forward is likely to be a major contributor to the improvement.
Remote Access came with a CDI roller furler. The CDI furler is fine for lighter air. The Outer Cape Cod winds are typically 10-15 or 15-20 knots with 20-25 being common in July. August may bring 5-10 knots but over the course of the entire summer 5-10 knots is about as common as over 25 knots. In the spring and fall gales are fairly common, more so in the spring but we haven't sailed much in spring.
For lighter air, the CDI furler is more than adequate and many people own this furler and are completely satisfied with it. The simplicity and low cost of the CDI is desireable. In our case, the deficiencies of the CDI in heavier air makes it a poor choice.
The CDI furler is undesireable in higher wind conditions for a number of reasons. The flexible foil lacks torsional rigidity. The internal halyard is difficult (very difficult) to tension as conditions change. Halyard wrap is not a problem but a seriously twisted foil results from furling in anything over a moderate breeze due to torsion applied at the bottom of the foil and the flexibility of the foil. This makes the sail shape of the reefed sail unusable. Changing sails to reduce sail area would be very difficult and really shouldn't be done while it is blowing with this furler.
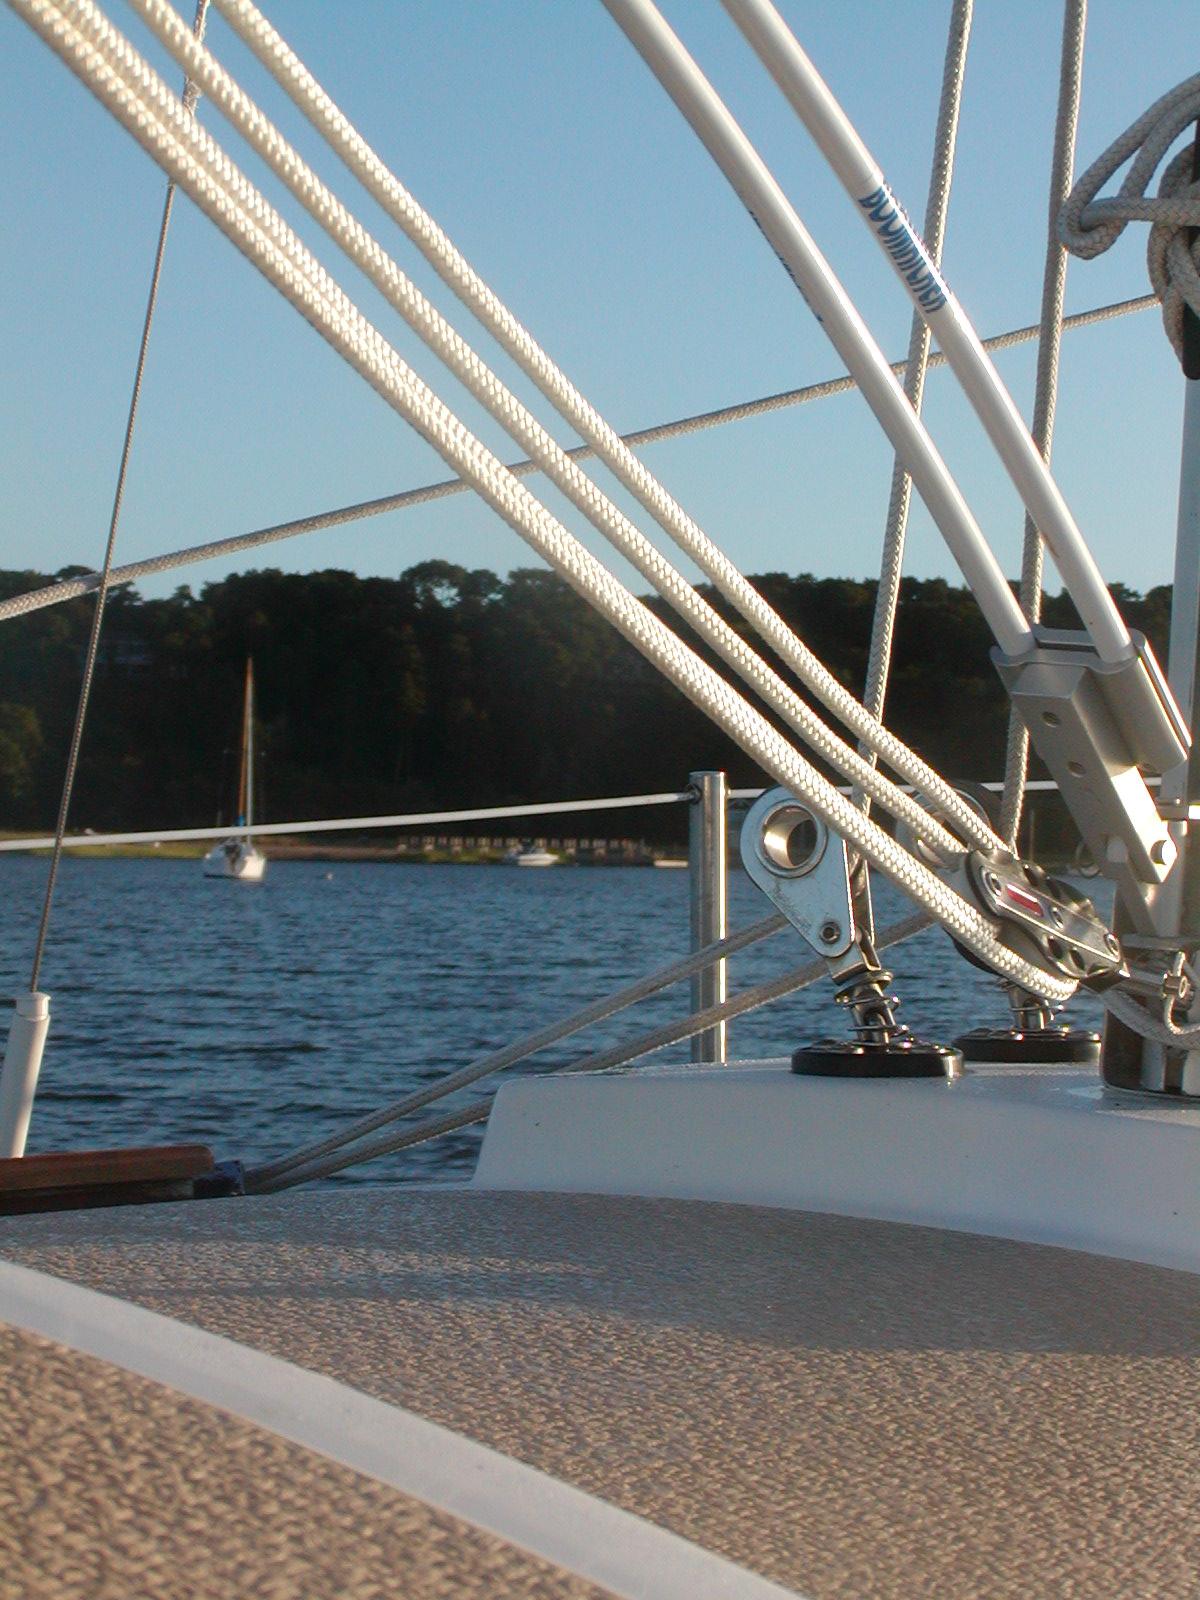
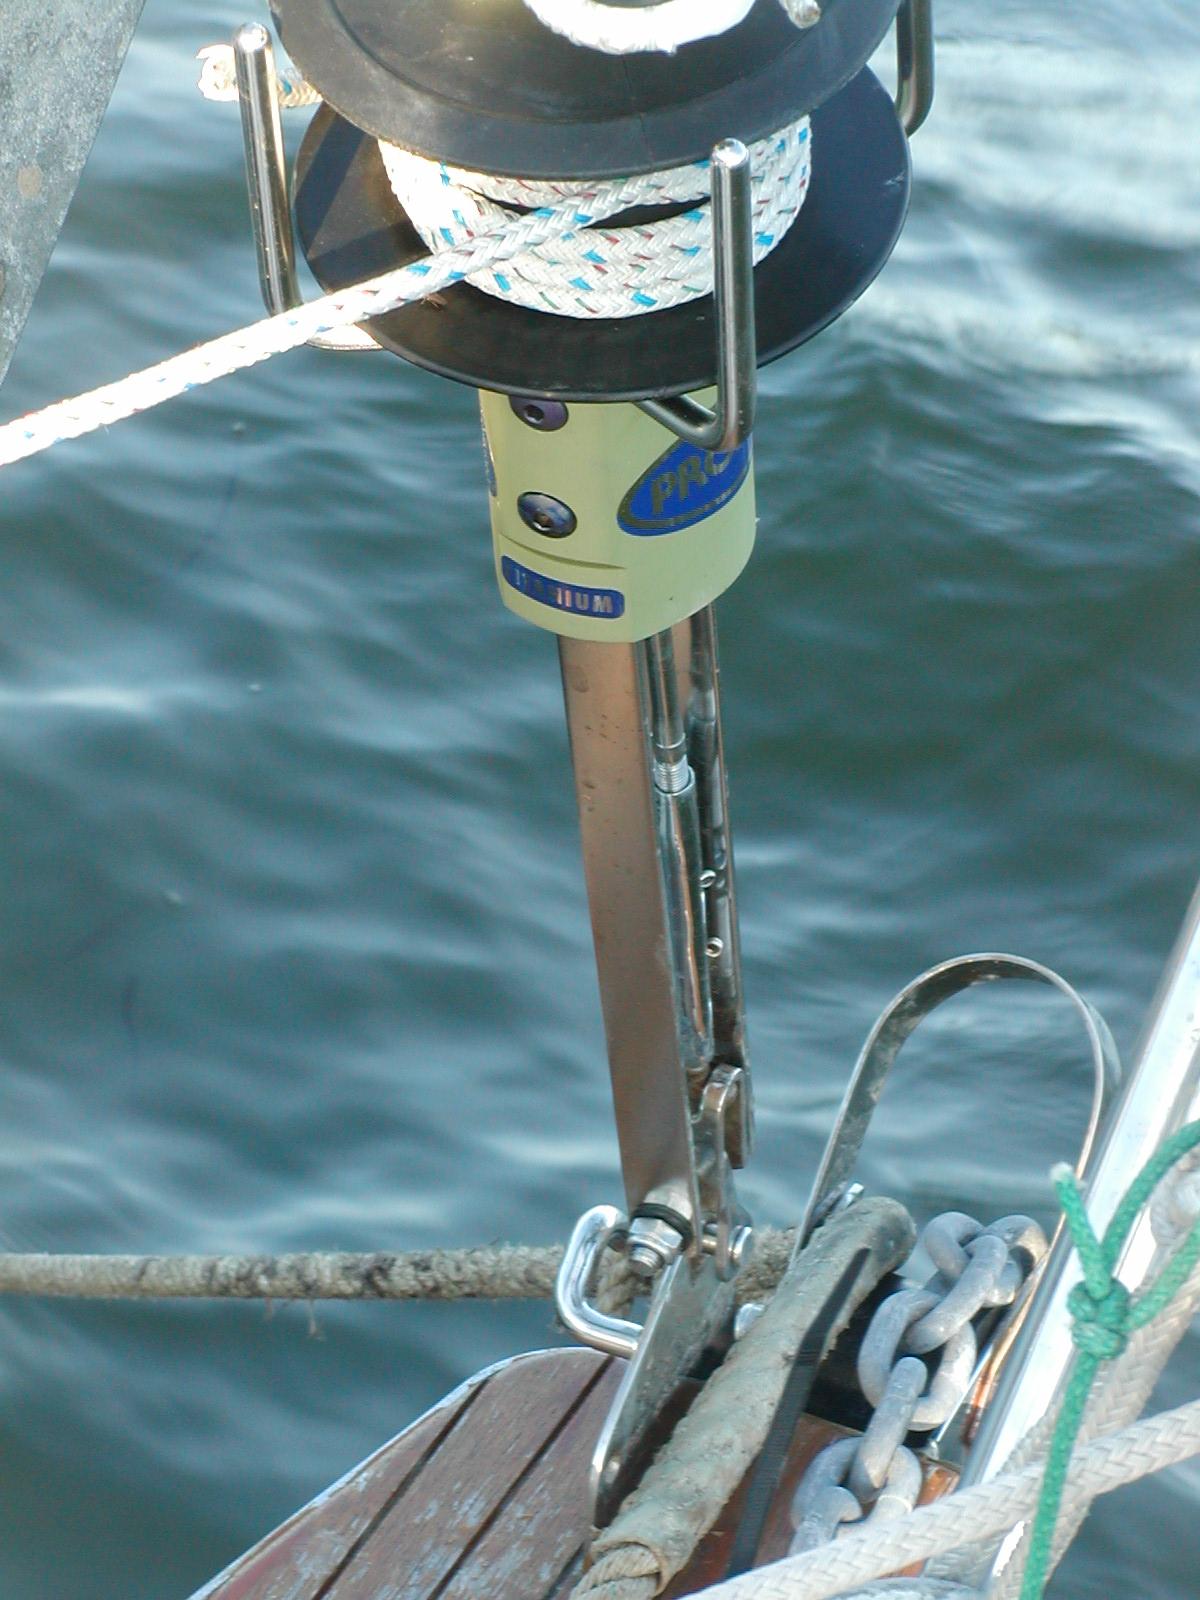
The replacement roller furler is a ProFurl. While this is a excellent furler, initial installation was far from trouble free. The furler was purchased at the same time as a pair of new headsails. According to measurements the length of the jib from grommet to grommet matched the furler shackle to shackle with a few inches to spare. In practice this didn't work out. The head peice to the furler could not be raised to the top of the foil. The halyard shackle jammed into the masthead sheeve well before the sail was fully raised. A second problem was that to make it easy to change sails snap shackles were added, reducing the distance shackle to shackle.
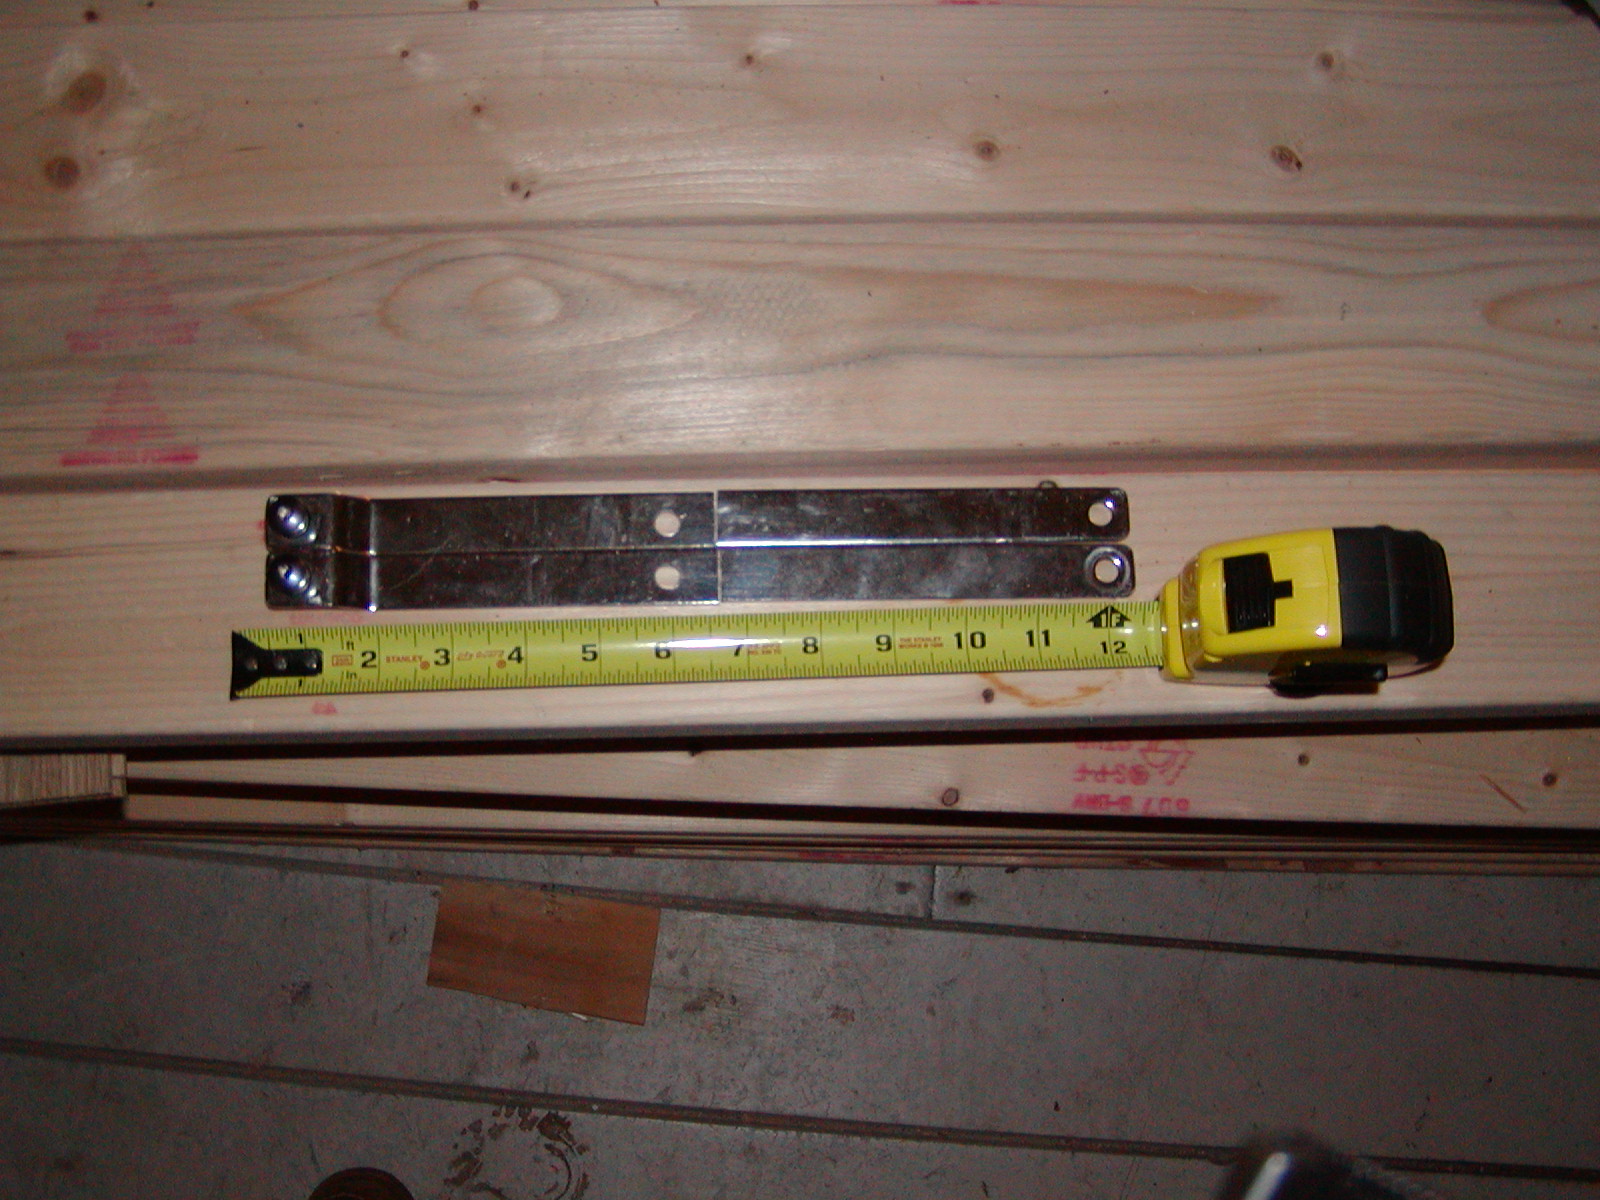
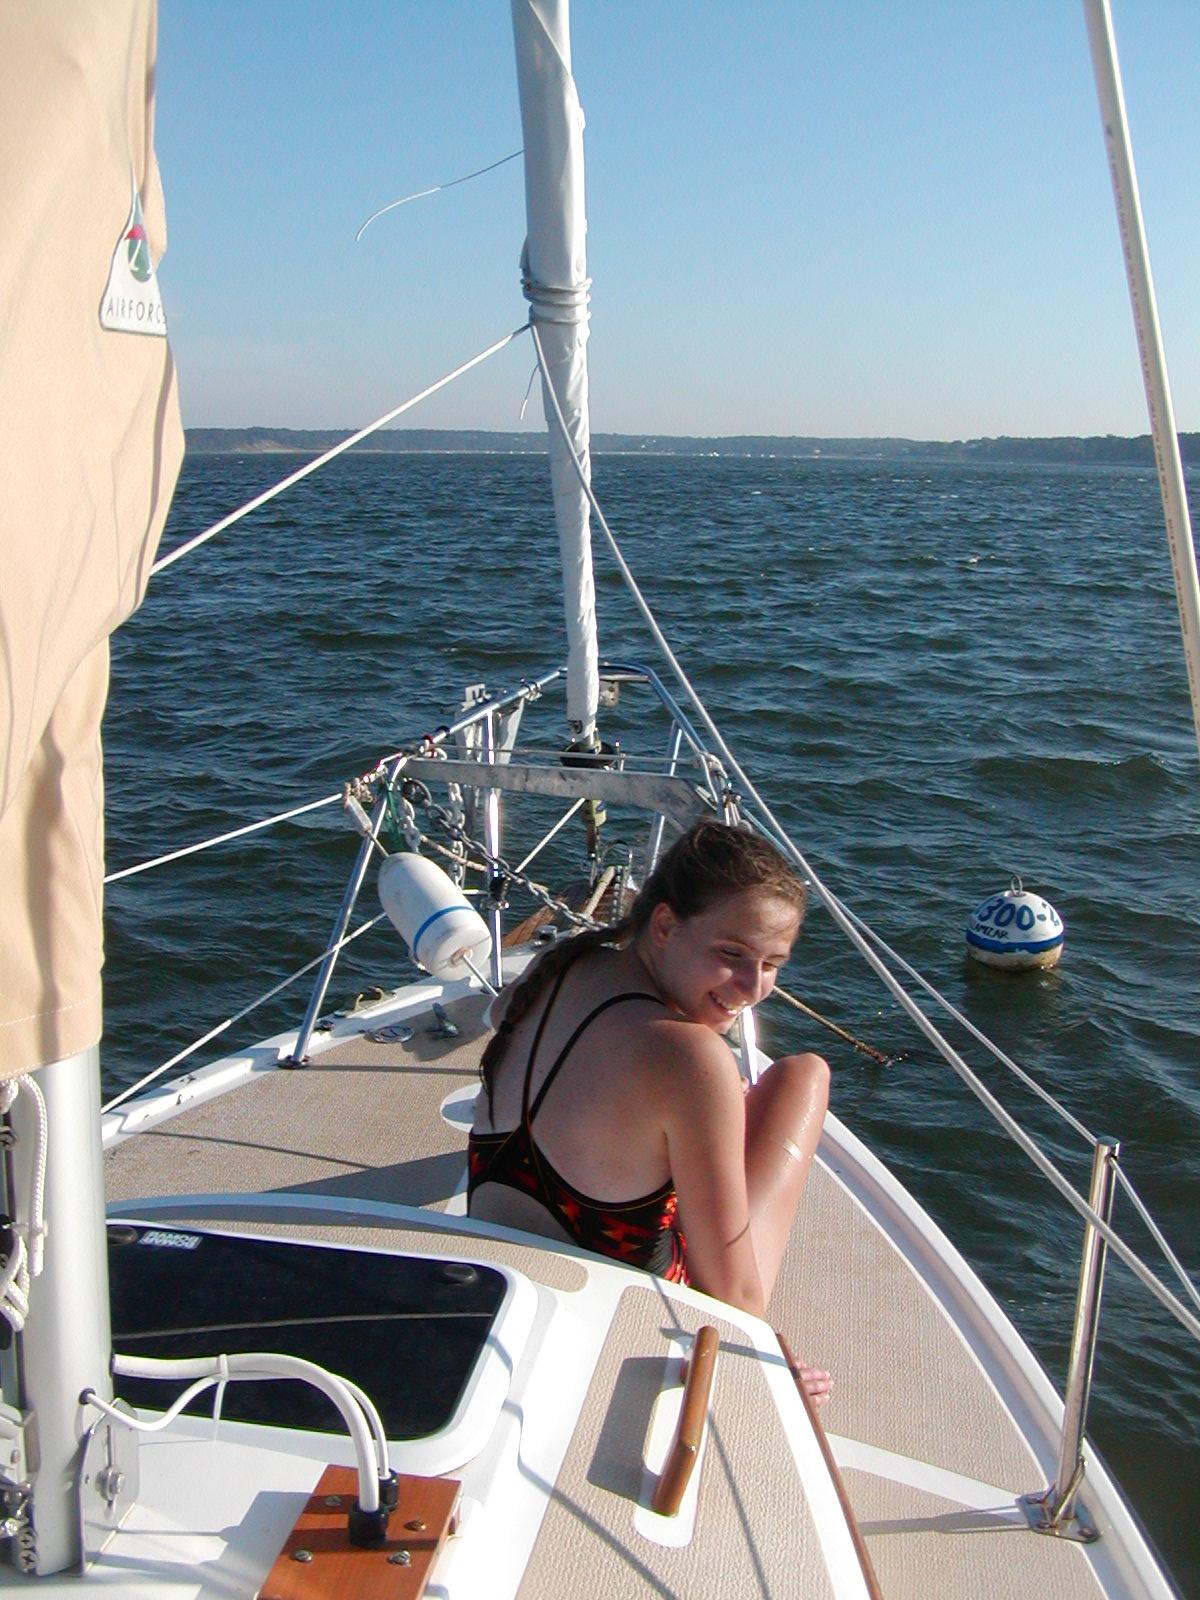
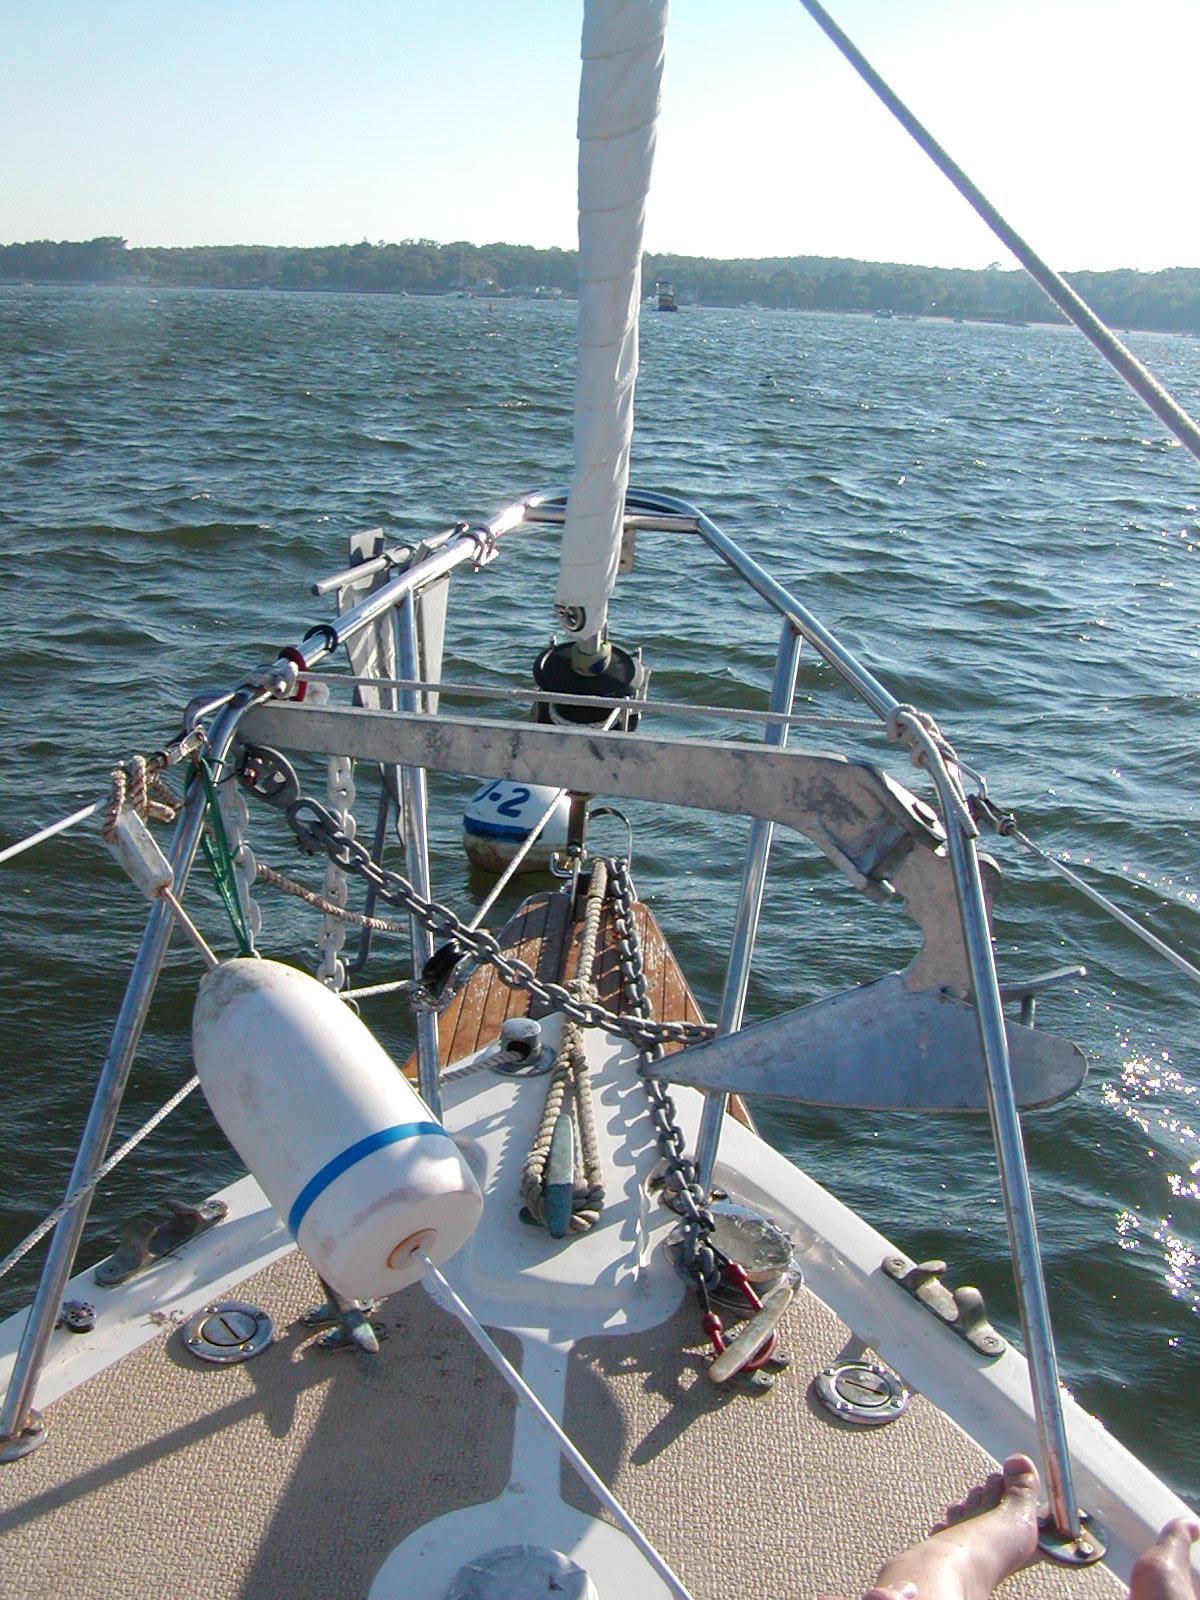
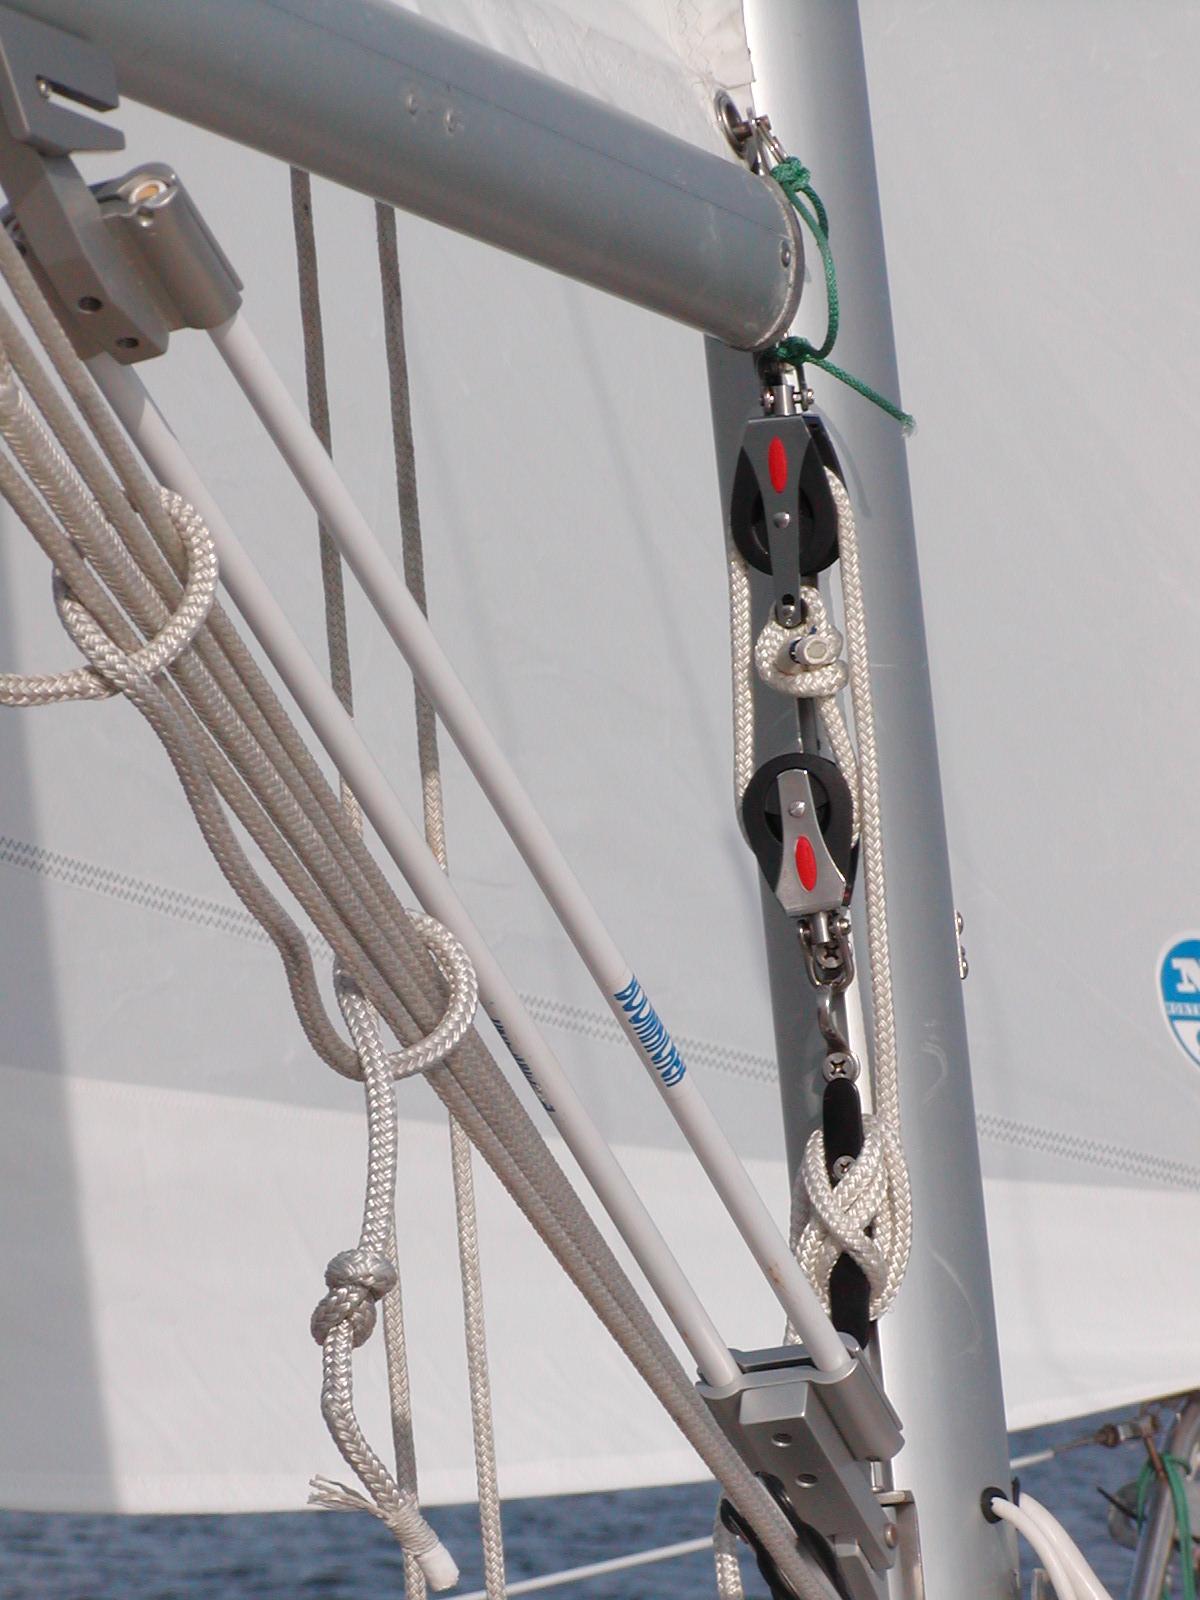
This problem was partially solved by shortenning the link plates by 6 inches. Two of the photos show the shortenned link plates. This did not lengthen the foil but lowered the entire assembly allowing the head peice to go to the top of the foil (and beyond as I was soon to find out). The first photo of the furler shows the full length link plates (about 10 inches). The photo with Erin (my daughter) in it and the next photo were taken after the shortenned link plates were installed. This sailed fine for a while but full luff tension could not be acheived (still a bit too long).
The luff of my jib wasn't quite tight. Lowering the entire furler assembly by shortenning the link plates gave me not quite enough length. What was really needed was taking the mast down, taking ther furler off, and replacing the top section of foil with one that was not cut down as far effectively gaining another 3" or so, even though 6-7" of foil would be added.
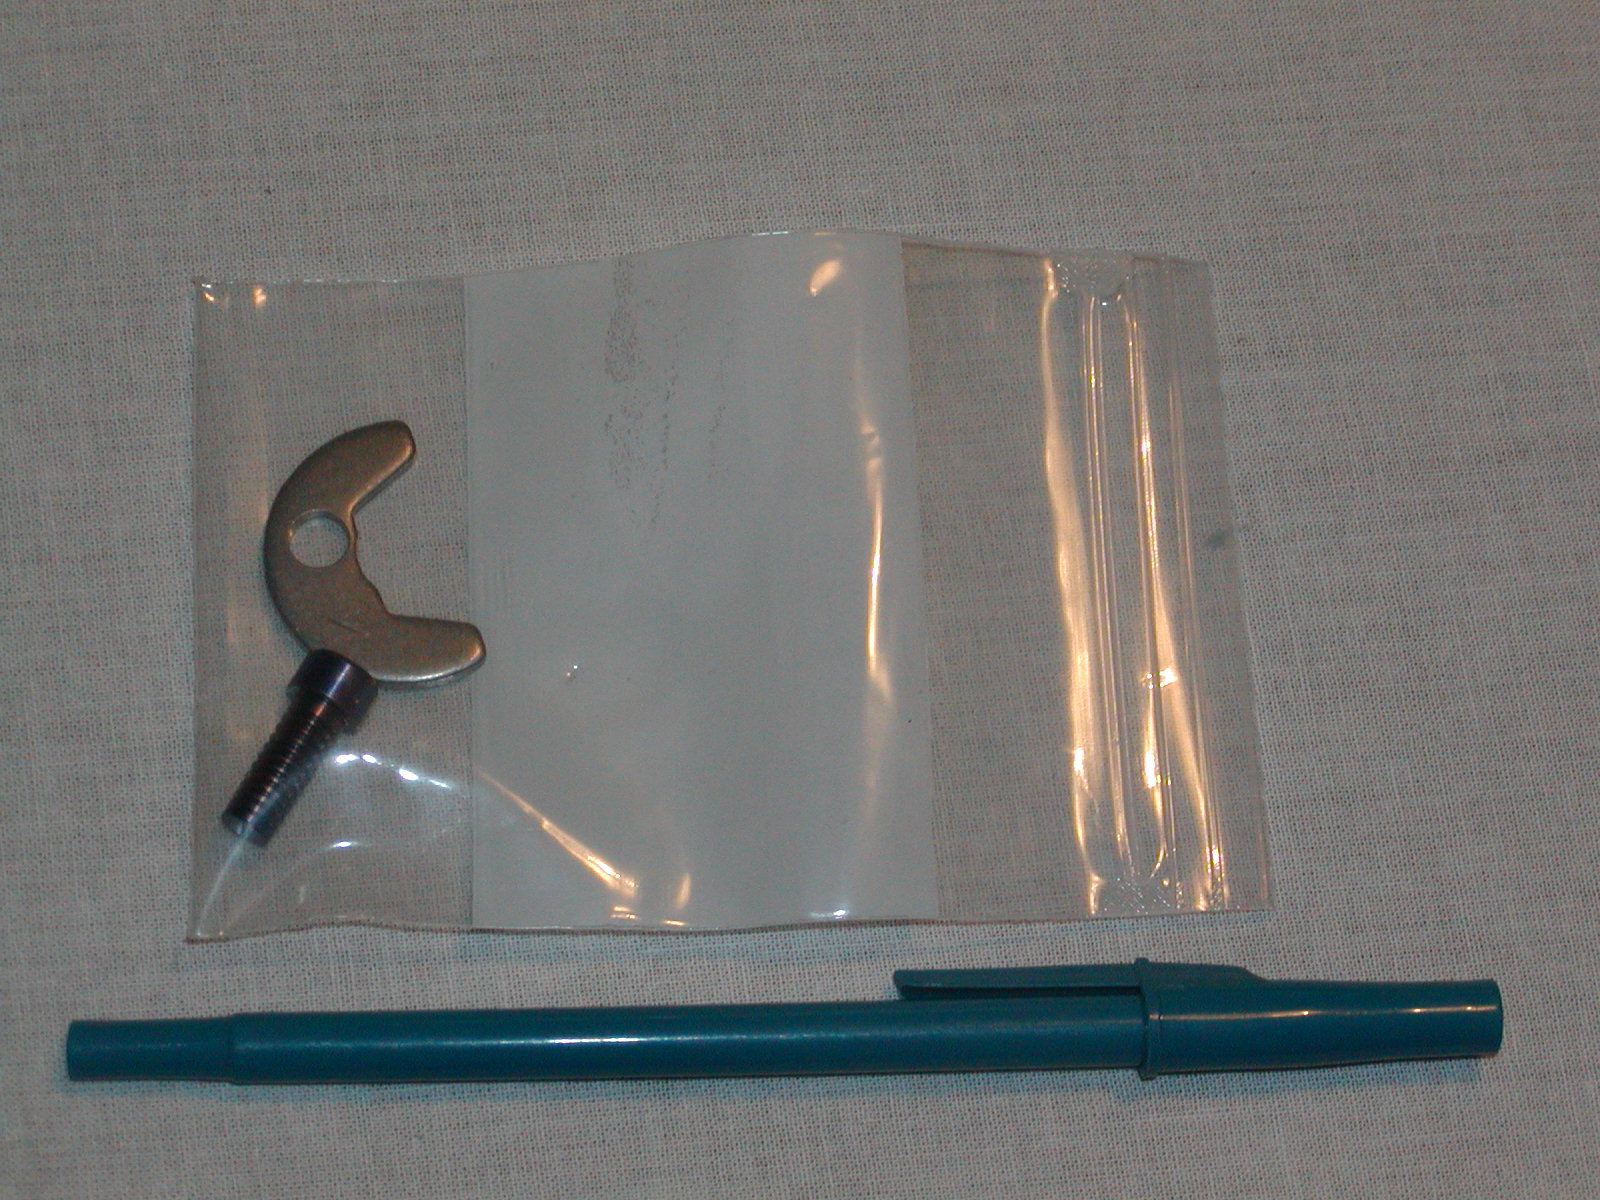
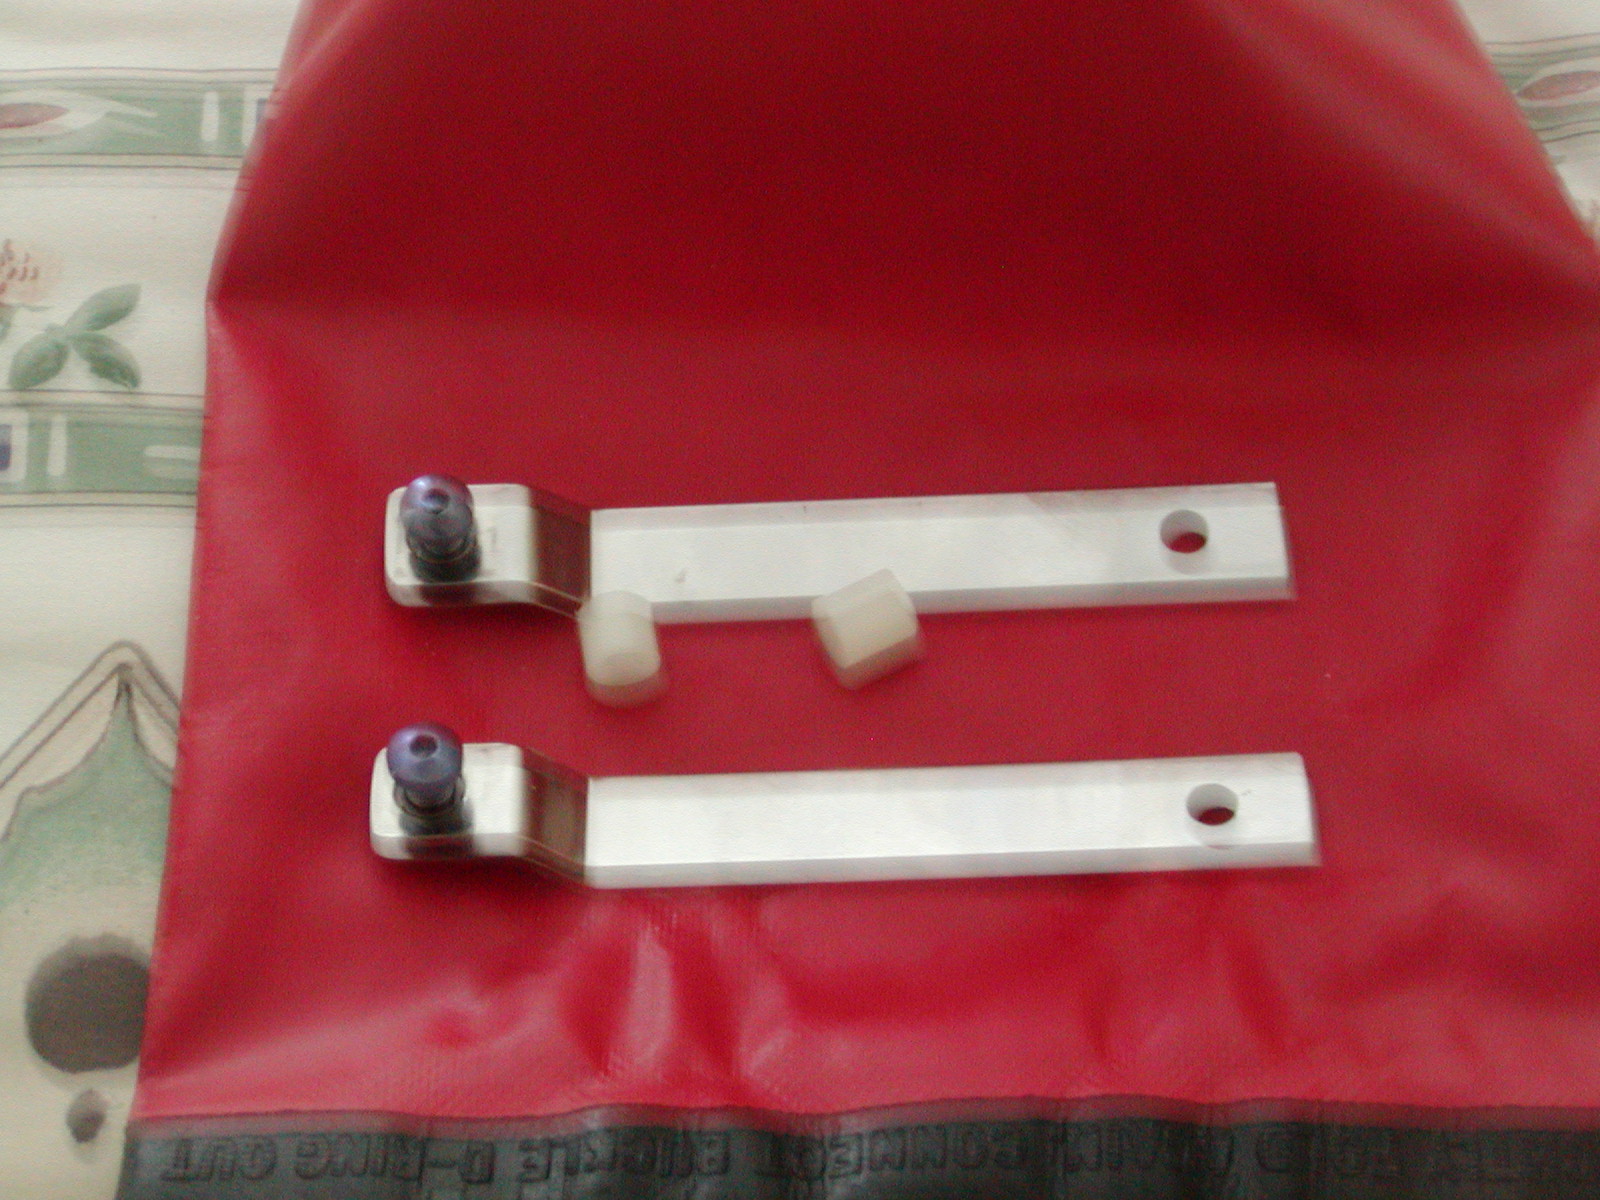
Unfortunately, I pulled hard on the halyard and I did manage to get the luff tight. In doing so I stripped the self tapping screw (ripped it out) and popped to top plate (called the C-clip by ProFurl) off the foil. Pulling real hard on the halyard I heard a loud pop, followed by a clink clink of metal on the deck and then some small part dove overboard. The parts that went over were the C-clip and screw in the plastic bag in the photo.
Fixing this required lowering the mast. This was done on the water. A new section of foil was cut just over 6 inches longer and installed it. The top of the furler was then reassembled and the furler and the mast was raised. Easier said than done.
The ProFurl fuler has been great. The installation was just not done
right in the first place and had to be corrected. Correcting it once
on the water was quite difficult. Since the install problems have
been corrected its been working fine.
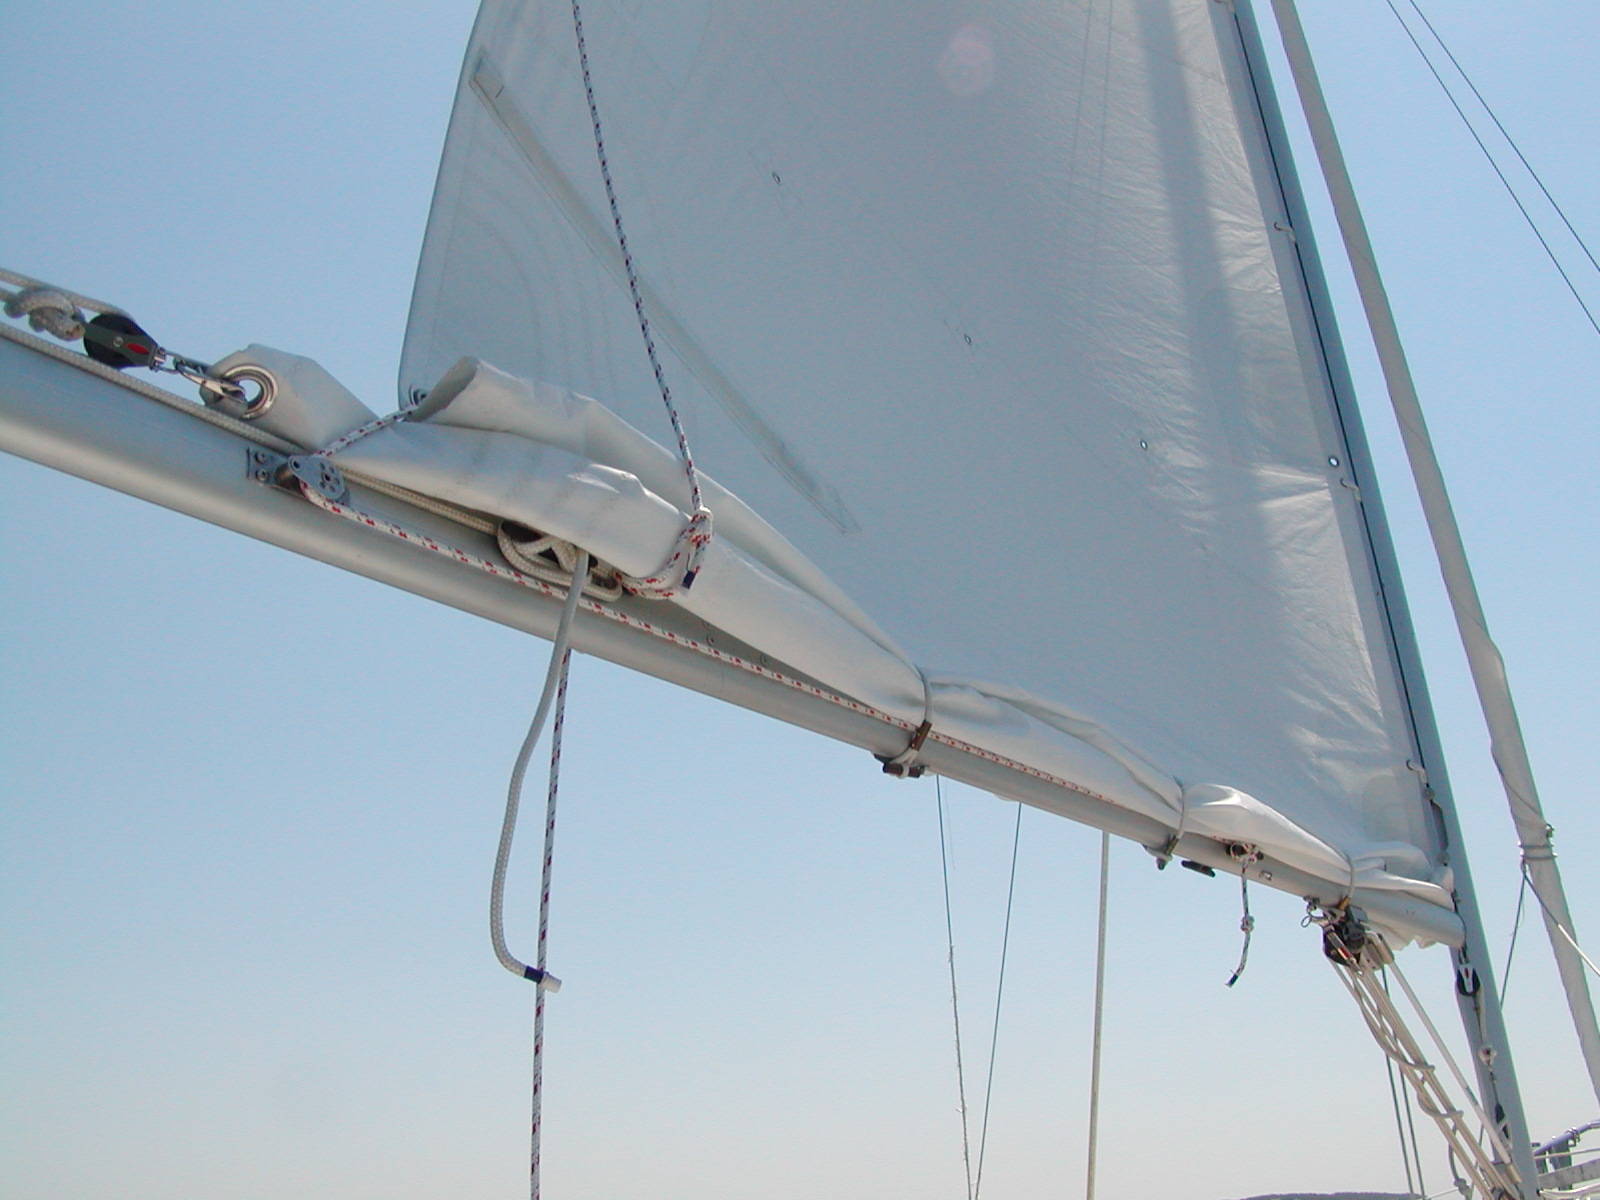
Both the outhaul and downhaul are 3:1. The downhaul was going to be 4:1 but not enough room the way I wanted it set up and 3:1 seems adequate. Recently I moved the horn cleat used for the downhaul to the side of the mast and moved the eyestrap down. This should allow a 4:1 downhaul. I should still have the blocks that I bought iniatially intended for the downhaul. I haven't tried to tension the 3:1 downhaul it in a real blow yet. The 3:1 outhaul is just fine.
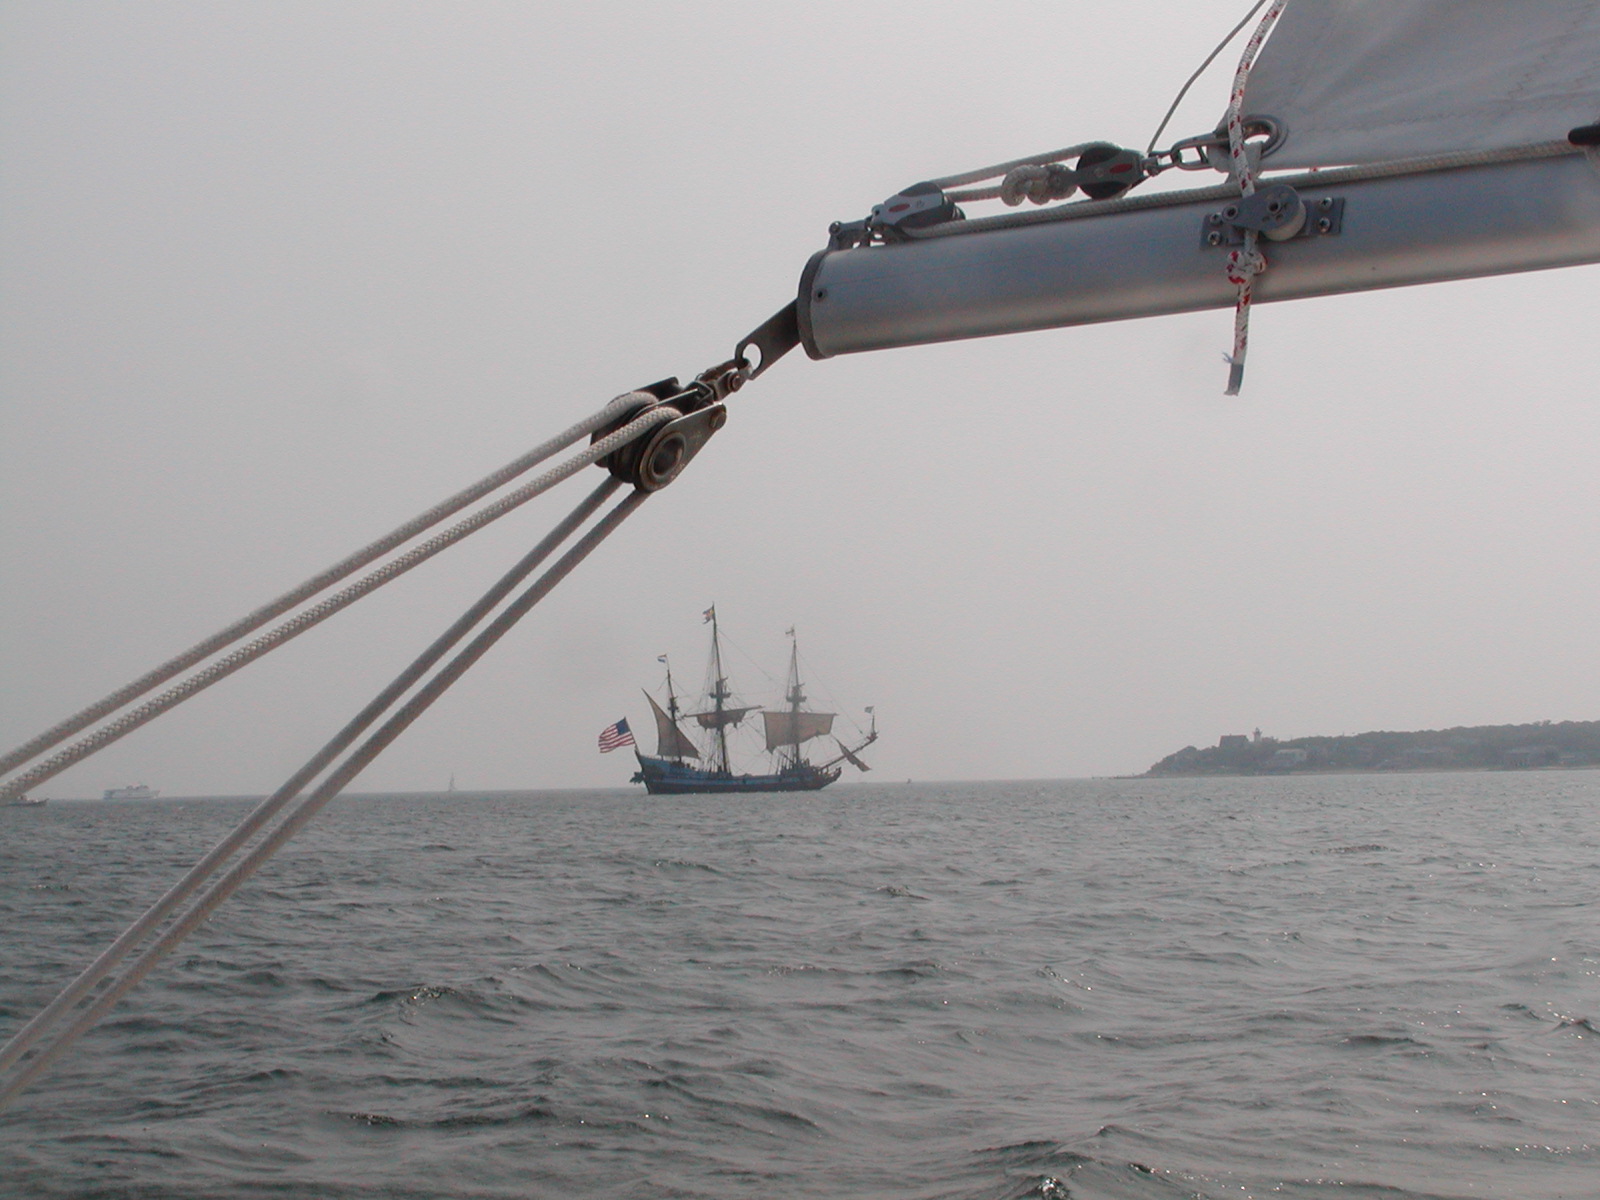
The outhaul photo was taken looking out at a large wooden ship off East Chop at Marthas Vineyard. The subject of the photo was not the outhaul, but it may be the only good photo I have of the outhaul.
Buying a whisker pole for the jib is easy. The mast attachment is not much work but it must be positioned at a height appropriate to the headsail. I used a fixed mount spinnaker pole ring. The install was very easy. Four holes were drilled and tapped into the mast and the spinnaker pole ring attached with machine screws.
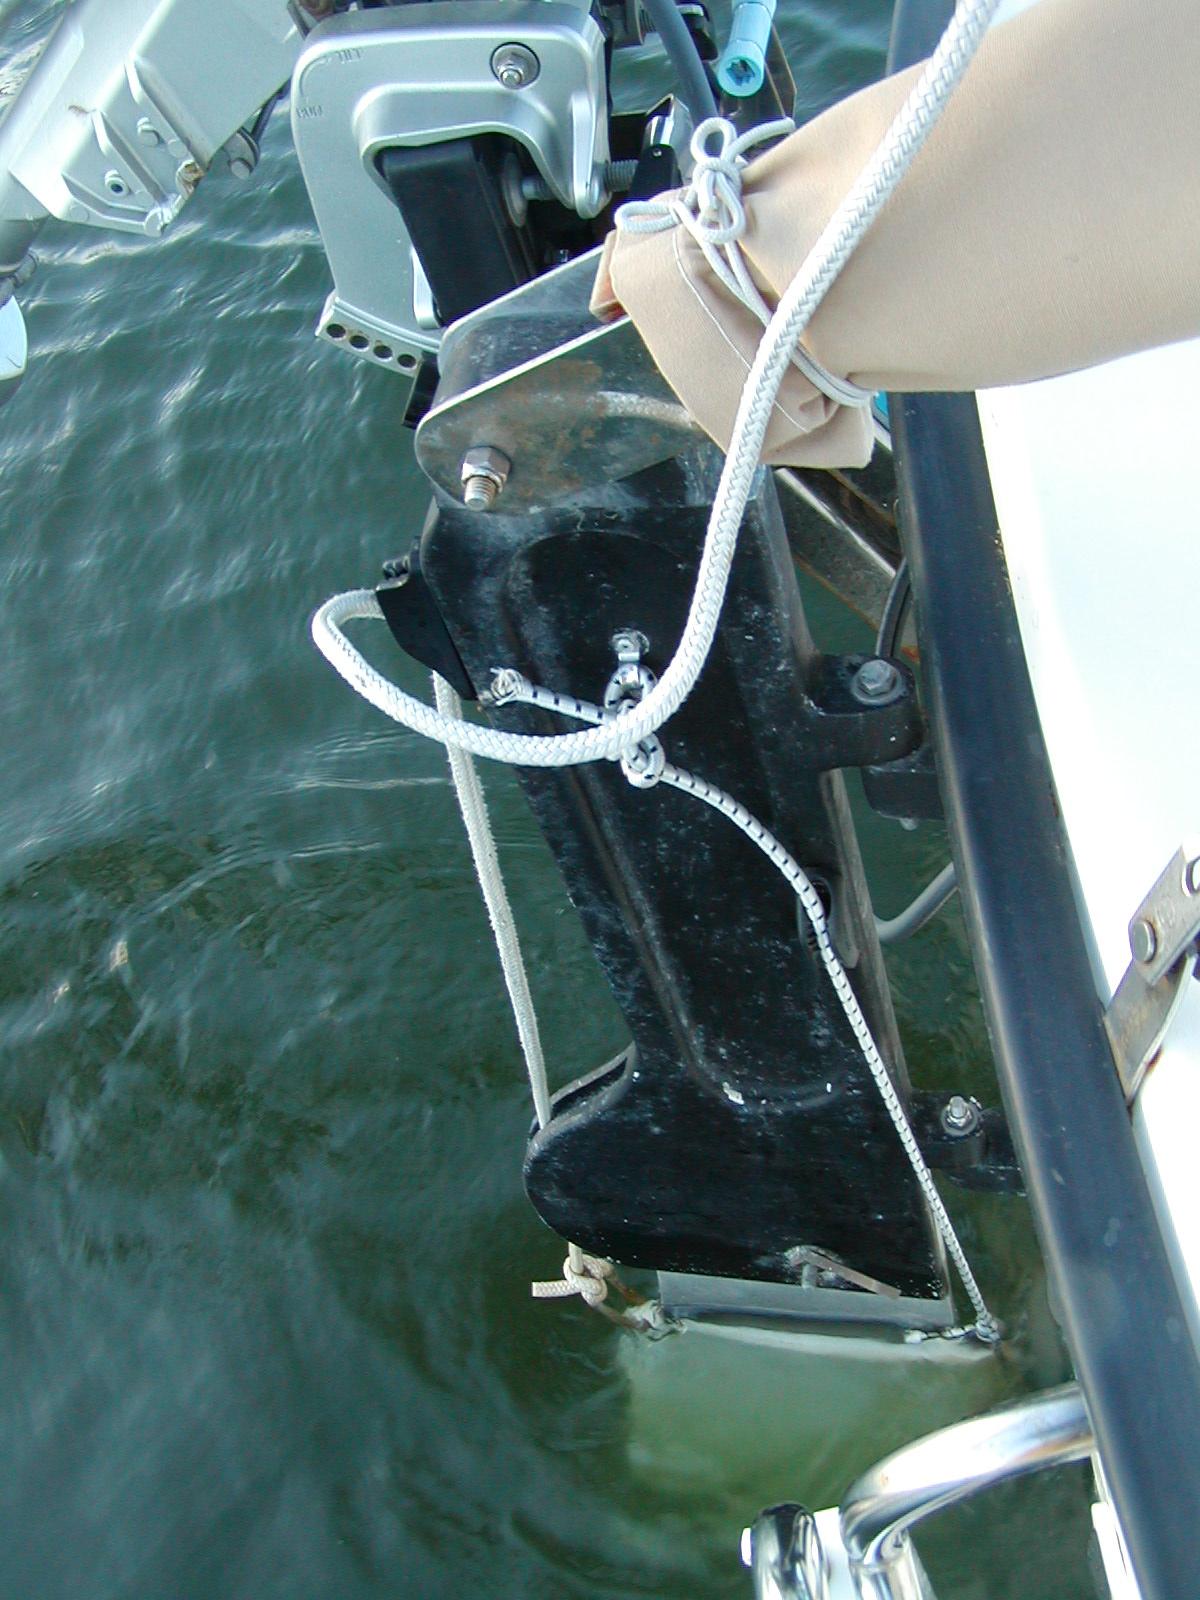
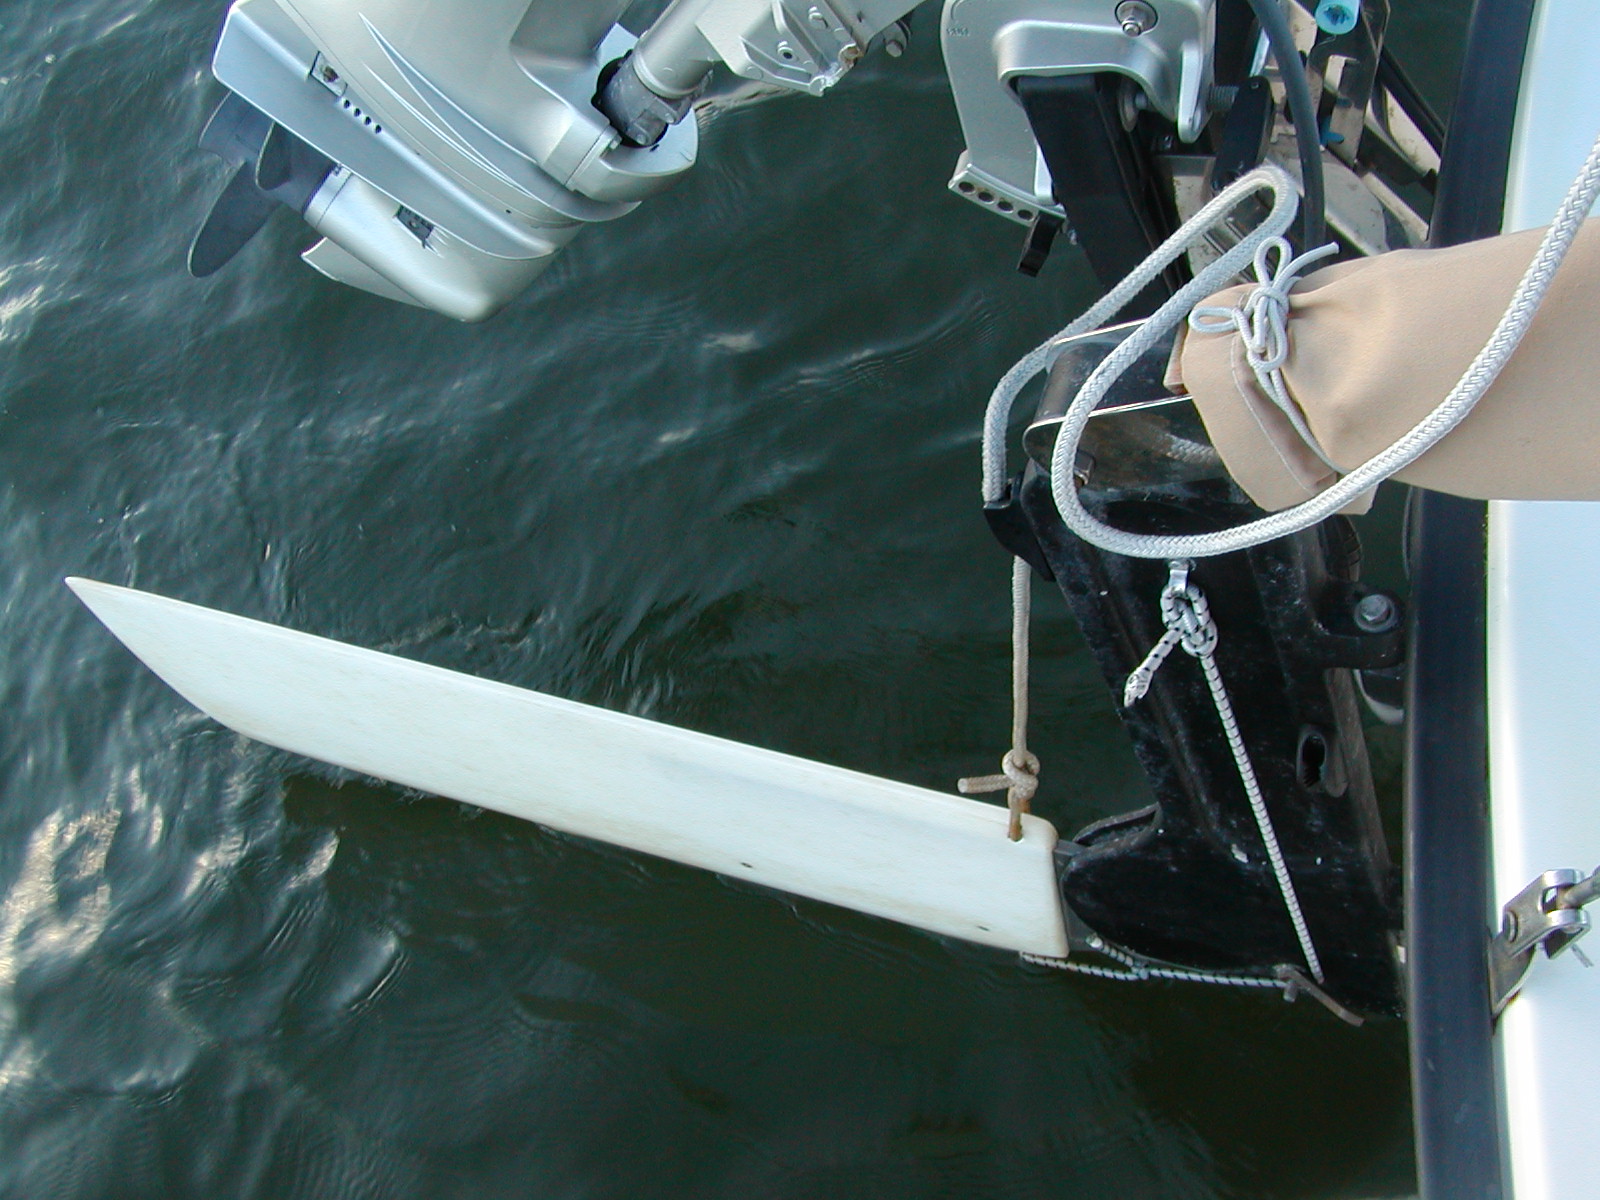
A lot of Compac sailors have made very strong positive comments about the IdaMarine foiled rudder. Claims include less tiller effort and better windward performance. There is a noticable improvement in tiller effort. We are able to point better, though the extent to which the rudder contributes is uncertain because in that same season we bought new headsails.
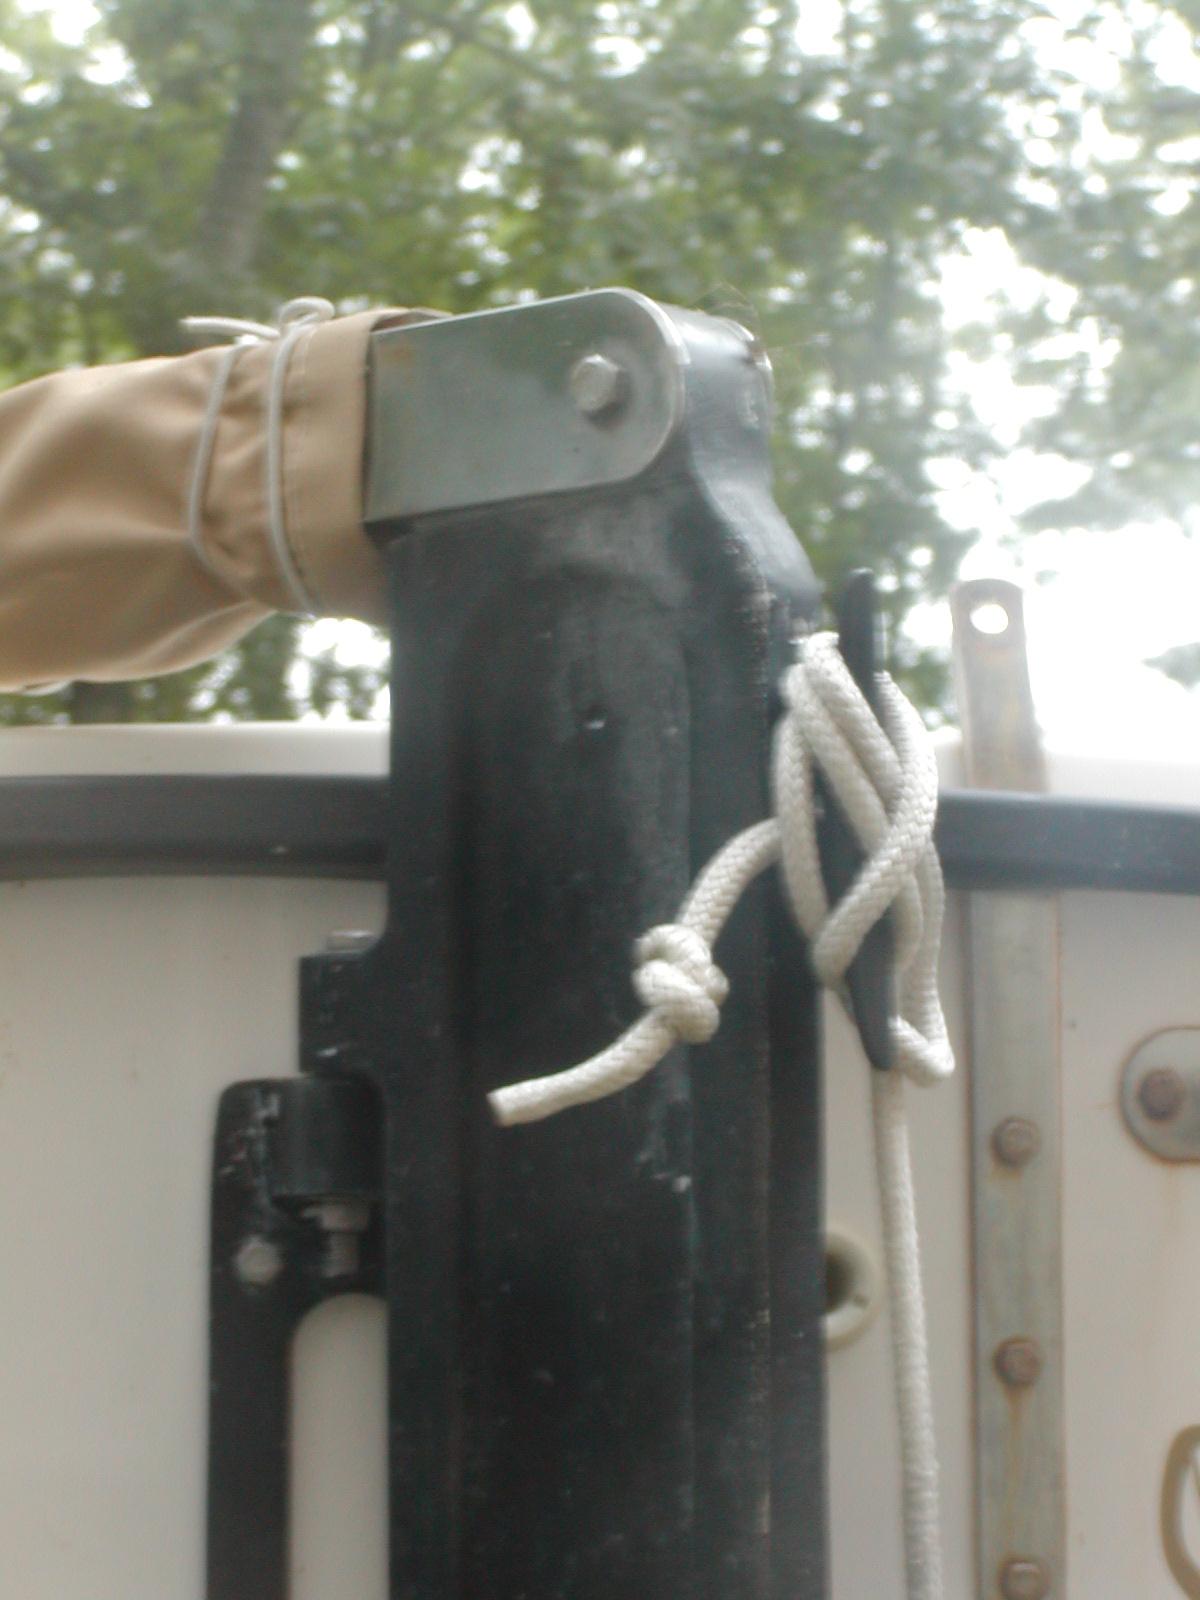
The rudder install is very simple. The only thing that needs to be added is some means to hold the rudder down. The rudder is nearly neutrally boyant and would tend to move aft from the pressure of the water. We added a small padeye, an open v-cleat and a short length of 1/4 inch shock cord. The shock cord is tensioned and put in the v-cleat to hold down, and freed from the v-cleat when the rudder is in the up position.
The v-cleat that Compac installed on the rudder stock was riveted in and pulled out. I replaced it with a horn cleat that was bolted into the aluminum rudder stock. Later I added a block making a 2:1 advantage for hauling up the rudder. The 2:1 makes it very easy to raise the rudder and cleat it off.
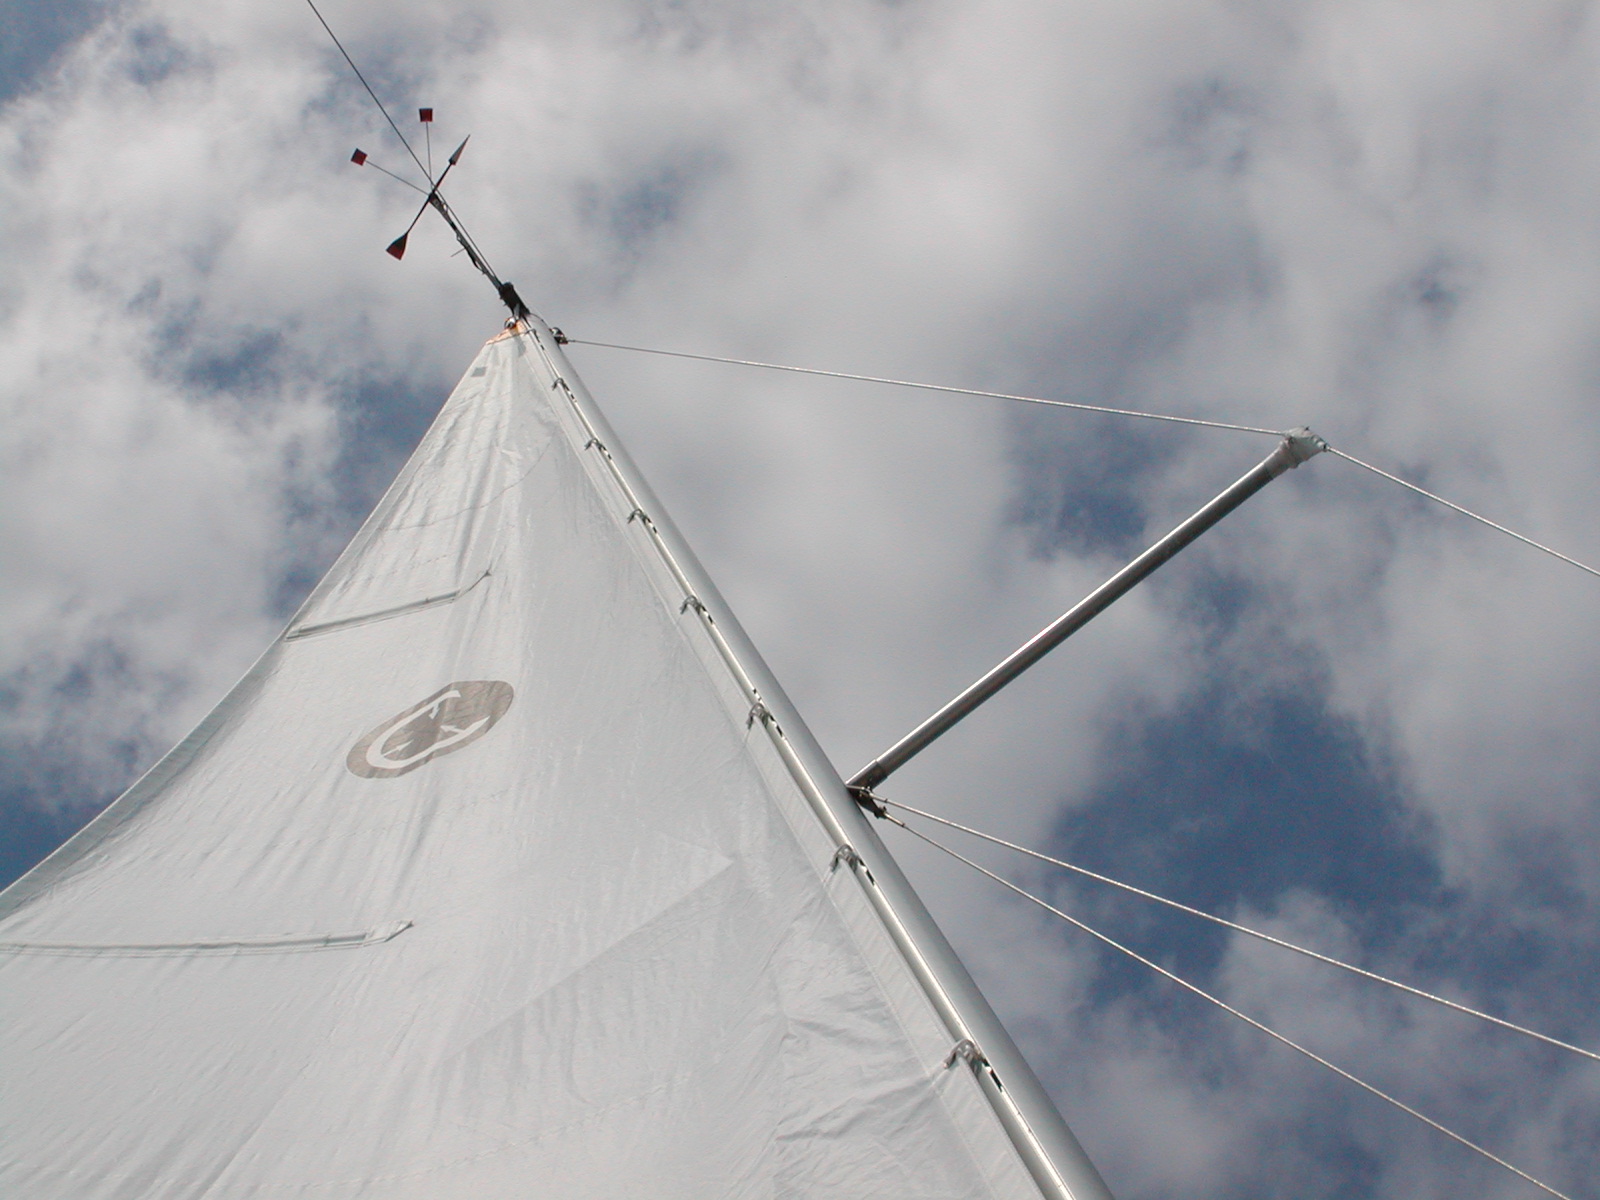
Apparently some people think a masthead fly is very useful and others claim that wool on the shrouds and telltales is all anyone needs. The wool doesn't have a reference on either side like the masthead fly and it doesn't have a dedicated light for night sailing. For fast tacking it is a big help. I wouldn't sail without one. The darn things are expensive for what you get and they are very fragile. The one shown in the photo lasted 5 years before breaking beyond repair. I replaced it. The light also broke but I would never pay $20 for that cheap peice of junk. I'm currently looking for a waterproof socket that I can put a standard bulb into to replace the light.
In 2003 I had various early season troubles which required either climbing or taking down the mast. I ended up taking the mast down. A fellow Compac sailor in North Carolina reported getting a halyard stuck sailing 30 miles from shore and couldn't go up the mast due to the swells. Incidents like this prompted me to buy mast steps in 2004 and then install them in 2005. I haven't sailed with them at the time of writing nor do I have any photos of the mast with the mast steps installed.
![]() Next Page: New sails and reef points
Next Page: New sails and reef points
![]()