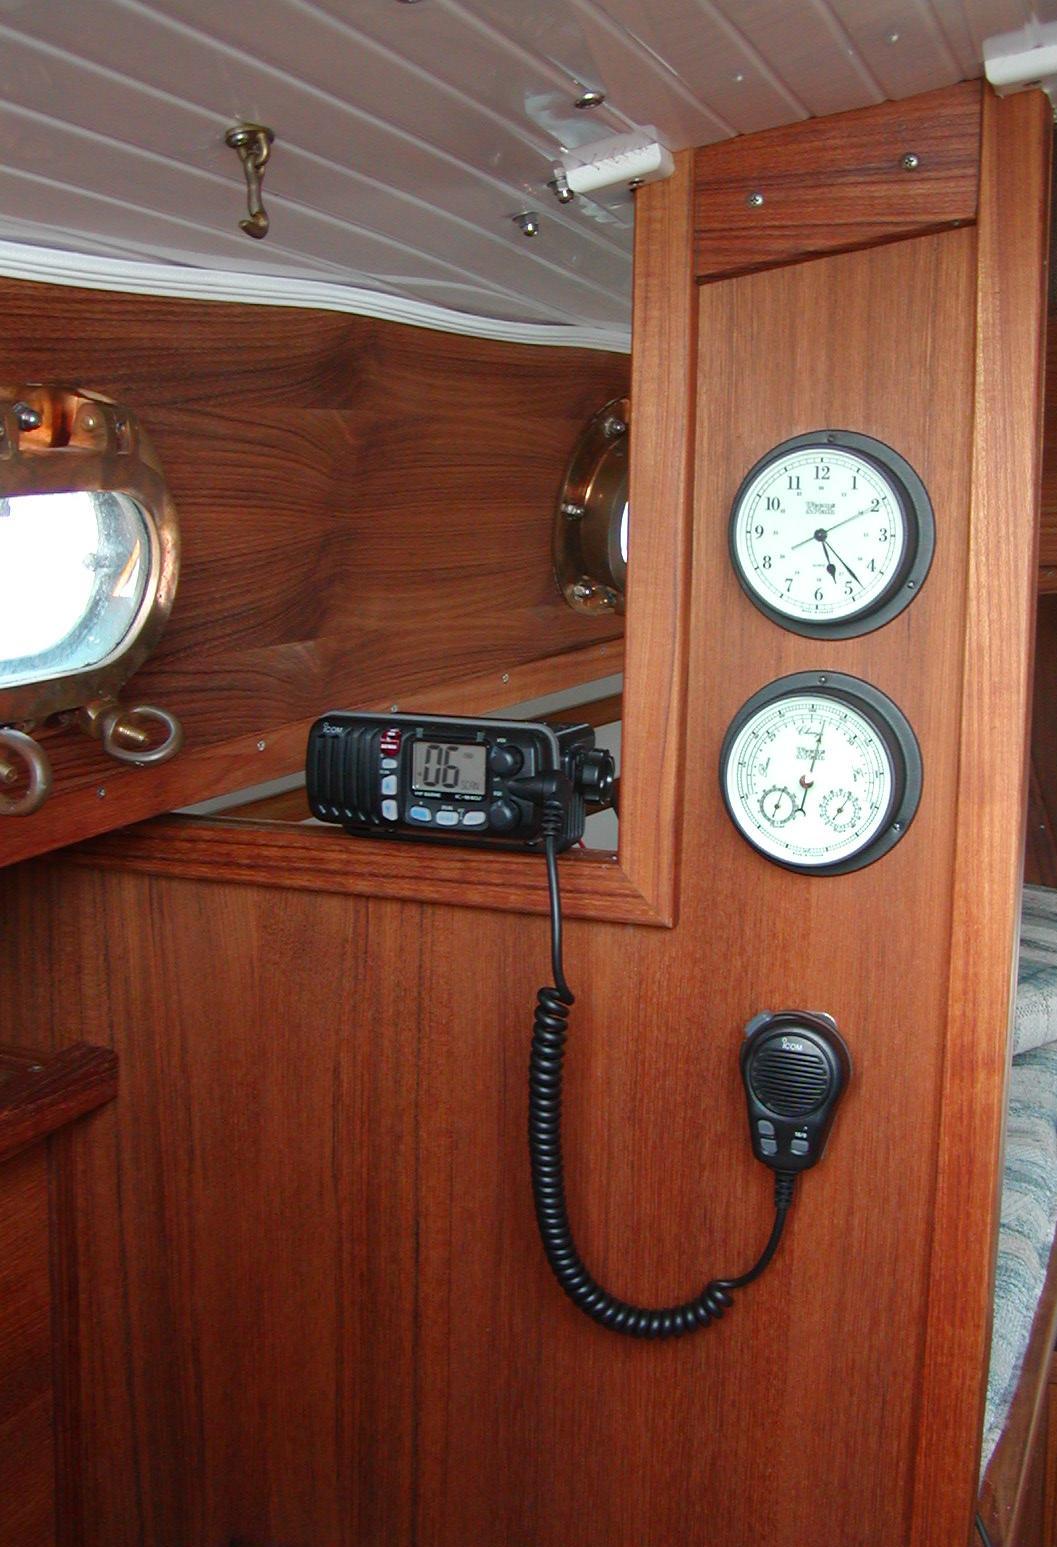
Adding a clock and barometer was just a matter of picking one, buying it, and mounting it with a few screws. These were first installed in 2002. Initially the only annoyance with these is that the clock didn't keep perfect time and the barometer may not have ever worked. To reset the time or to replace the batteries, the three mounting screws had to be removed and the clock taken off and then mounted again. This was a cheap set, the Weems & Plath "nightwatch" set.
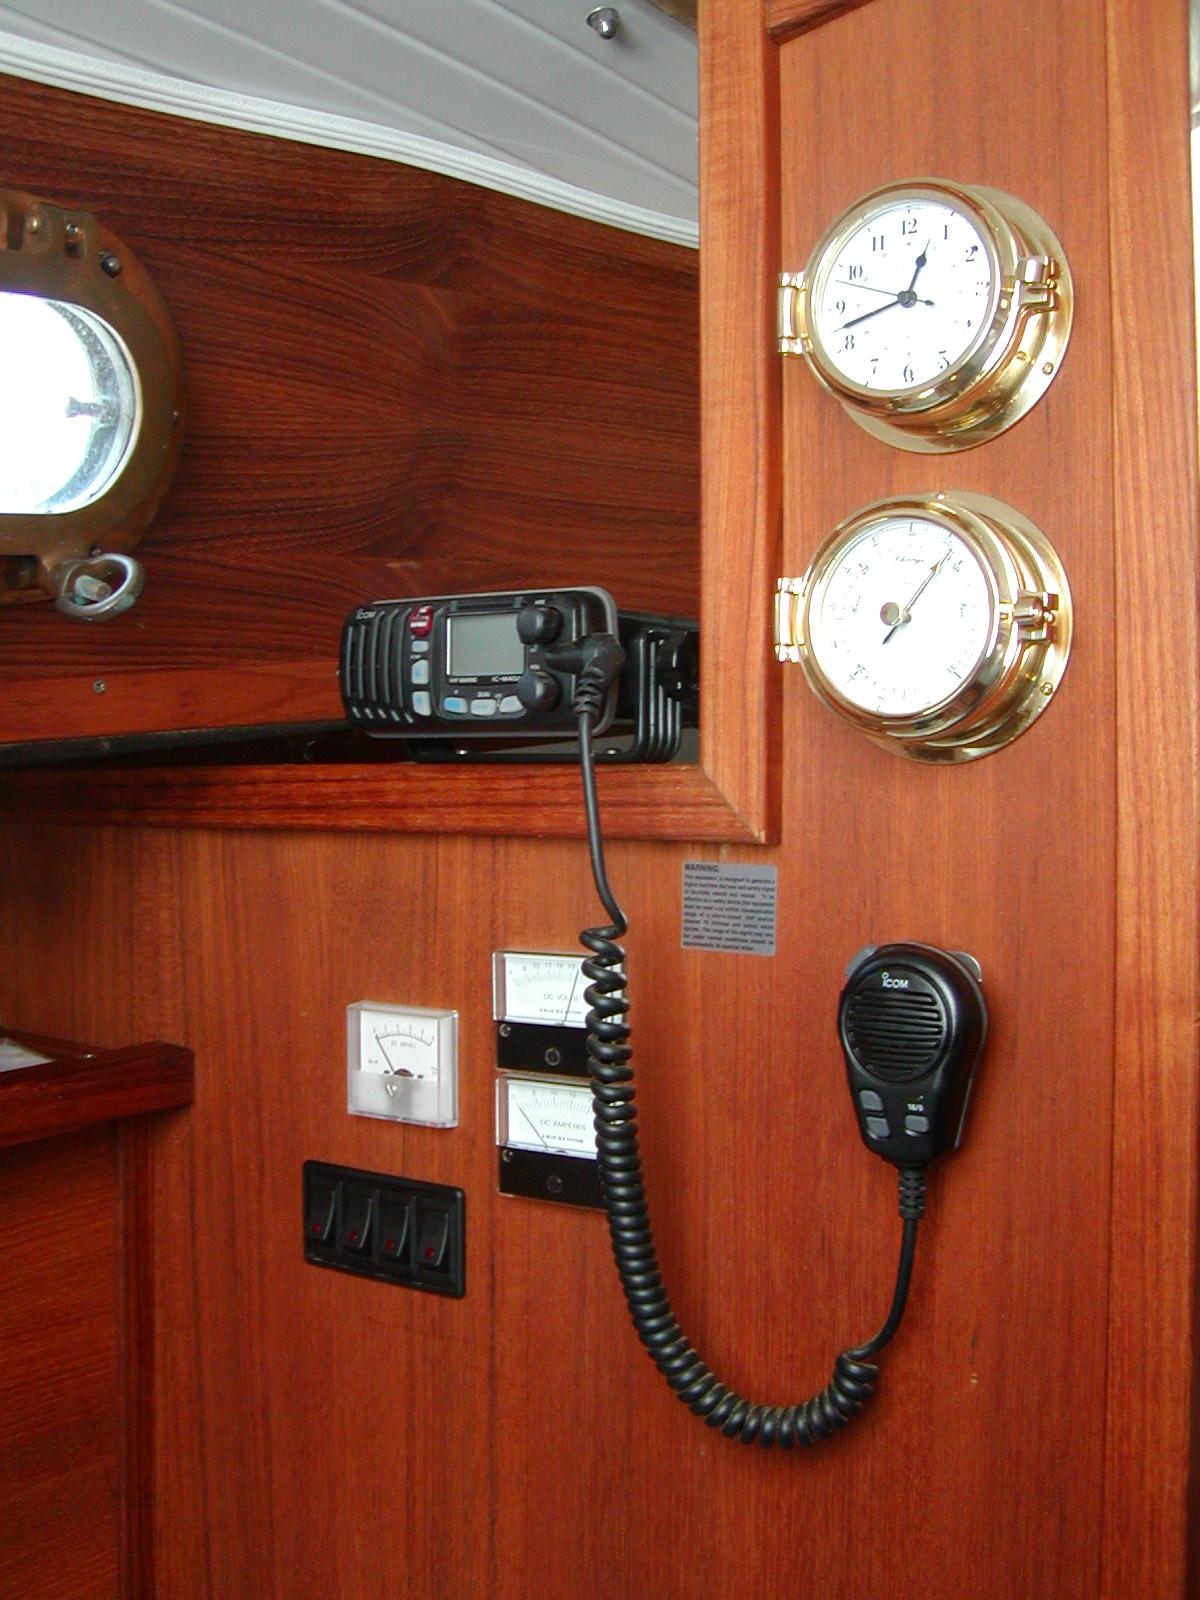
The original barometer may never have worked and the clock seemed to self destruct after a few years. These were replaced in 2005 with the much better quality Weems & Plath "cutter" set. The new ones are all metal cases and the clock mechanism is clearly a better quality. Hopefully these will last much longer than the first set.
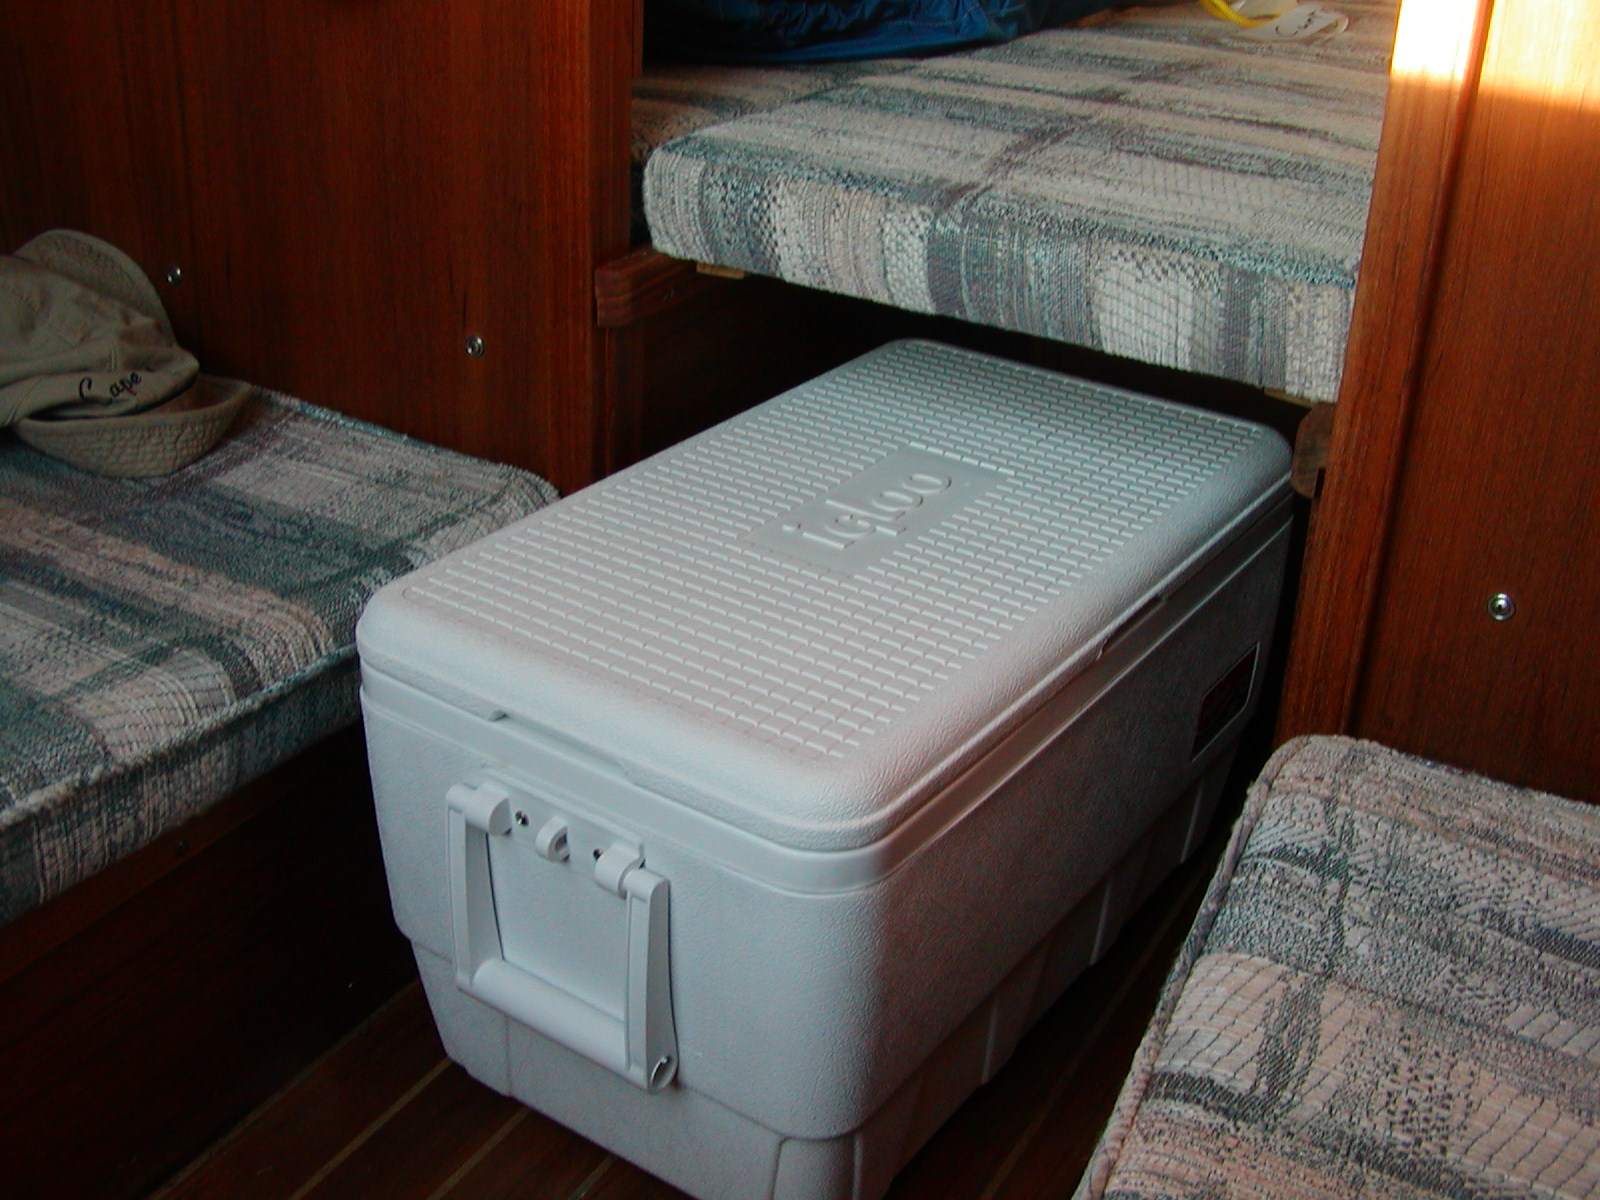
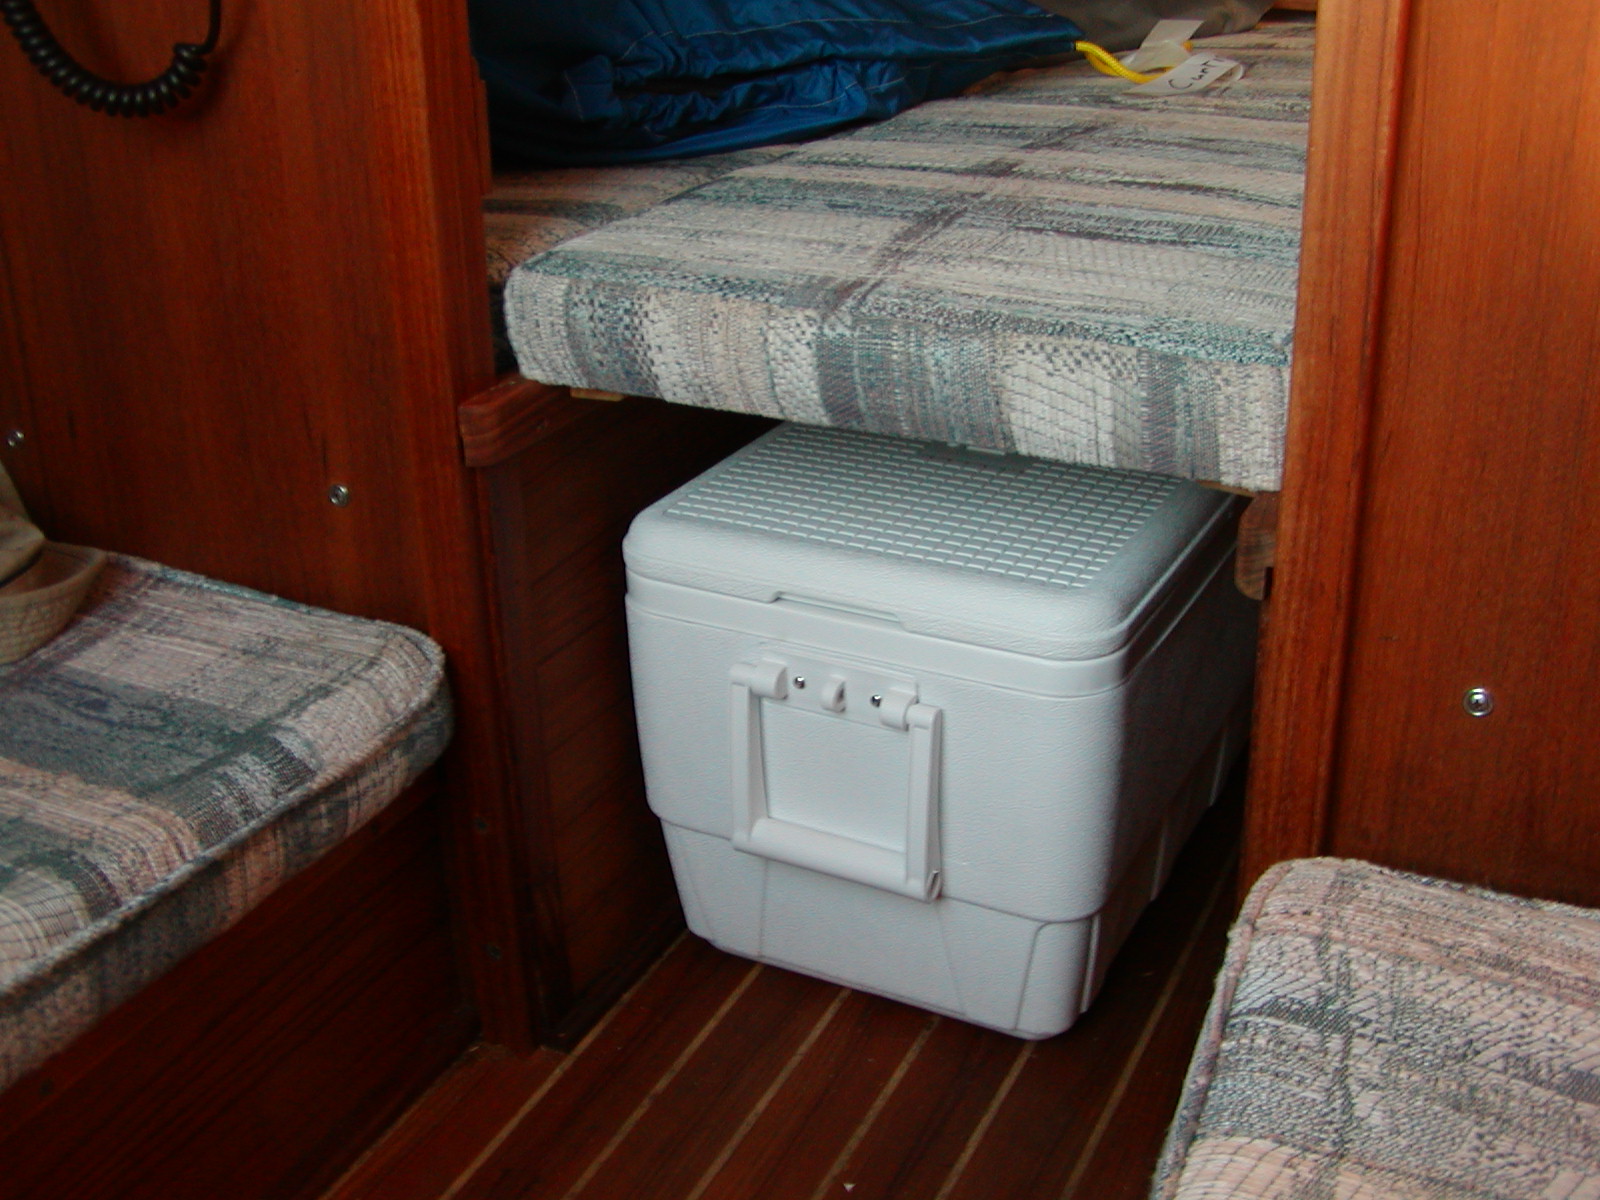
A marine cooler which is better insulated may provide longer cold storage than the one we originally used. The one we initially used was made by Rubbermaid and seems to have reasonable insulation but not enough to store ice for a day or two. Both fit nicely under the stairs (until we put the 8D battery there) and fit nicely in the v-berth area, though it can slide aft quite easily.
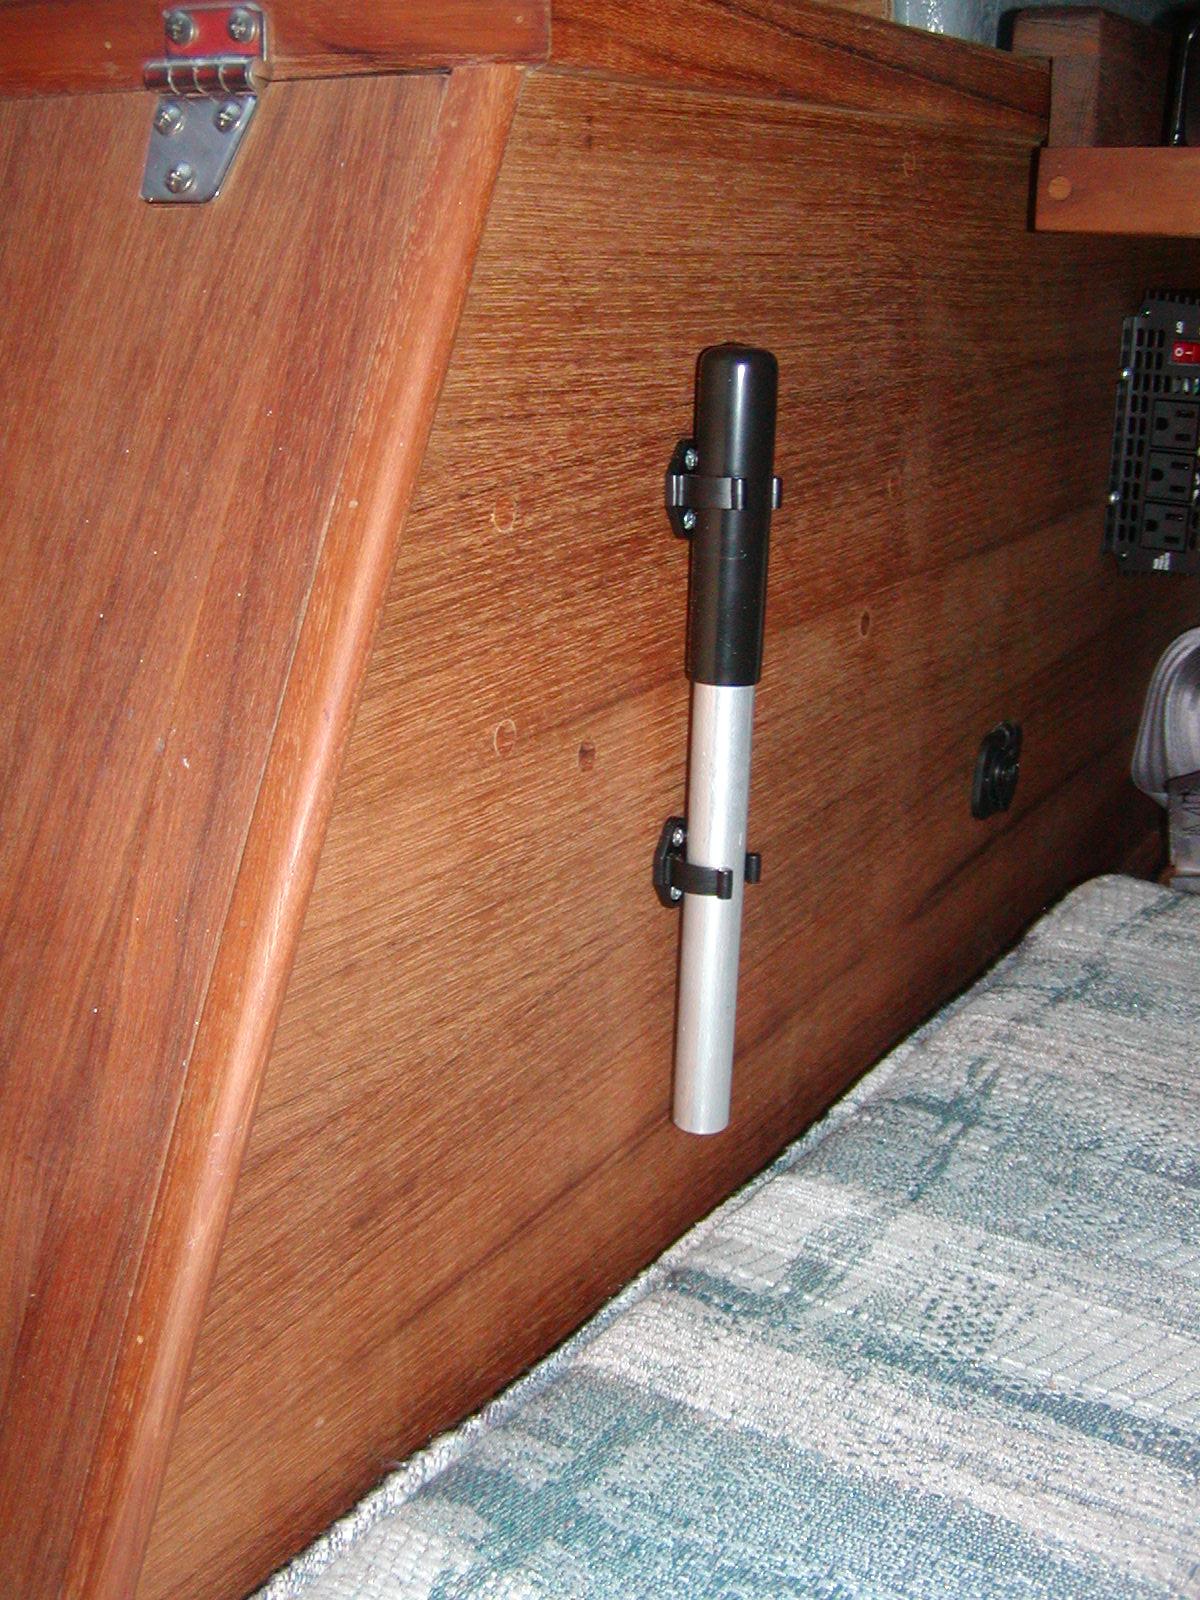
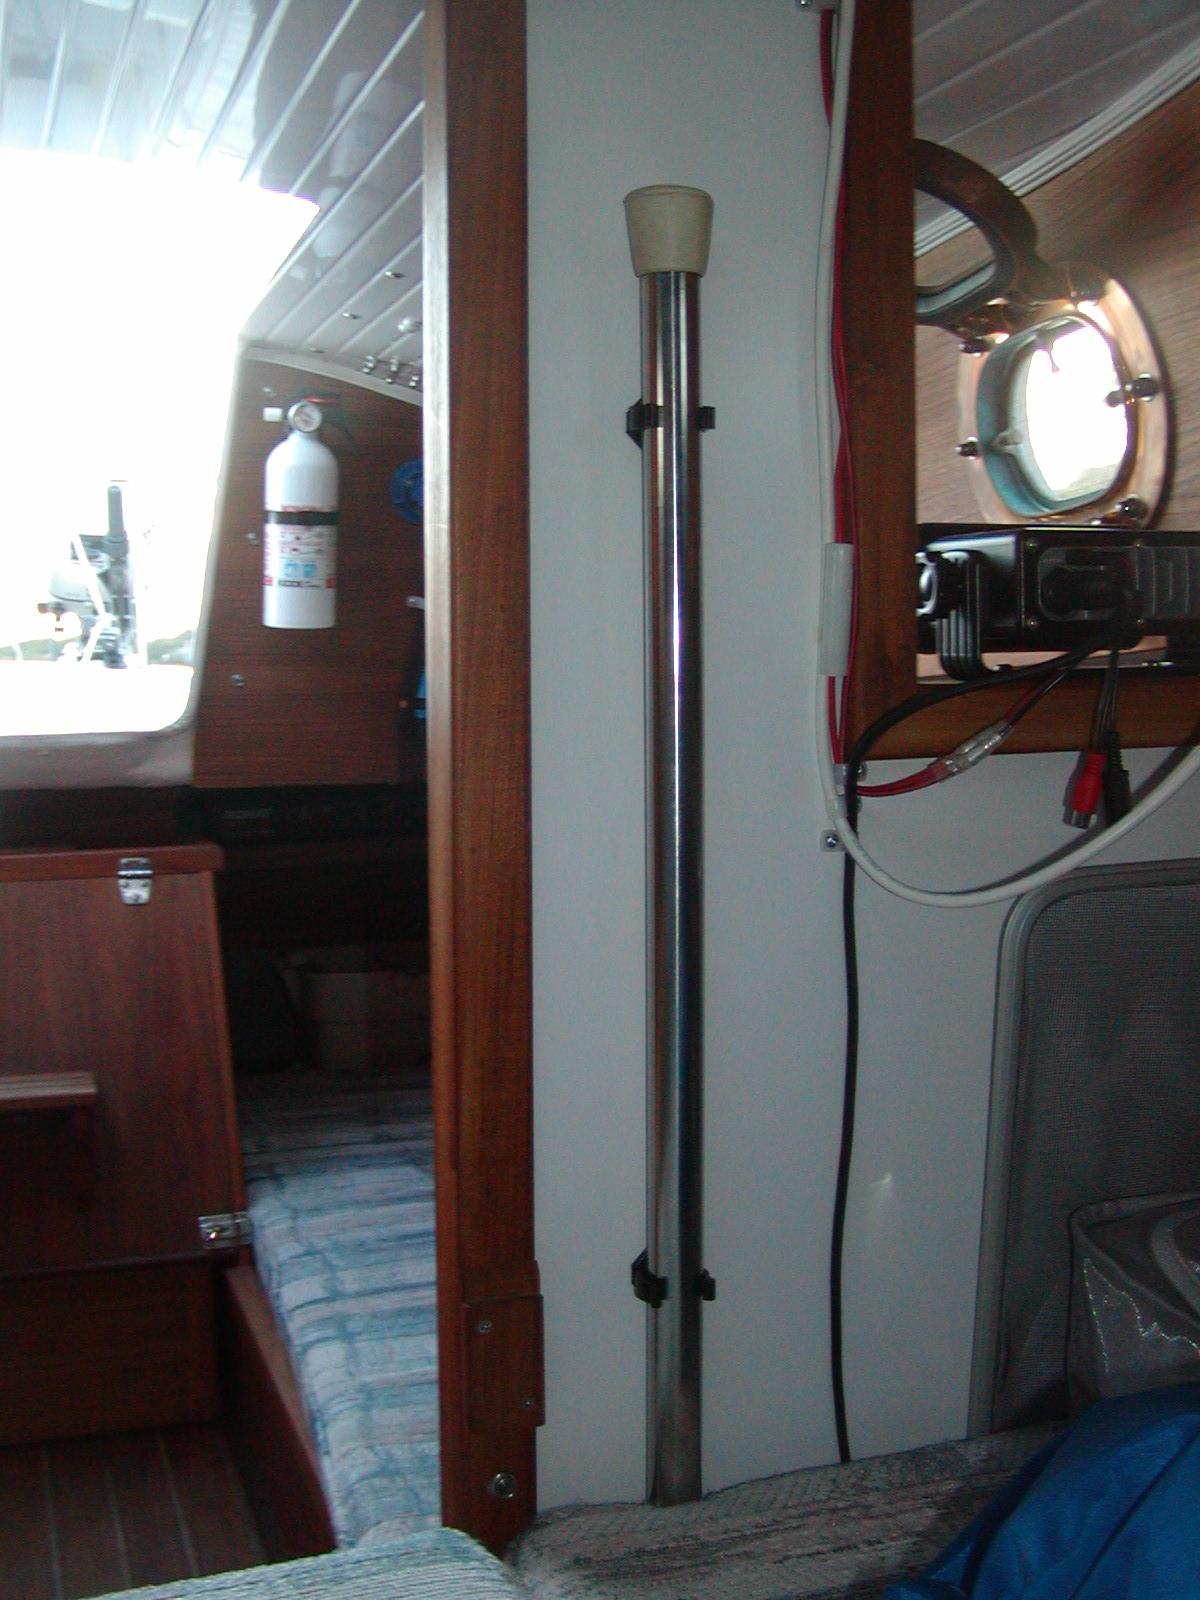
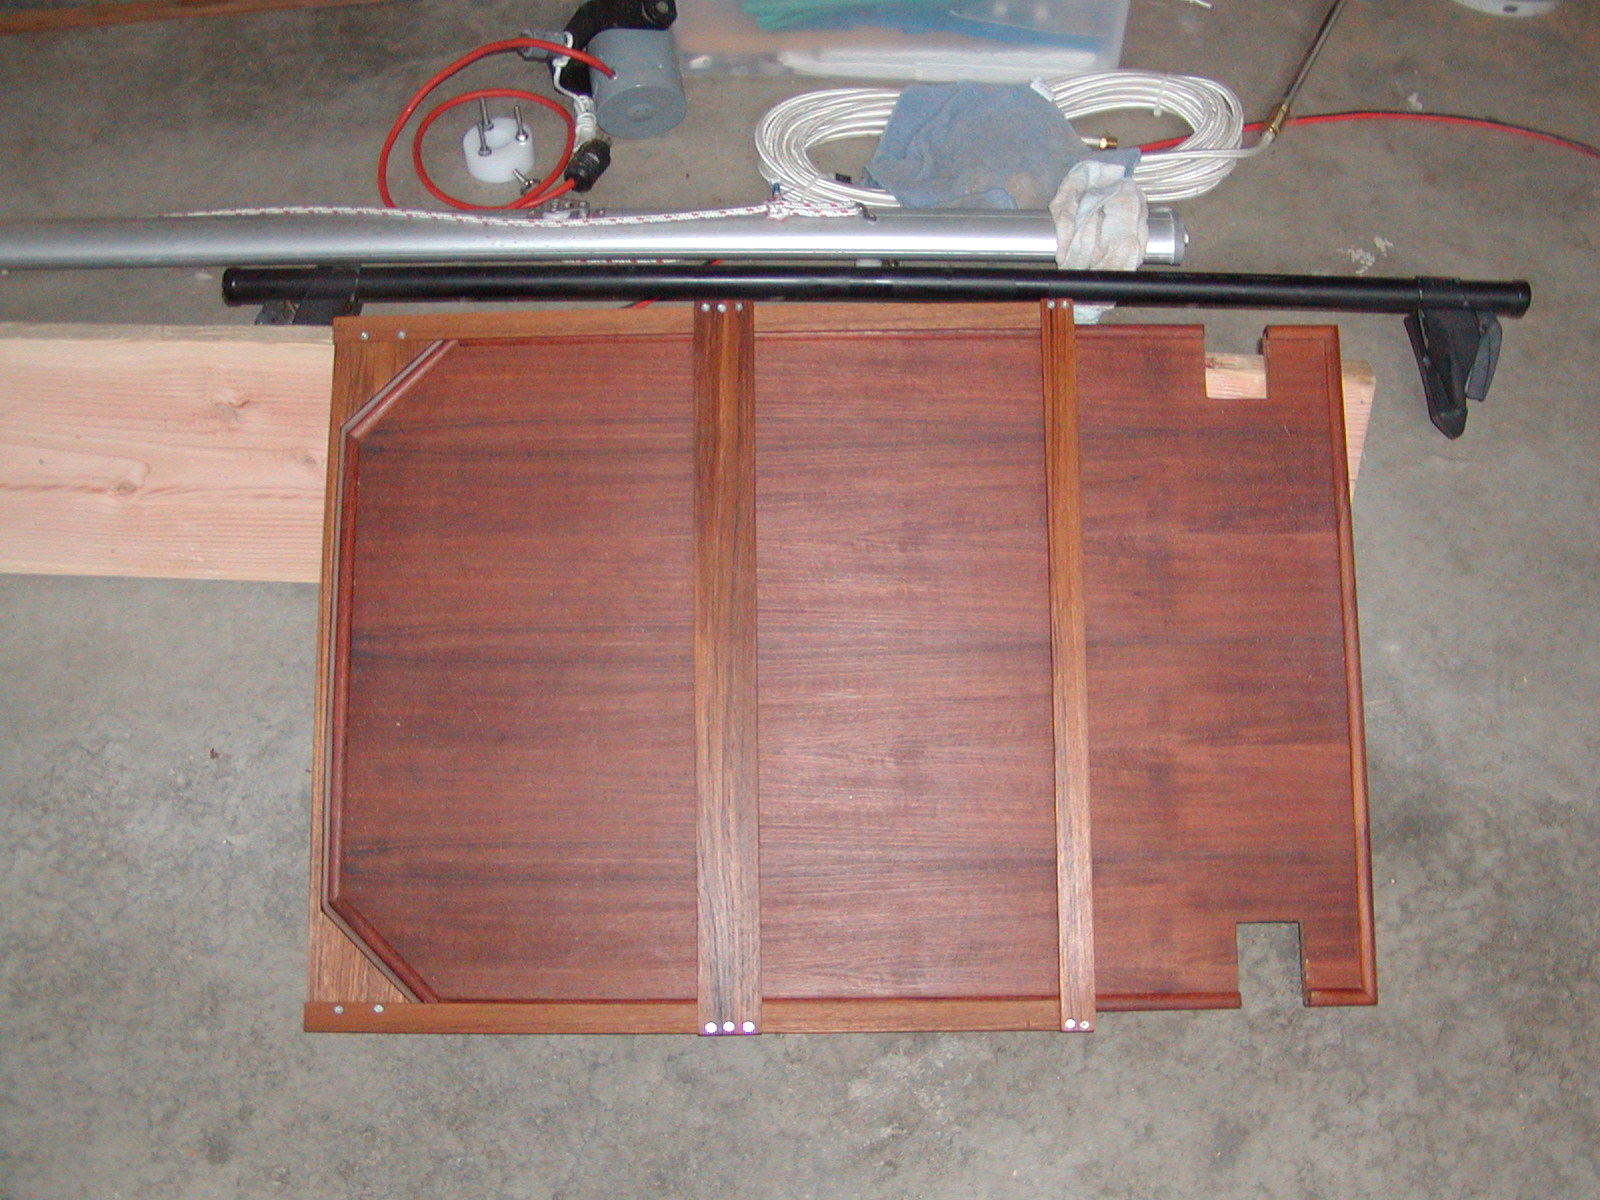
West Marine has a variety of holding clips. The 3/4 inch and one inch clips were good sizes for the the bilge pump handle and table leg. These just screw into place.
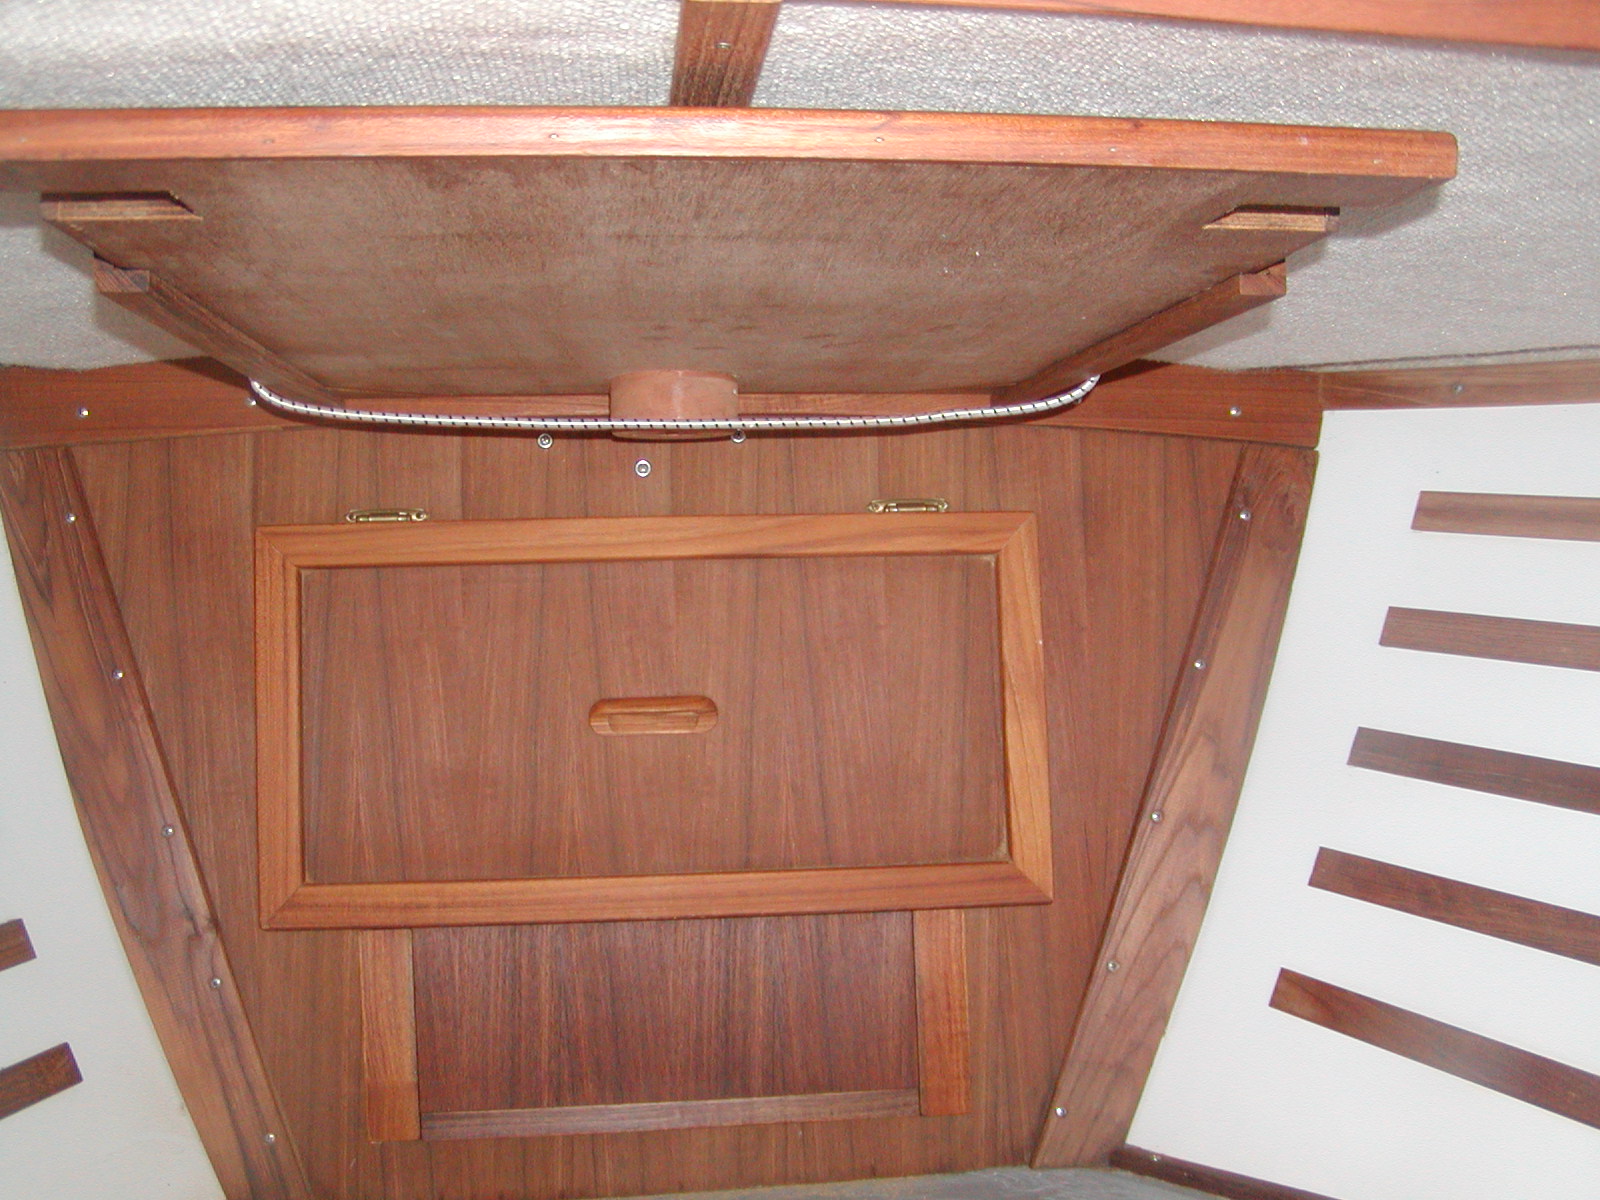
The table top is stored on teak slides mounted to the top of the v-berth area that is under the foredeck. This is convenient because it is close to where the table is used. The handle is also nearby. Both the handle and the table itself are well secured and out of the way.
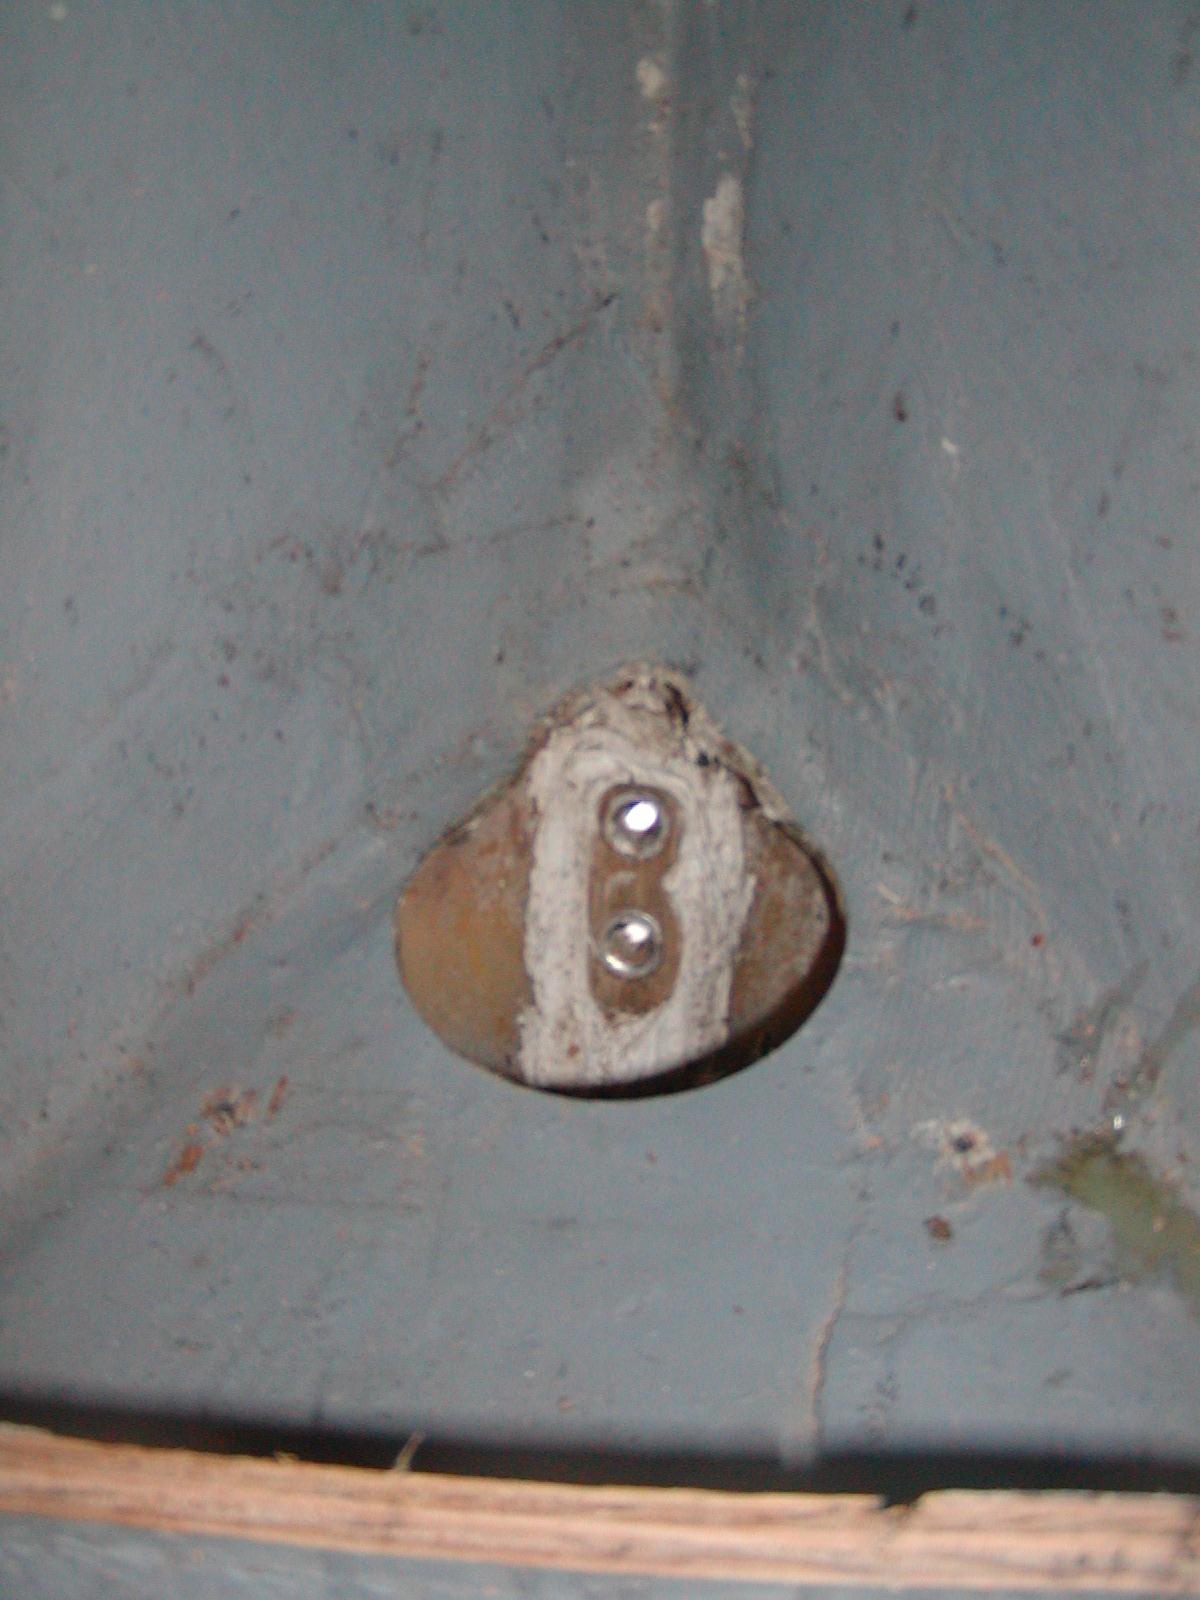
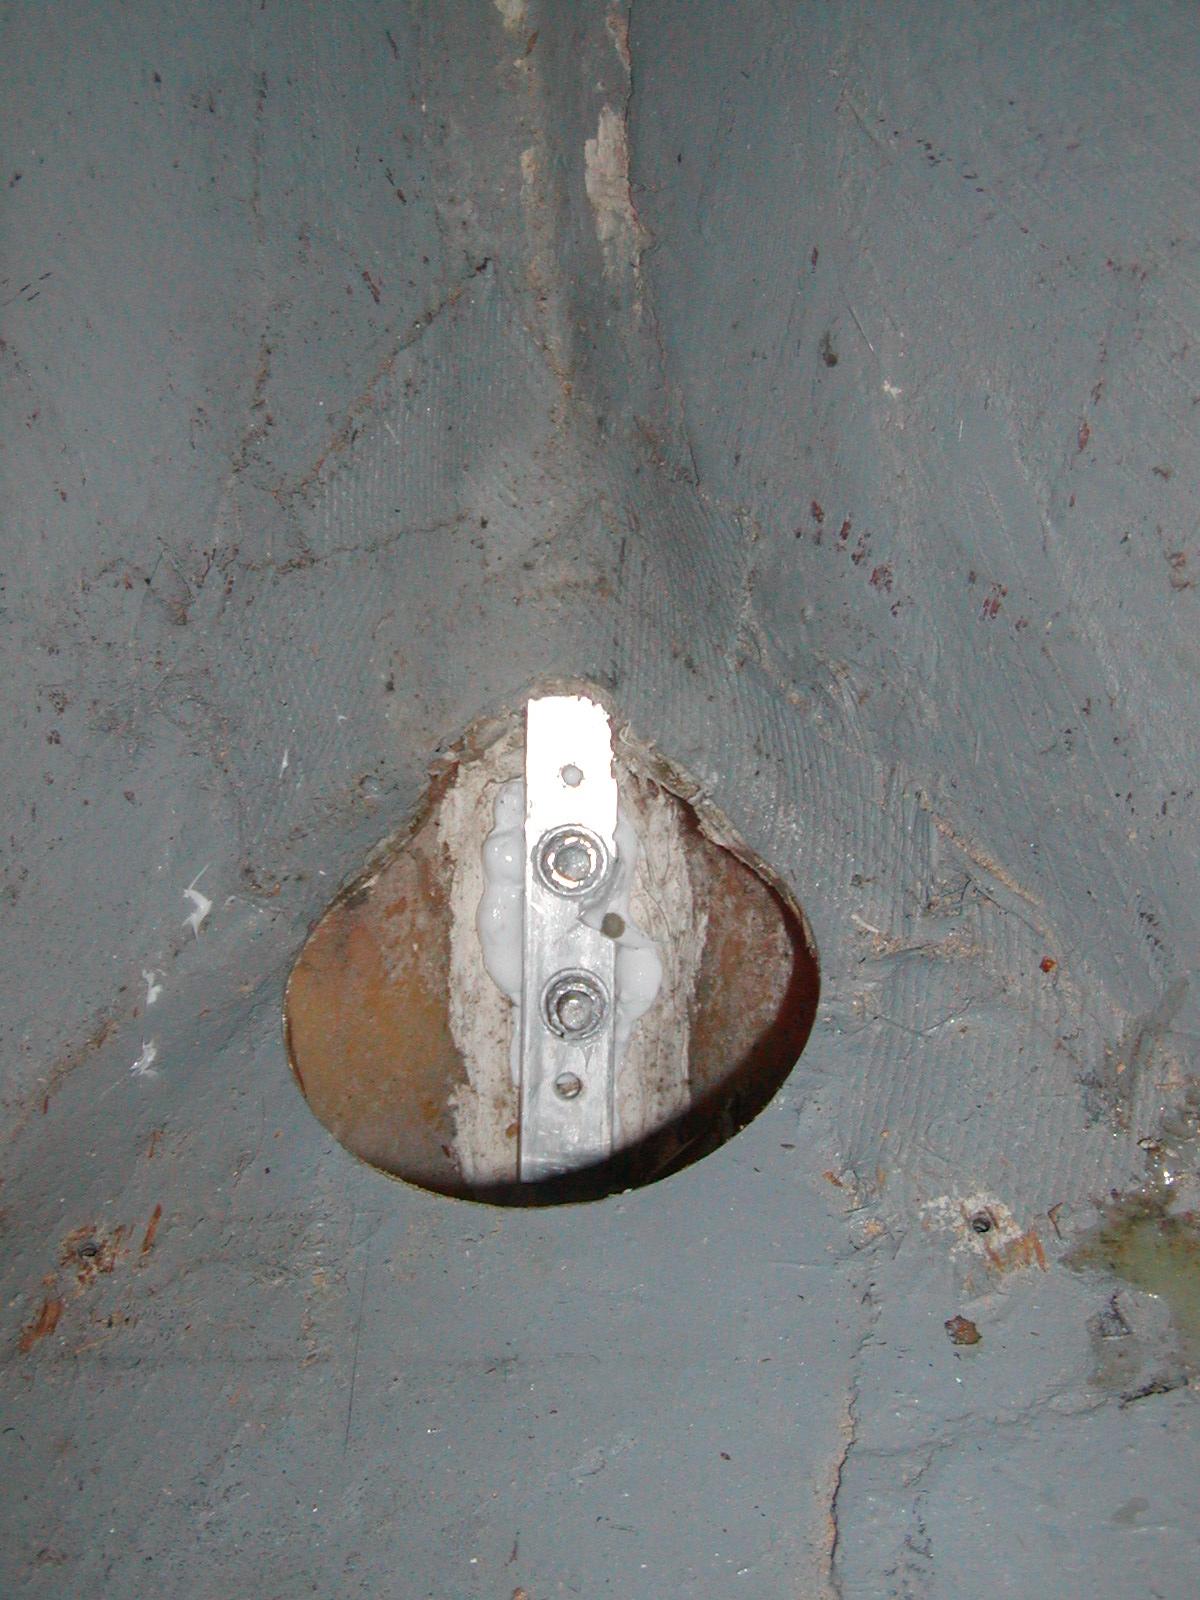
The two photos show the back of the towing eye on the bow before and after putting a backing plate in place. The towing eye had pulled out nearly 1/4 inch. The prior backing was a pair of washers that had bent badly and compressed themselves into the wood. The new backing was a 1/8" x 1" aluminum bar cut to about 5" long. This will both be harder to bend and the larger surface area is not very likely to get pulled into the wood backing.
When the Group 8D battery was placed under the companionway some simple custom cabinetry was built to make the most of the remaining storage space. Part of the cabin sole was cut away to provide better access to the bilge sump and the bilge pump hoses. Currently we don't have any photos of that cutaway in the flooring. Access to the bilge without moving the 160 pound battery is important.
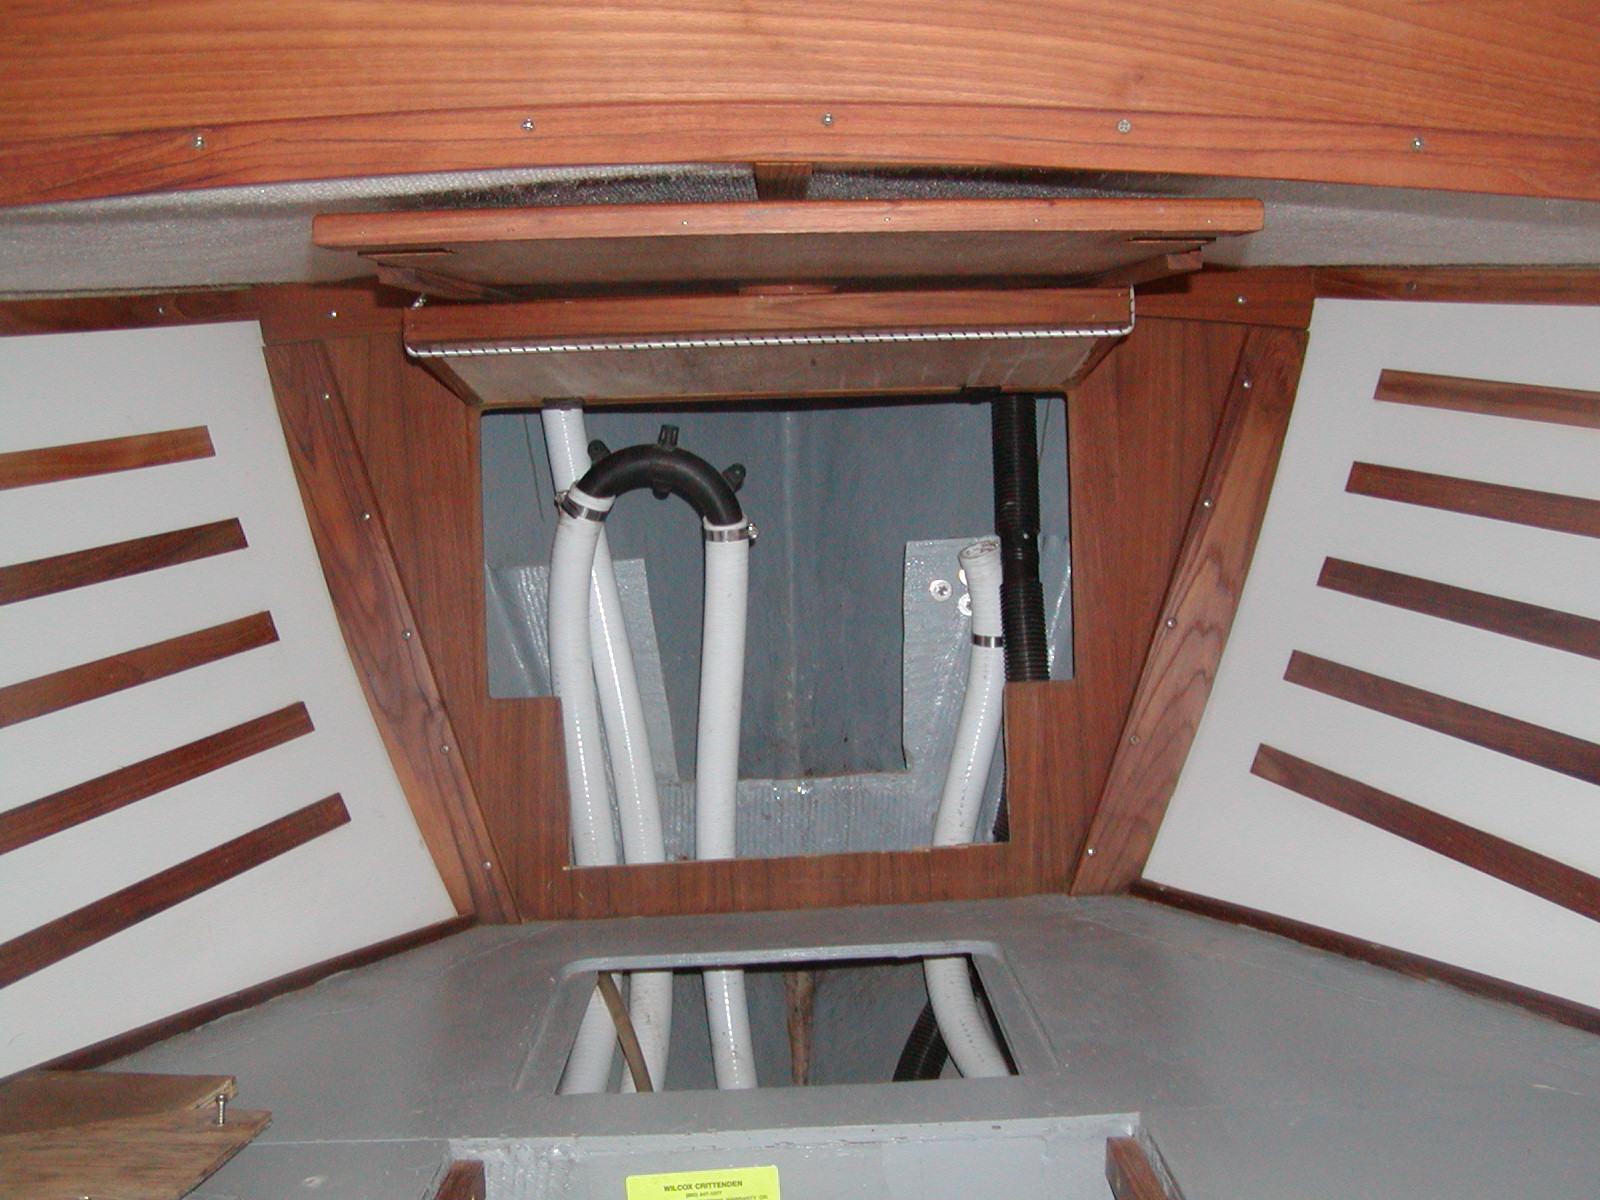
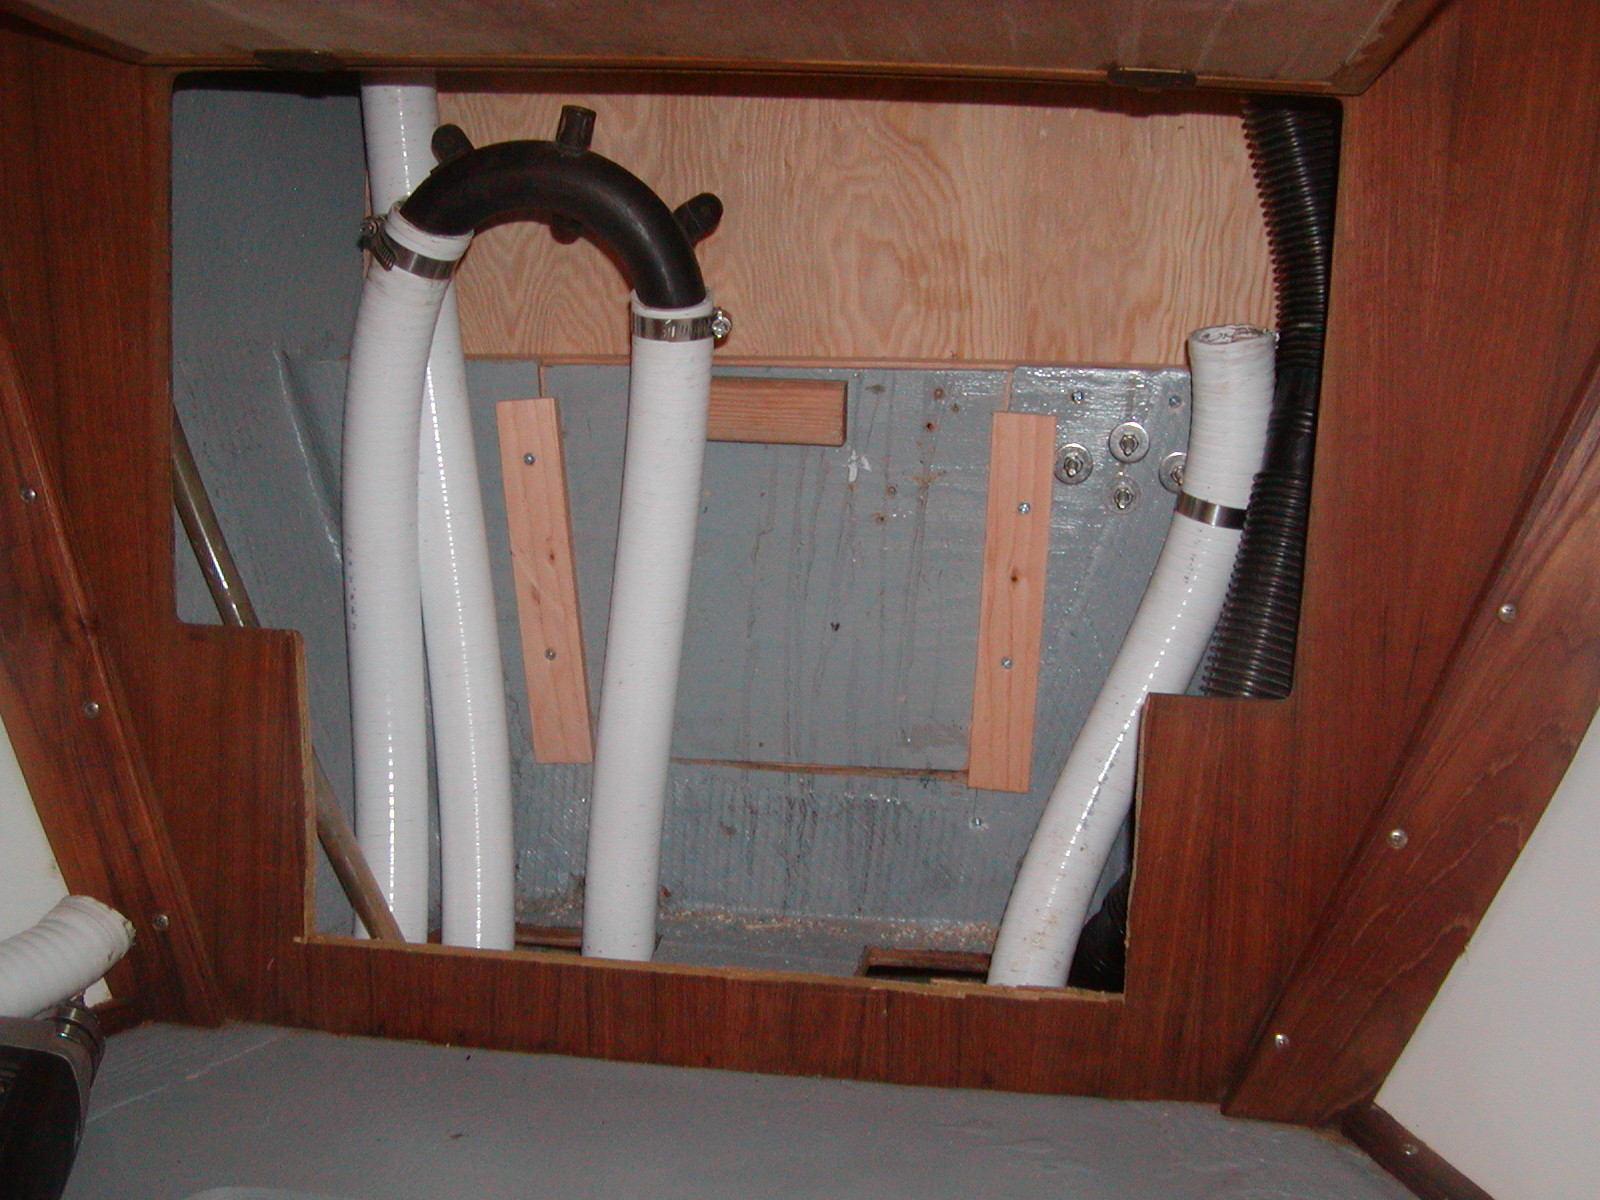
The towing eye on the bow needed to be removed and replaced with better backing (a metal bar was used rather than just washers). When this was done the access was improved to the chain locker and the entire area forward of the v-berth. The photos show the changes to the chain locker and area forward of the v-berth.
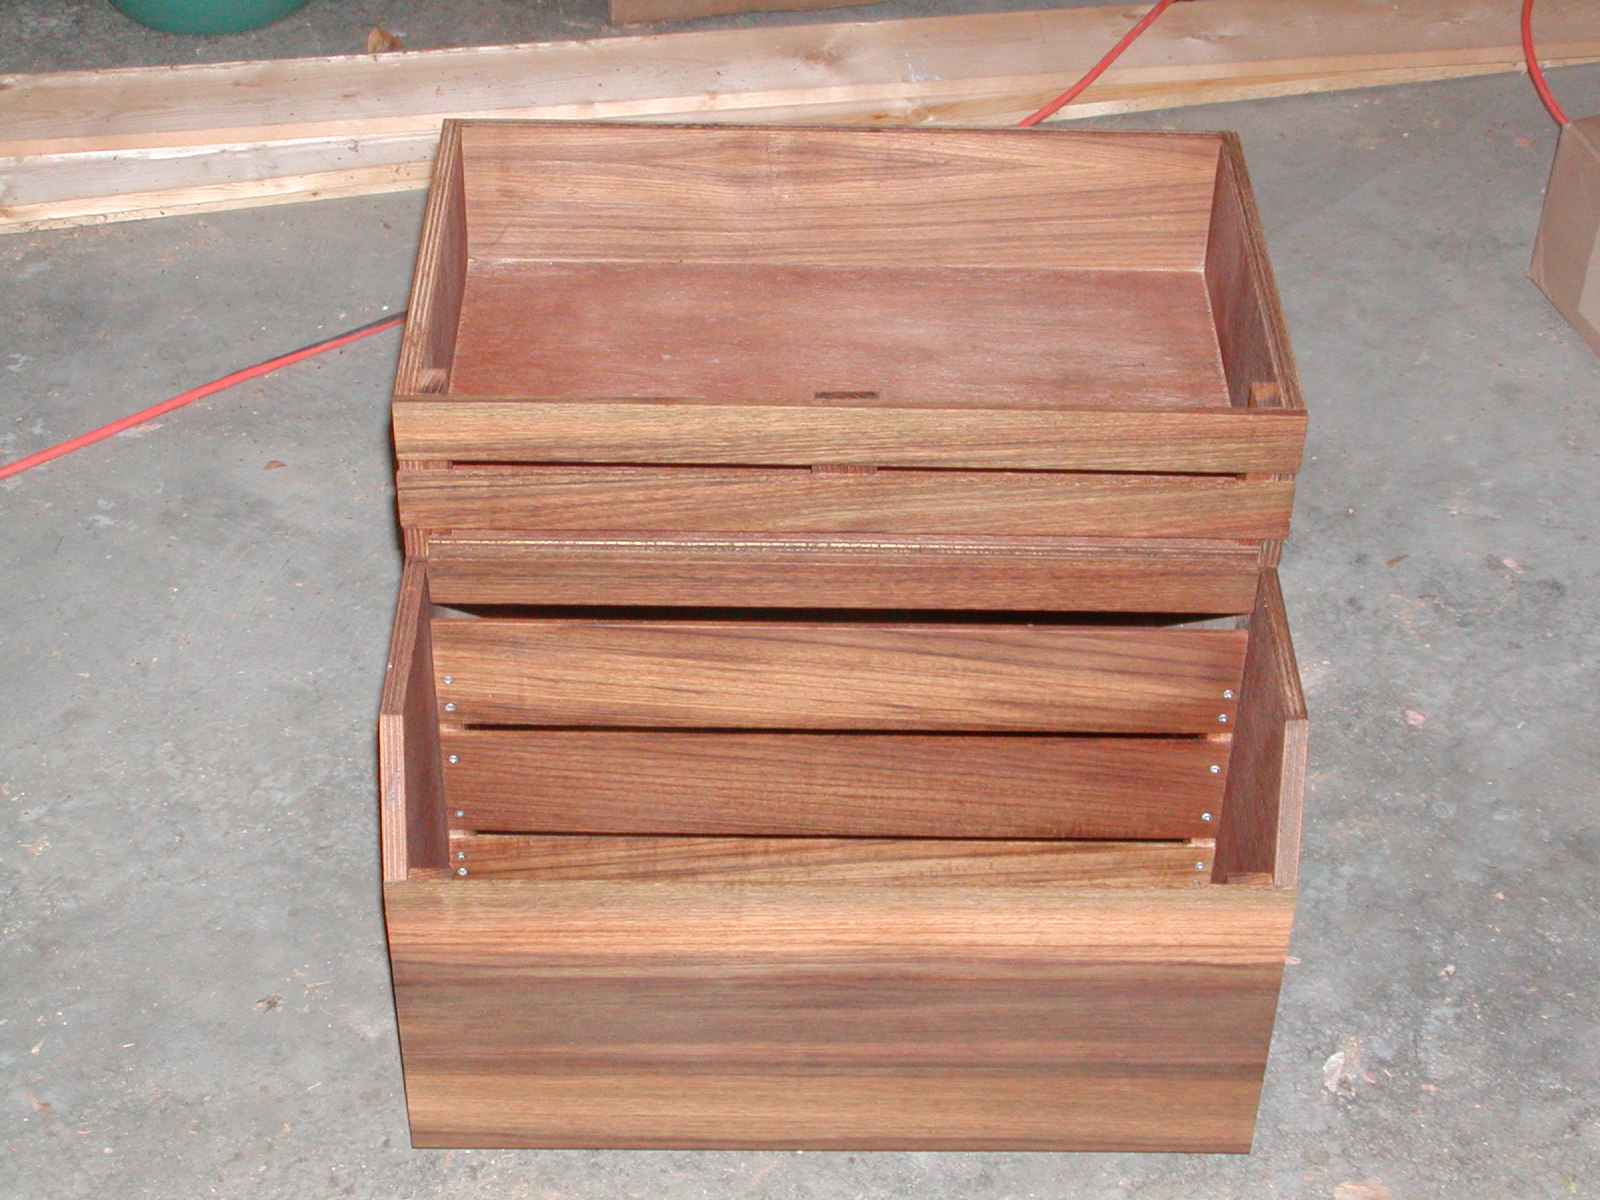
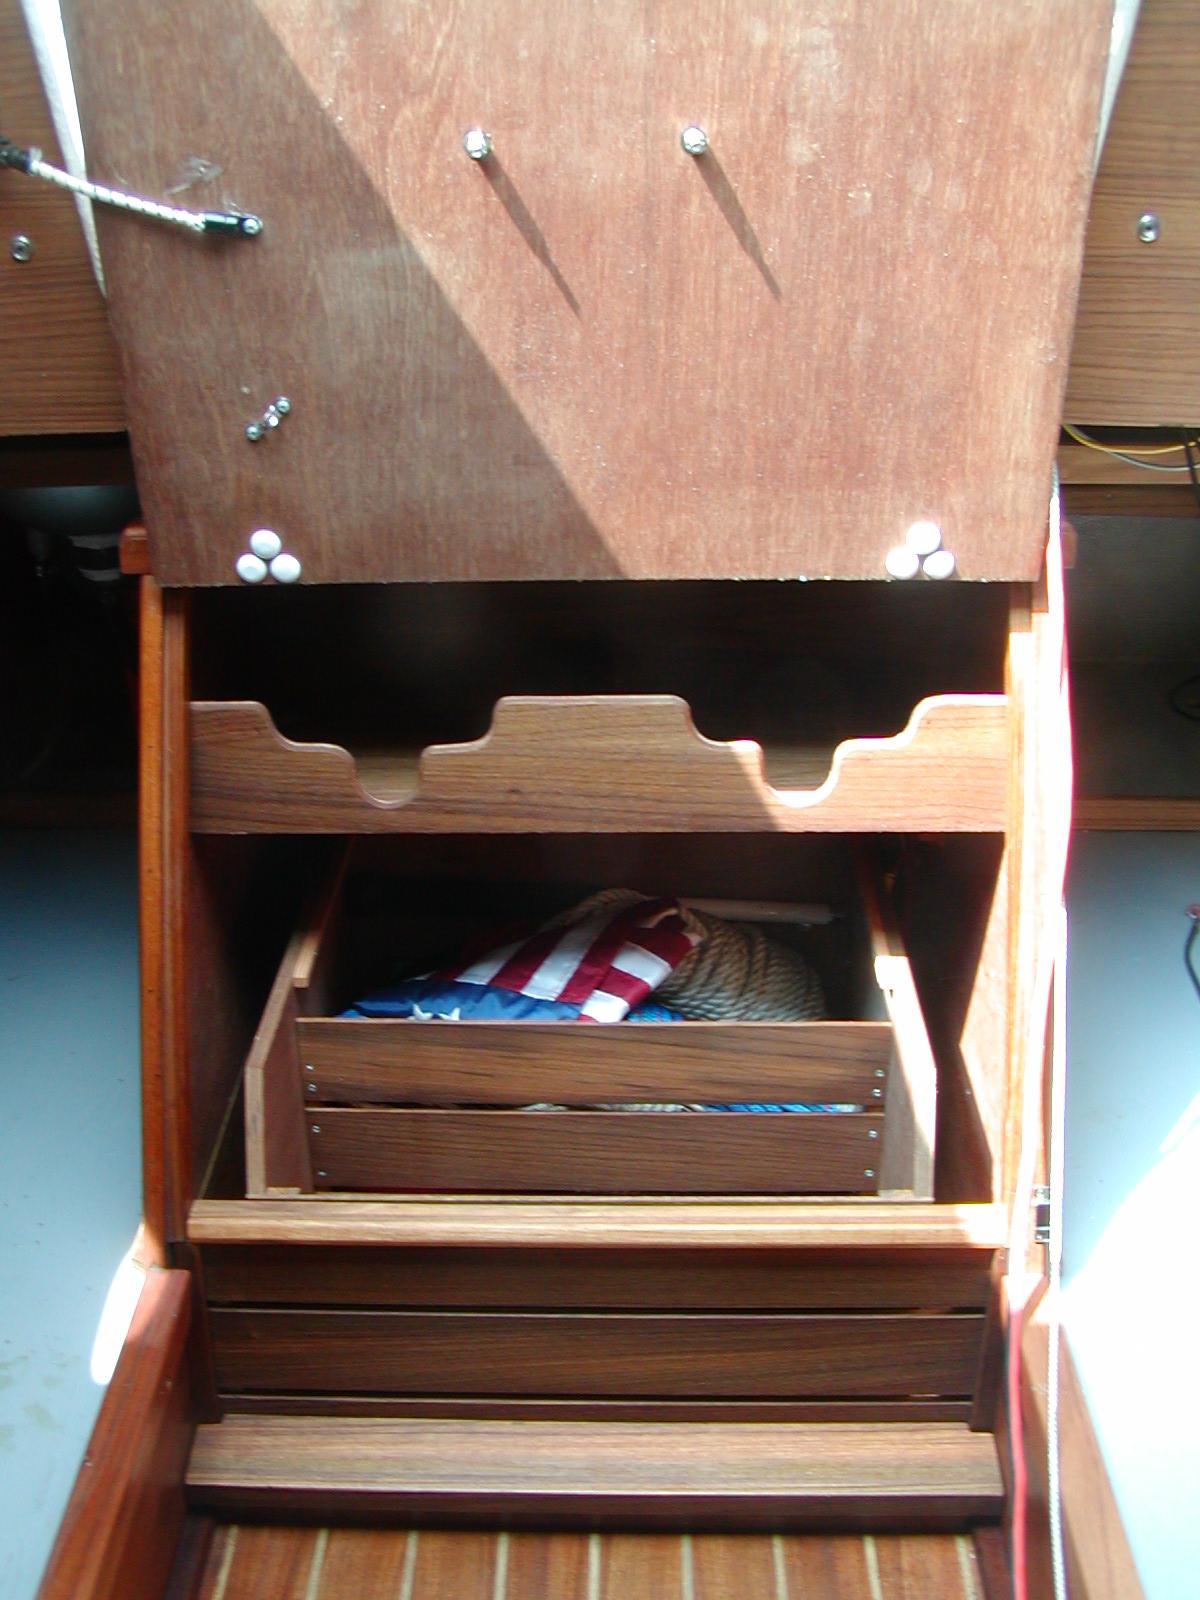
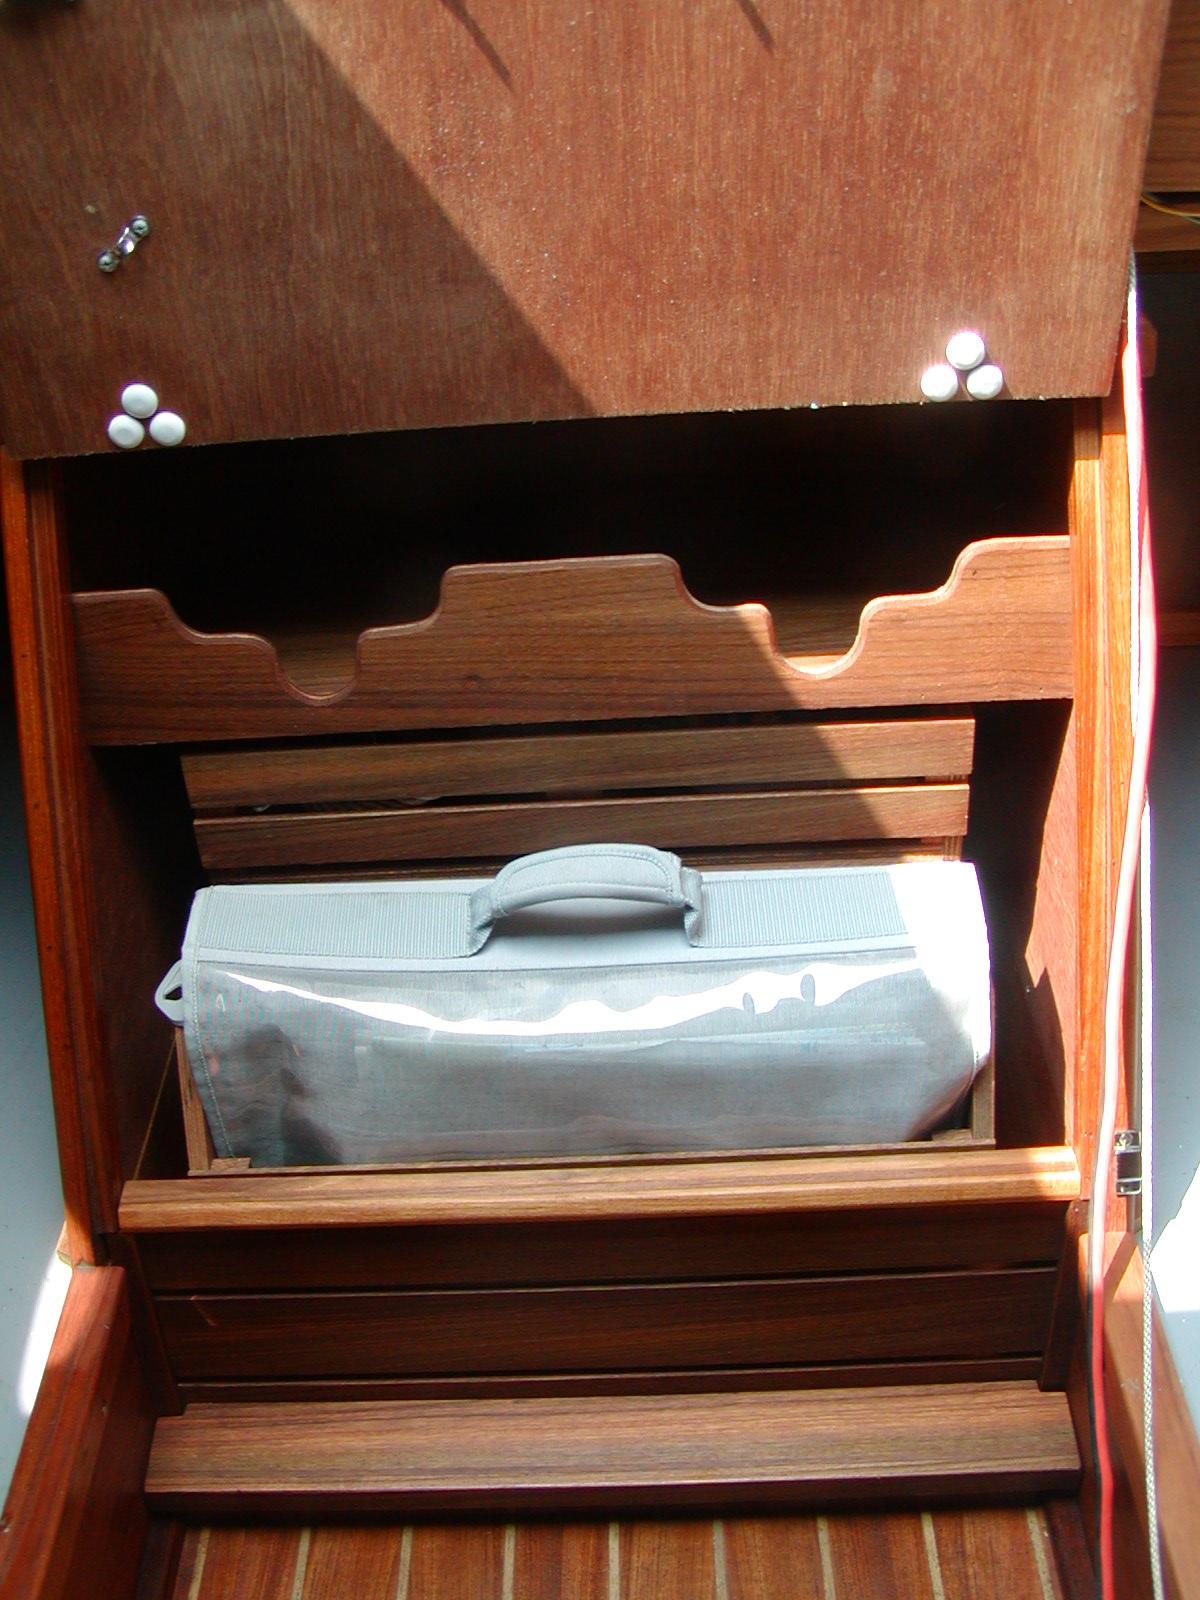
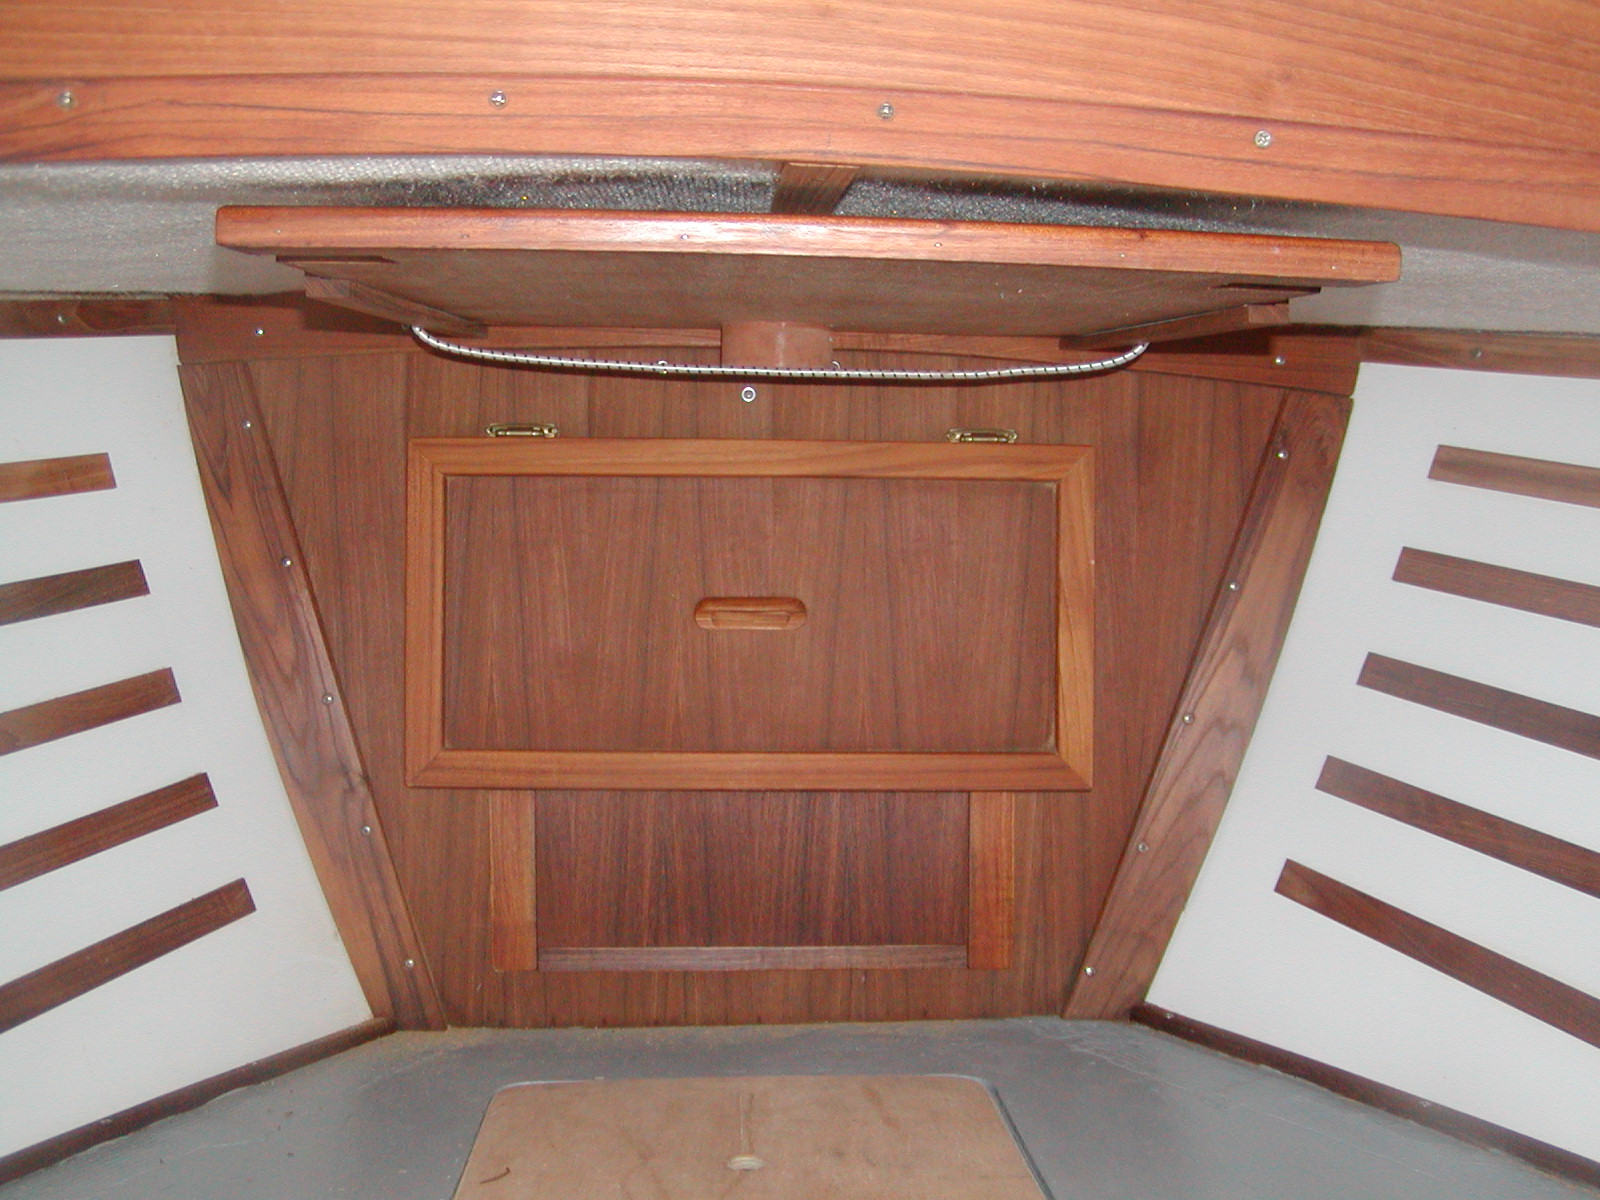
Our Compac came with a wooden box which fit under the companionway stairs. After adding the 8D battery, it no longer fit.
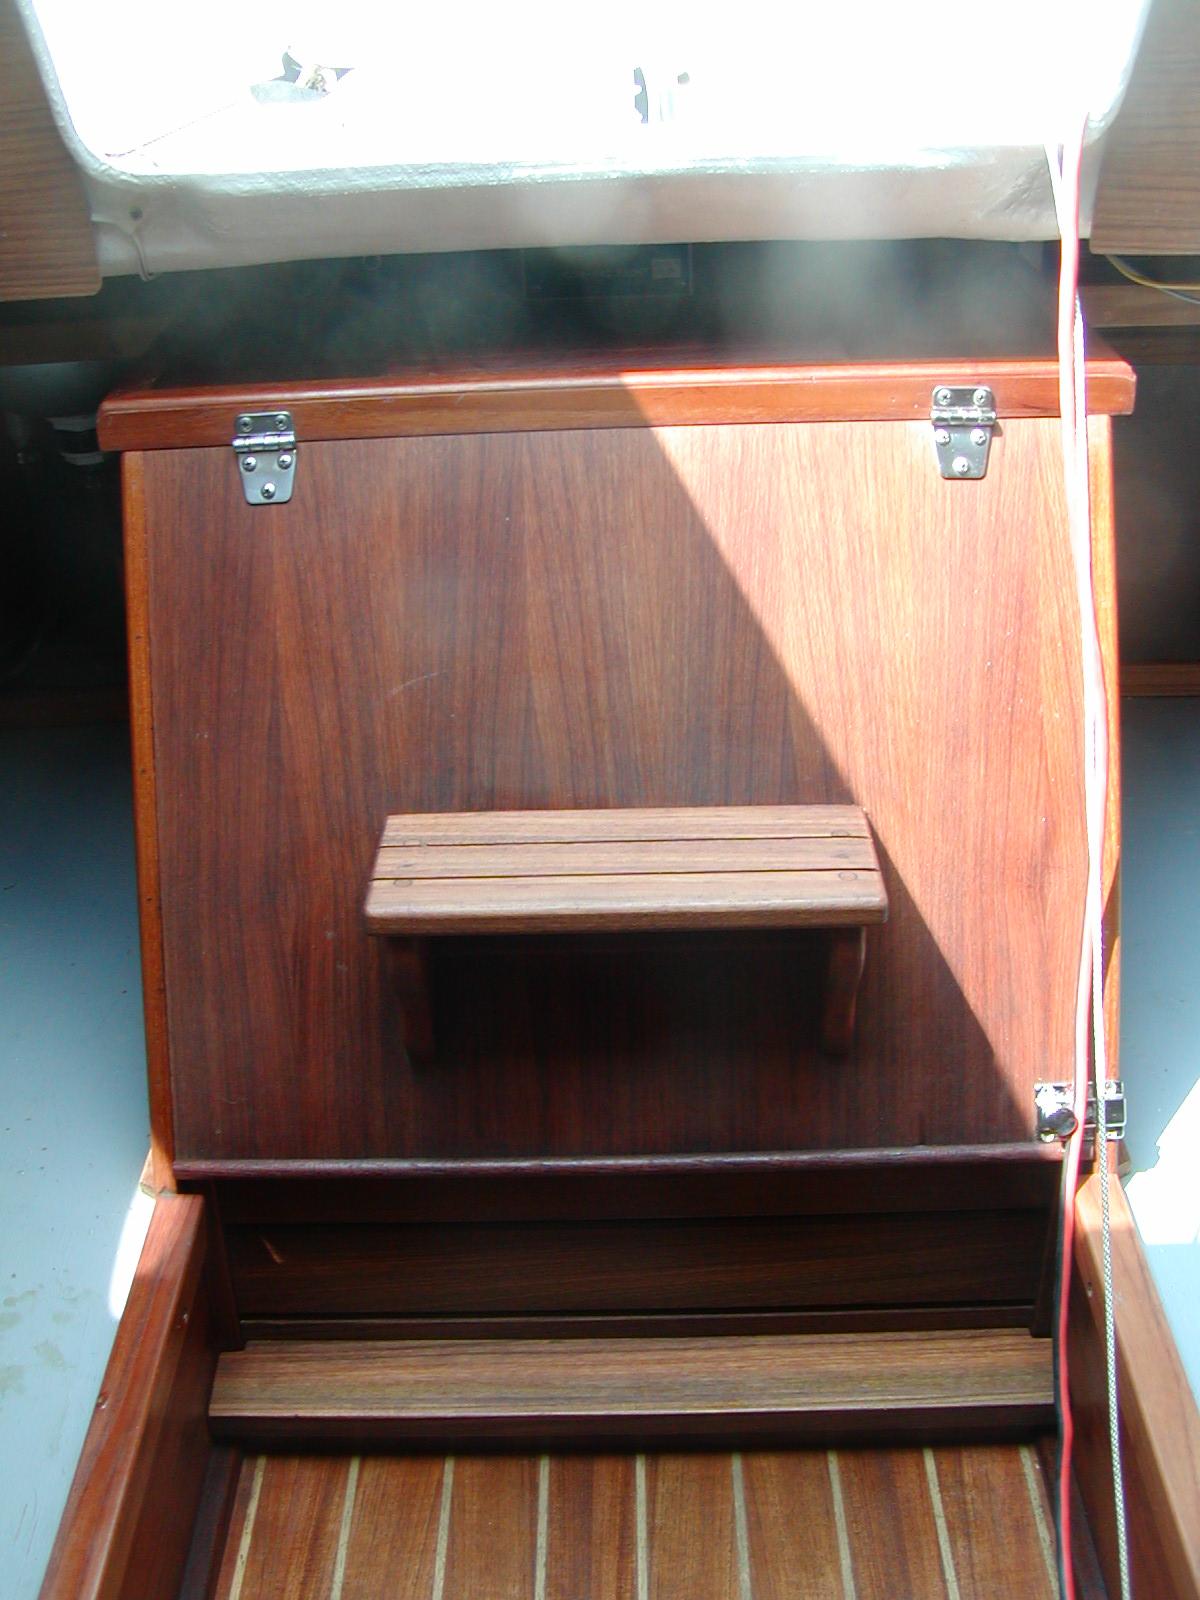
The box was cut up and reused to make a very nice storage box for this area. Rails where mounted on the bottom so that the box could be slid into place and secured to that it couldn't move. The storage is partitioned into three areas, a lower box that is about half the size of the original, an upper drawer that slides into place, like a drawer, but with no cabinetry surrounding it, and a small storage bin in front. Some cabinetry slides into place in front of the whole storage unit to better secure it and to hide it when the stairs are down. The photos show each of these storage areas plus the companionway stairs lowered showing how neatly all this is hidden.
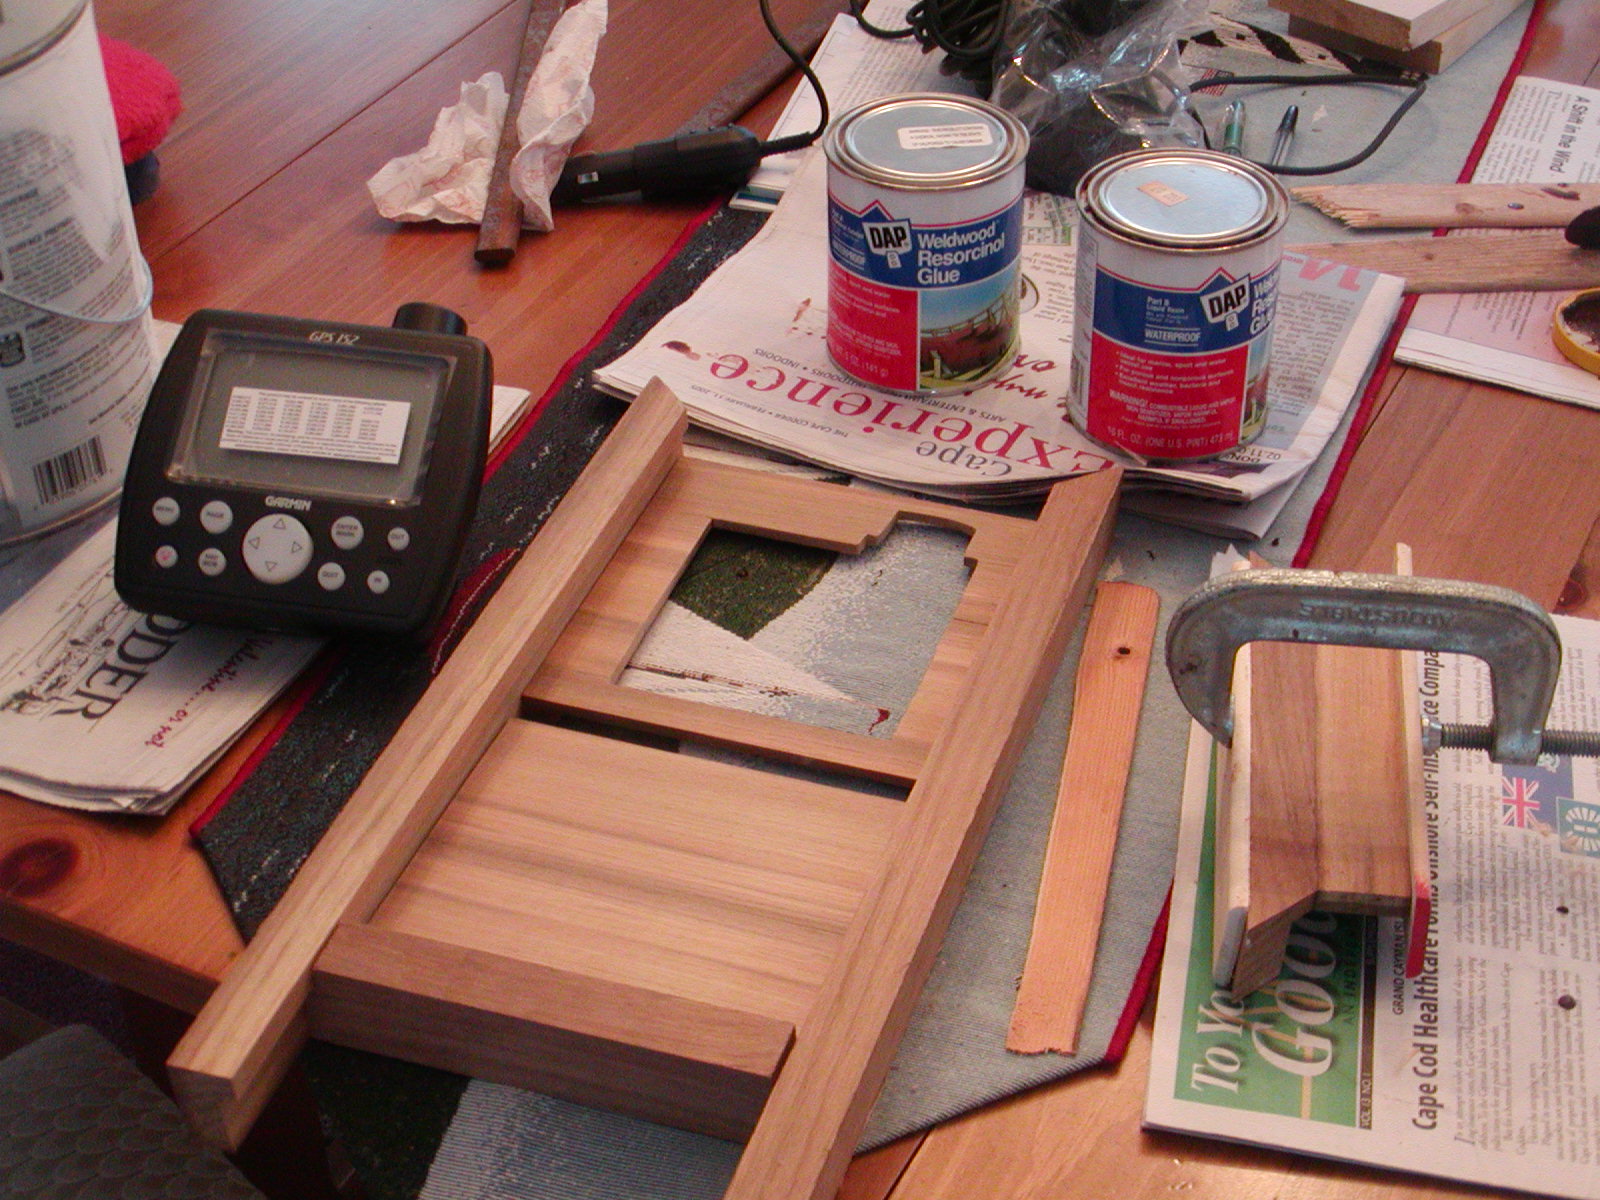
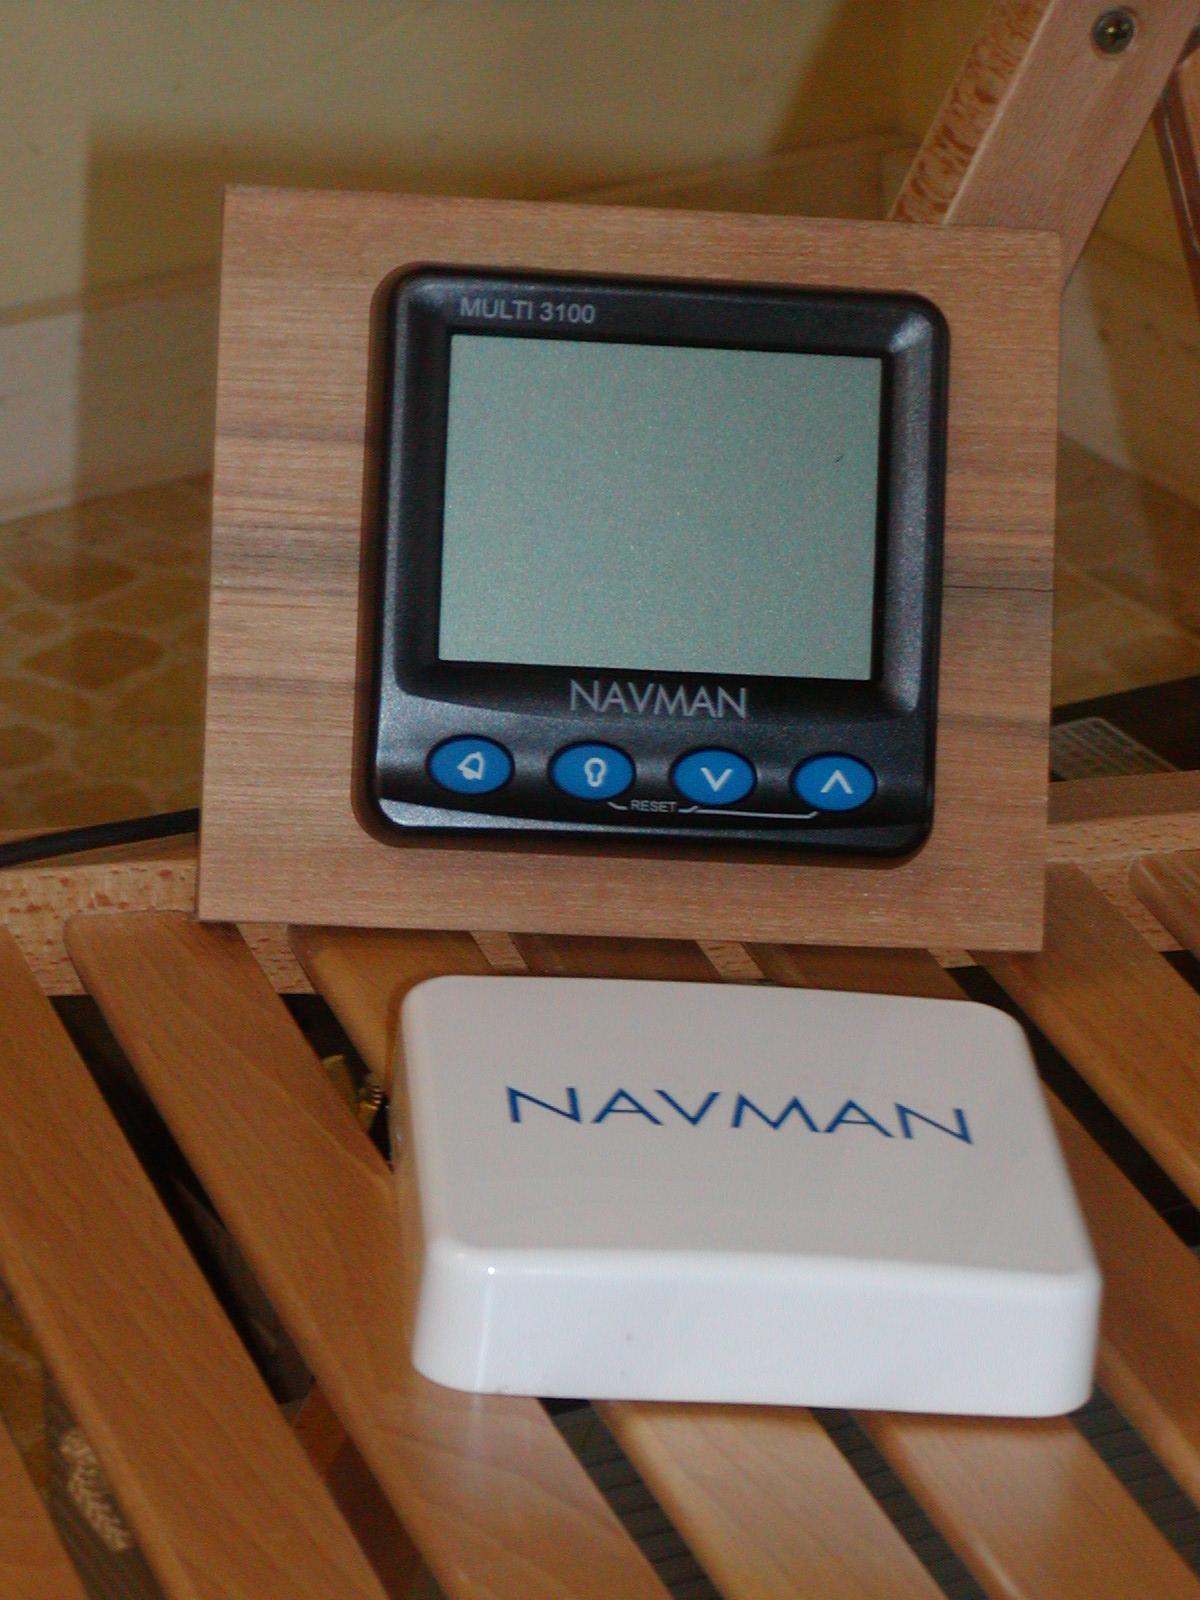
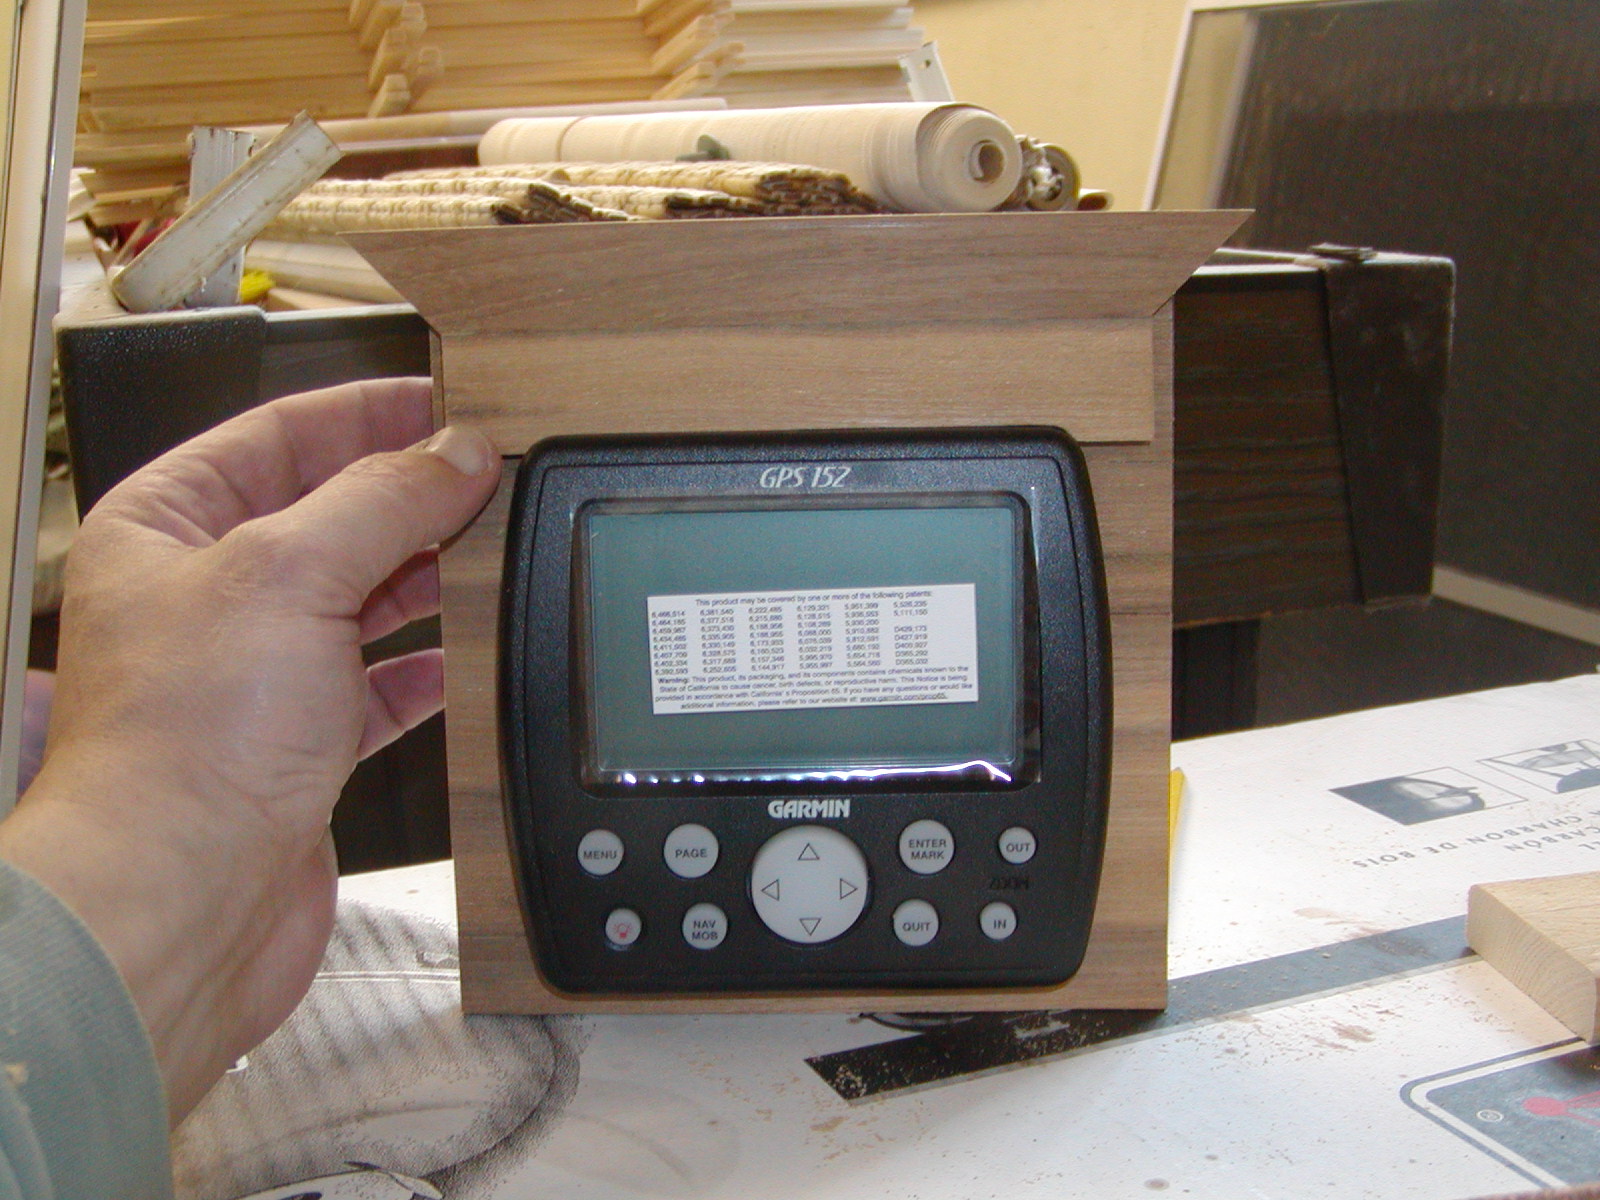
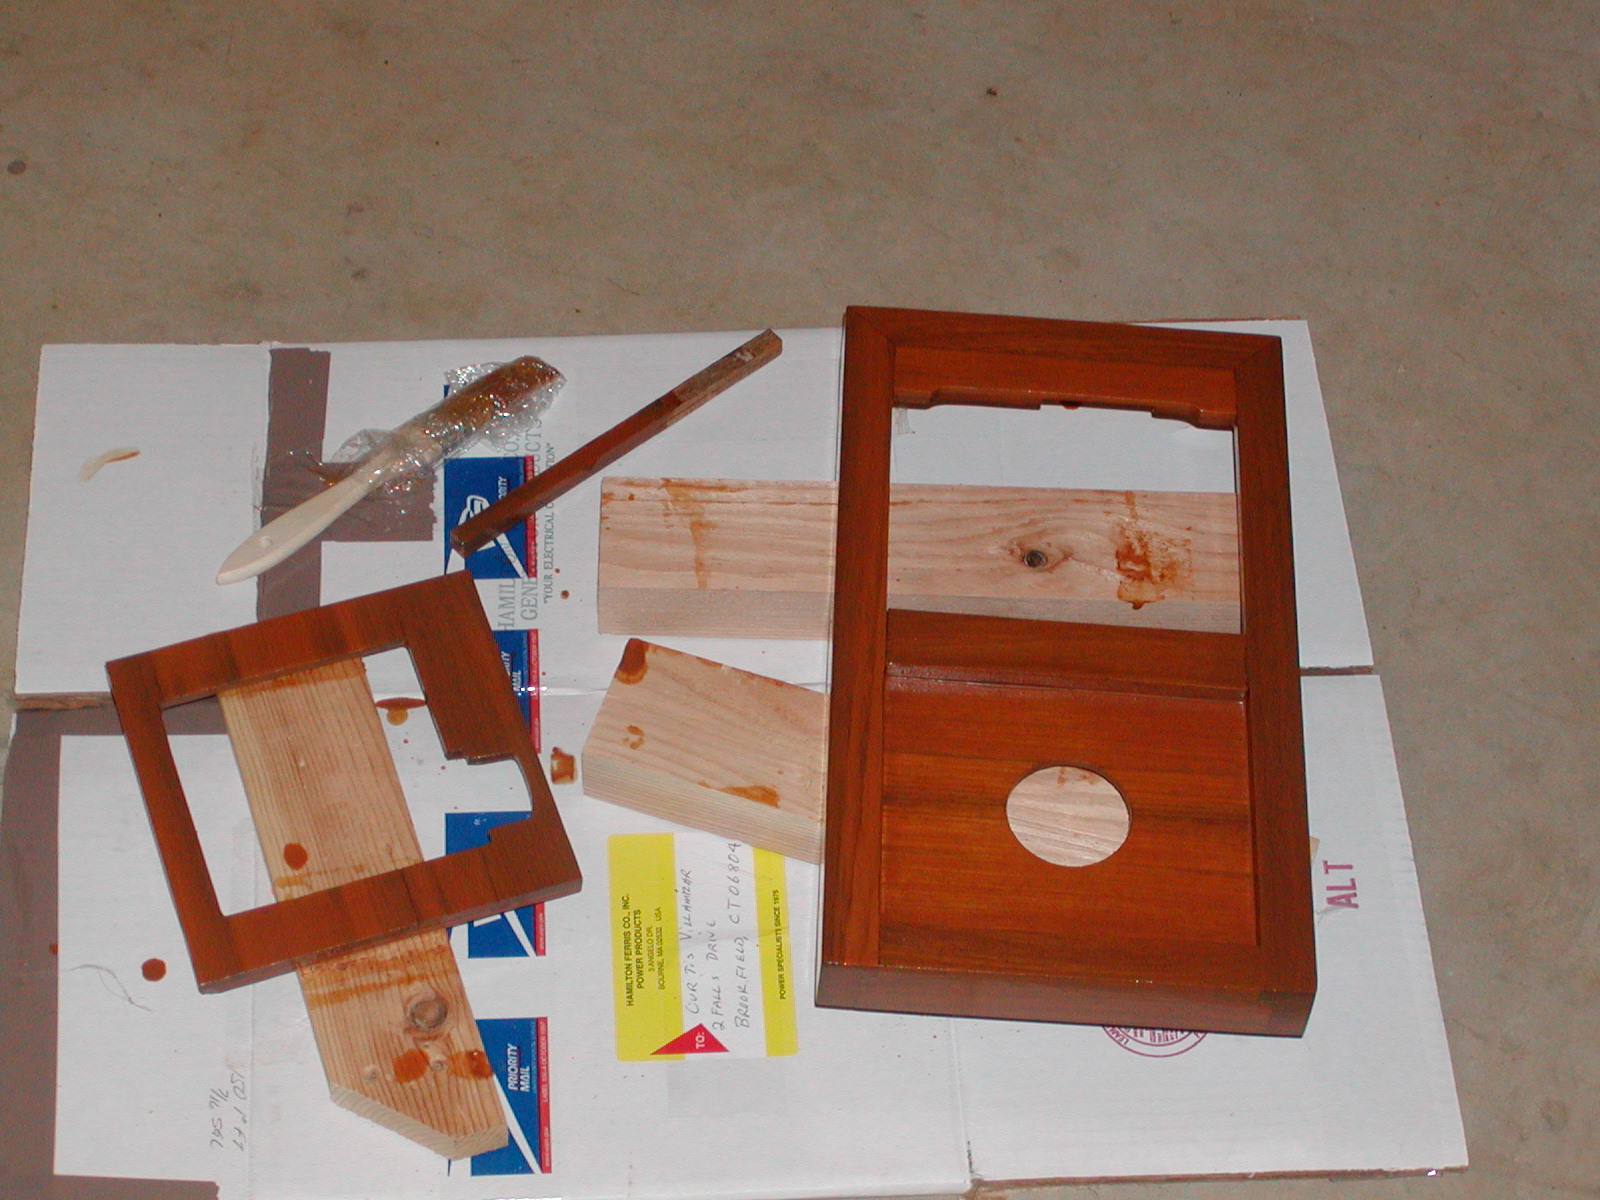
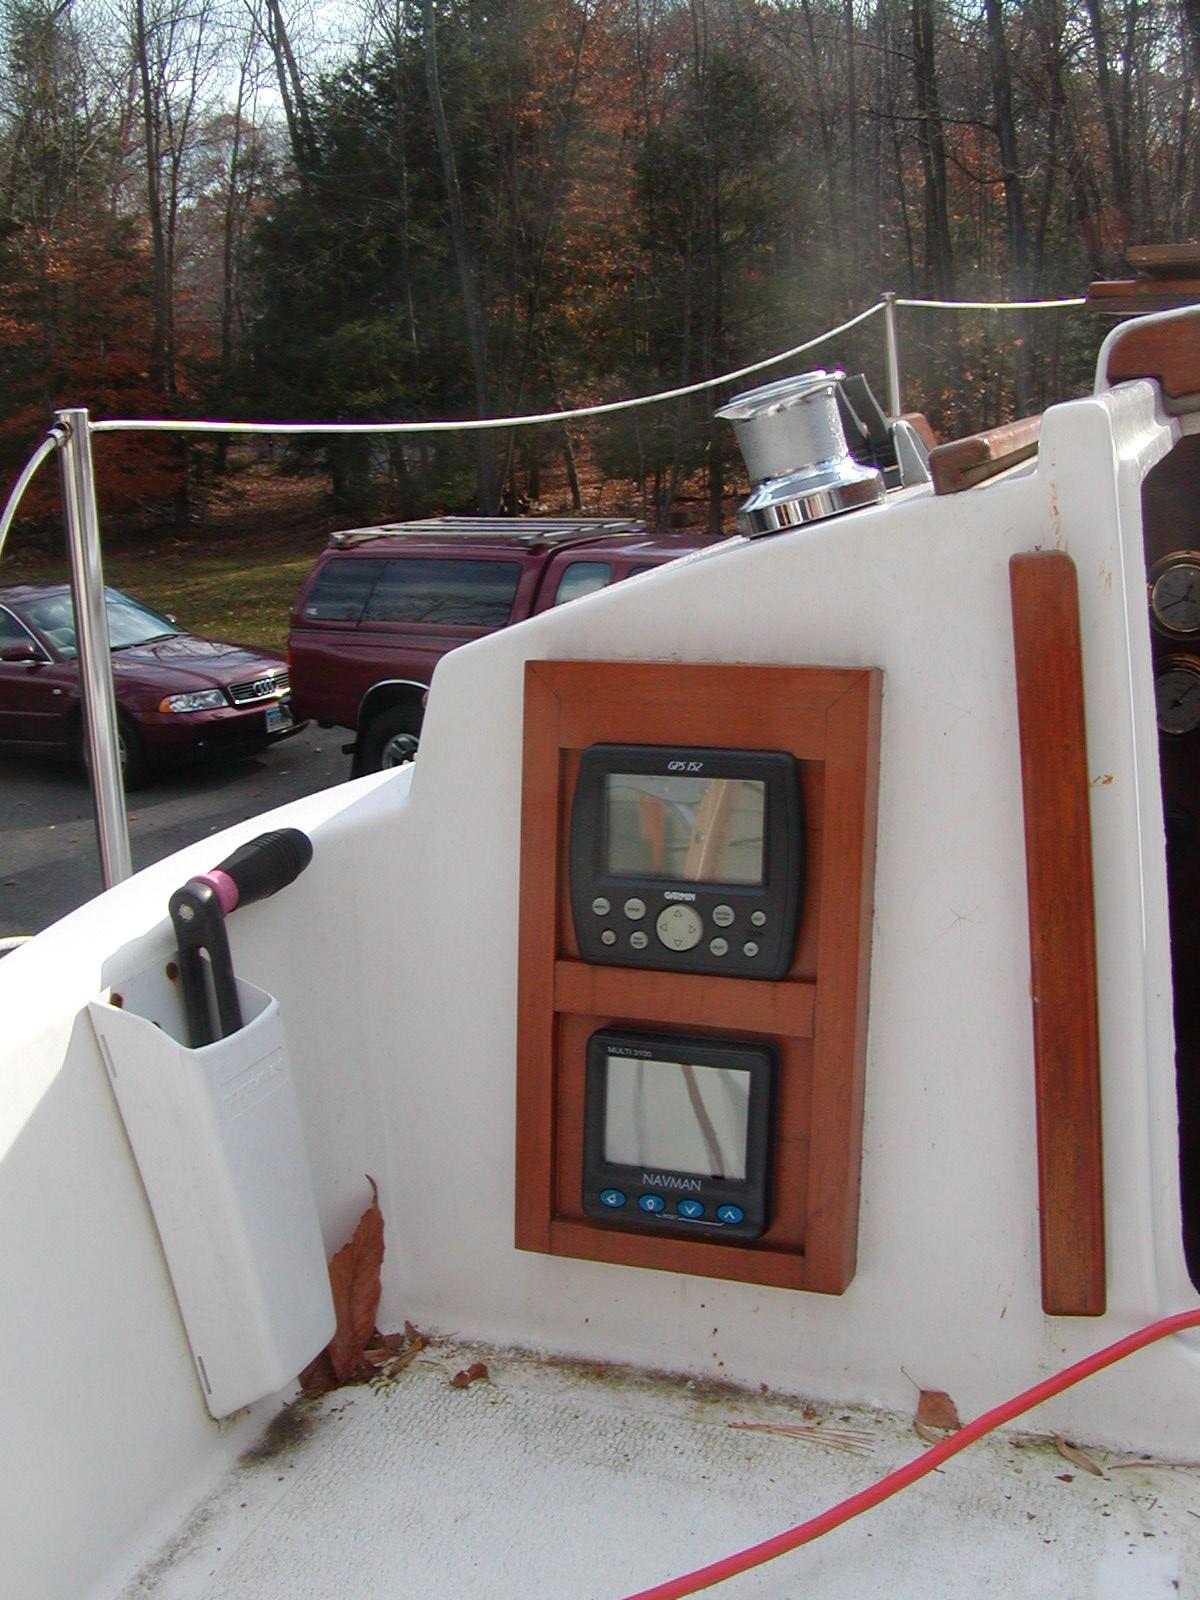
The instruments are mounted on the cabin bulkhead just to port of the companionway. The photos show the teak instrument mount in various stages of assembly and finishing.

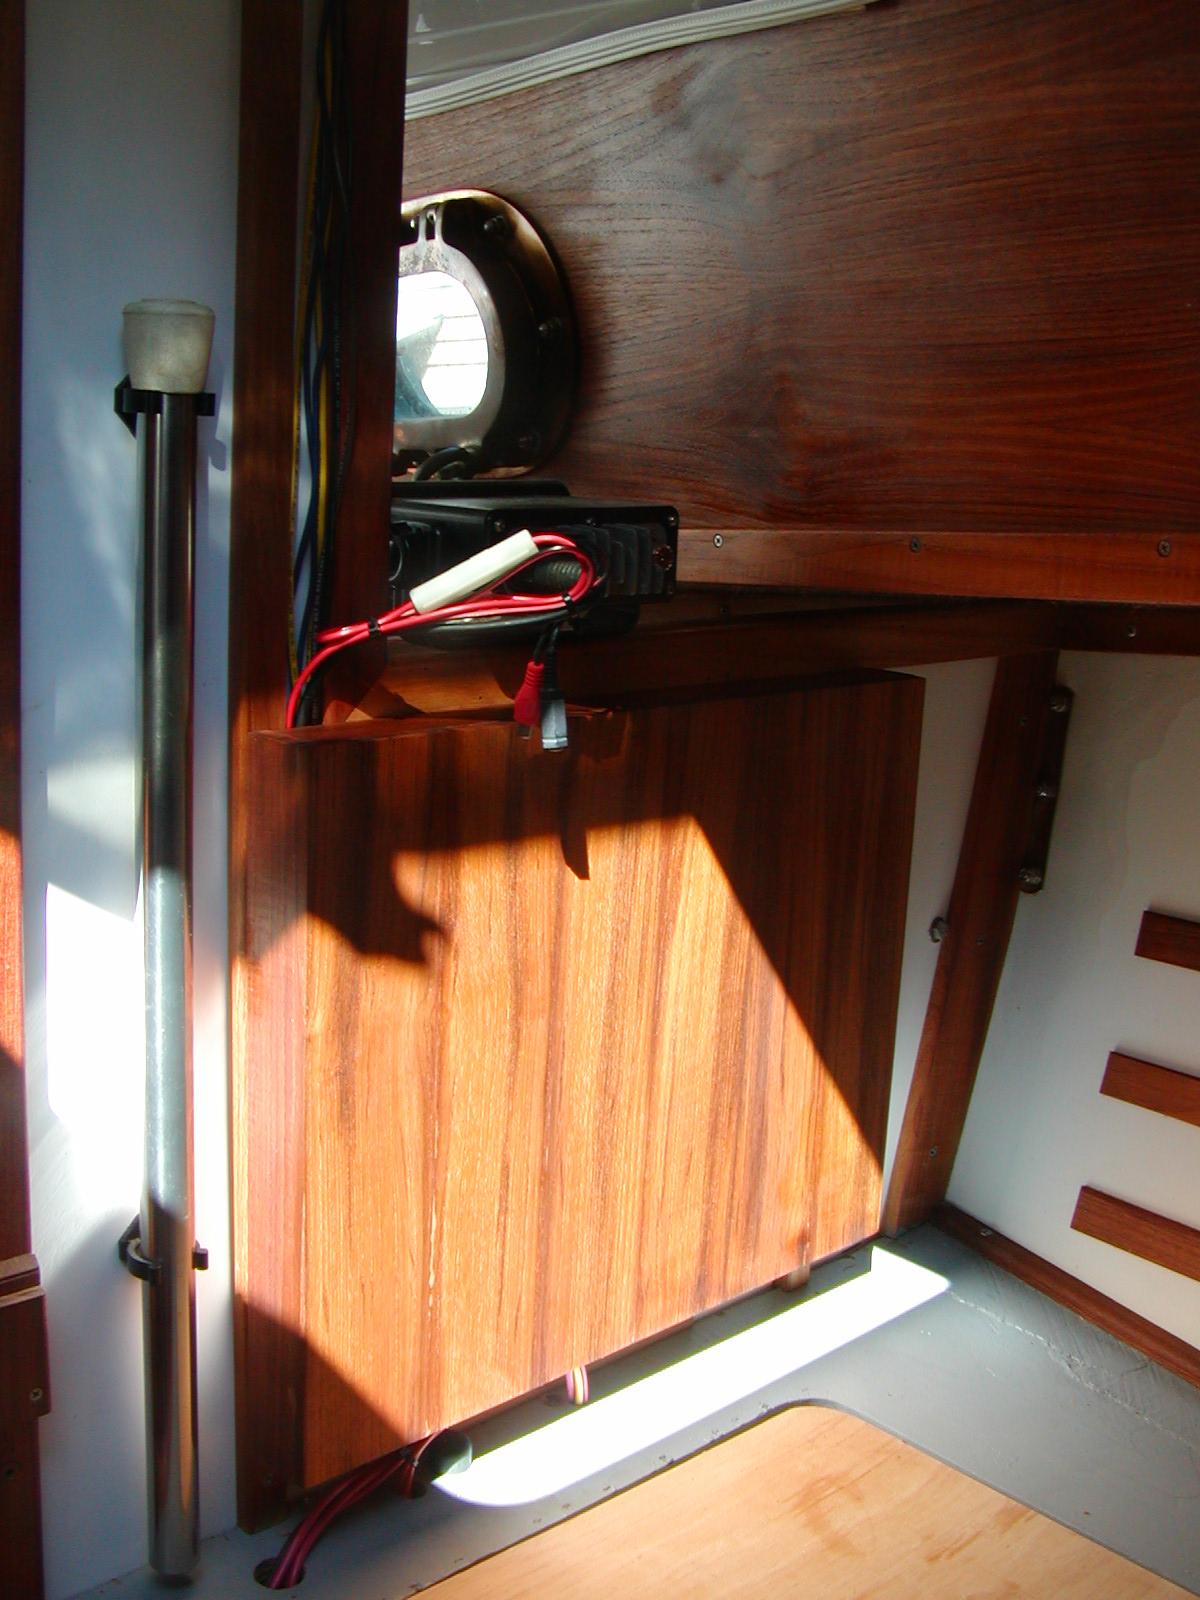
The meters and a set of switches are on a bulkhead inside the main cabin. The wiring on the back is on the other side of the bulkhead in the v-berth area. The charge FlexCharge controller, FogMate horn controller, and some terminal strips and other wire consolidation is on the same bulkhead. A shallow teak box was built such that the box can be set in place over this wiring and slid down into place. The box is then held in place by the friction of some tight joinery and by gravity. The only wires not hidden are those going to the fixed mount VHF.
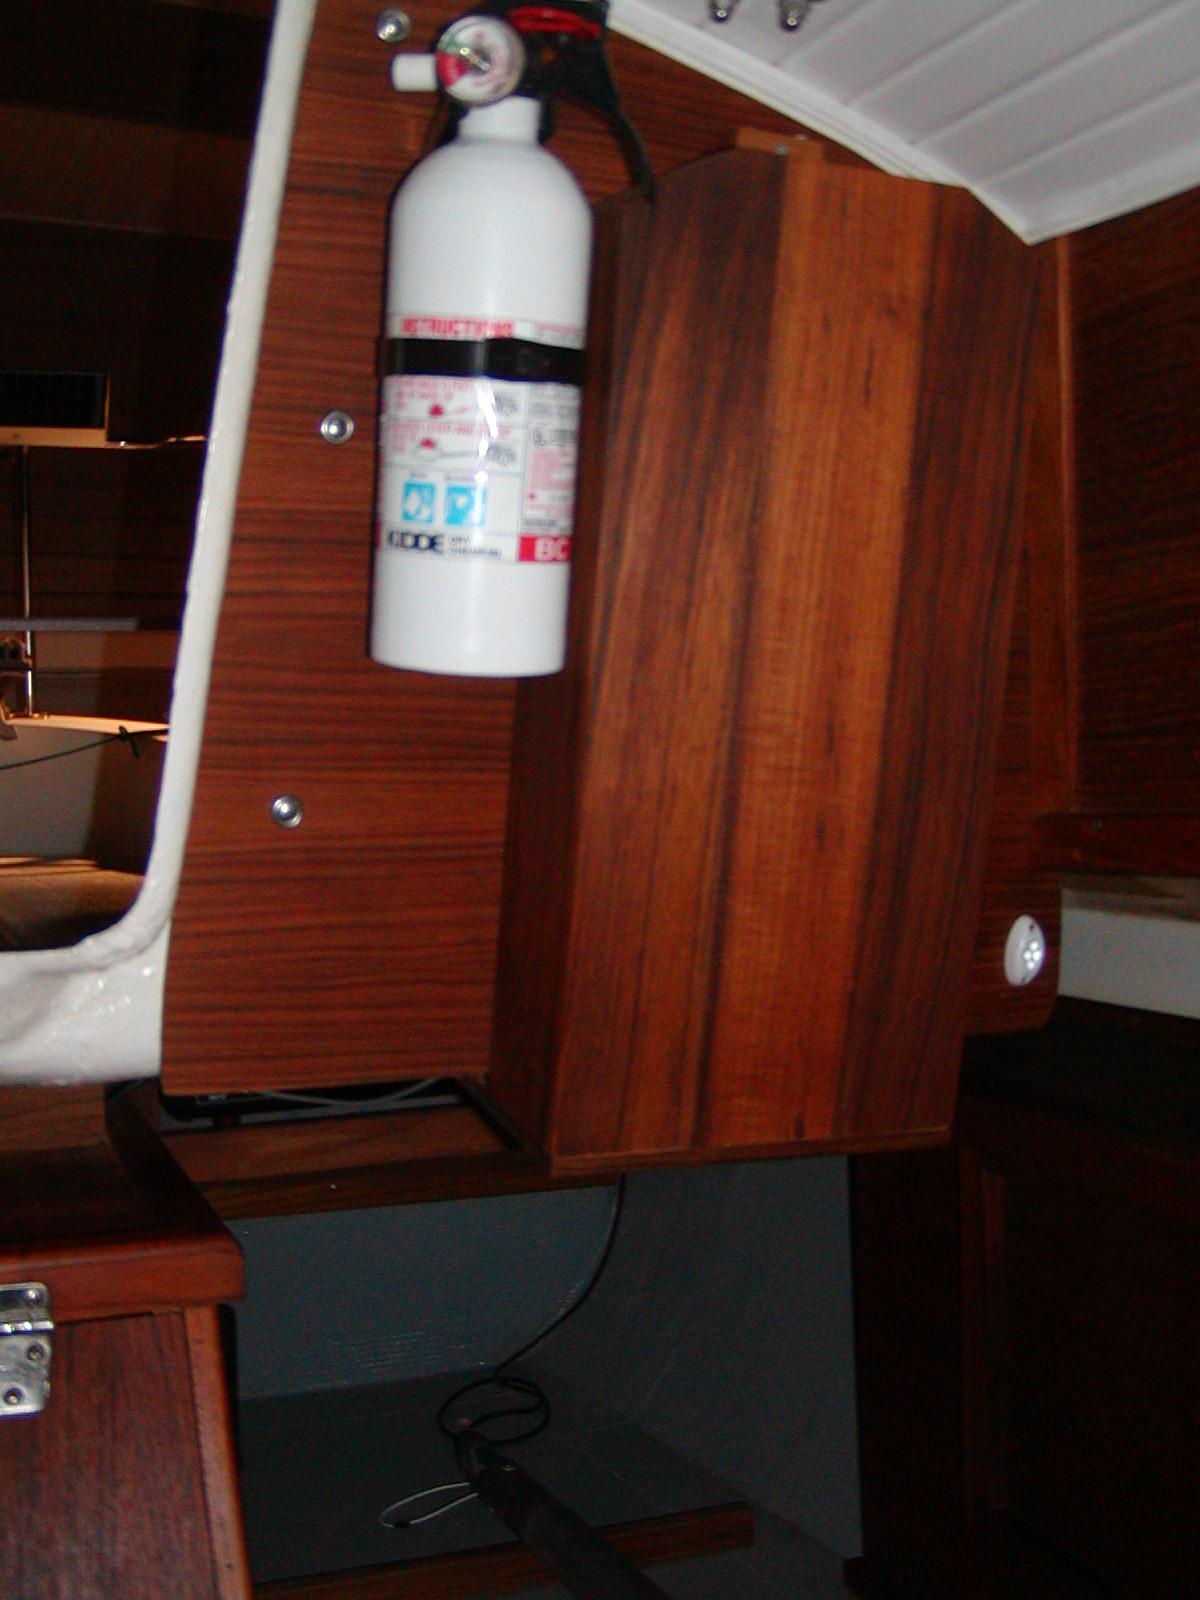
The back of the instruments and the wiring for them is on the cabin side of the bulkhead and intrudes into the cabin by almost 3 inches. The top of the cabinetry used to hide the wires needed to be pitched at the corners to fit, making it look a bit like a coffin sitting on the table saw before mounting. Once in the cabin next to the fire extinguisher it looks fine. The entire assembly slides up into place and is screwed in place with two wood screws at the top.
![]() Previous Page: Mooring, docking, and anchoring
Previous Page: Mooring, docking, and anchoring
![]()